Make these quick and easy, chewy peanut butter rice krispie treats with a few simple ingredients that’ll be a favorite for kids and adults alike. Perfect for the peanut butter lover.

If you’re a fan of peanut butter and love rice krispy treats, then this is the perfect combination for you.

Table of Contents:
These really are a fun twist to the classic homemade Rice Krispie Treats but with peanut butter. They’re no-bake treats and are perfect for a quick snack or dessert, and sure to be a hit with the whole family.
Whether you’re making them for a party, a picnic, or just for a snack, they’re a real crowd-pleaser that everyone will love.

Ingredient Notes:
Now let’s talk about just some of the ingredients in these peanut butter marshmallow rice krispie treats. (The printable list of all ingredients are in the recipe card below.)
Mini marshmallows: You’ll need 10 ounces of mini marshmallows for this recipe. This is what will make these treats gooey and hold everything together.
Butter: Don’t skip the butter as this is what gives it a nice hint of buttery flavor.
Vanilla extract: This gives just a nice hint of vanilla flavor and really takes these treats to the next level.
Rice Krispies cereal: Of course, you’ll need rice crispy cereal for these and you can use either the store-brand or the name brand.
Mini chocolate chips: This is optional if you want to add a bit of chocolatey fun to your treats.
(Make sure to check out the FAQ section below in this post for ingredient and substitution questions.)

How to make these treats:
Let’s talk about how to make peanut butter rice krispie treats. (The printable instructions are in the recipe card below.)
Step 1:
First, spray a 13×9 inch baking dish with non-stick spray and set it aside.

Step 2:
Now add 6 cups of rice crispy cereal to a very large bowl and set it aside.
Step 3:
Next, take a large saucepan and add the butter, then melt over medium heat. After the butter has melted, add the marshmallows and peanut butter and melt. Stir frequently until it’s all melted.

Step 4:
Remove the pan from the heat and mix in the vanilla extract.
Step 5:
Now add the marshmallow mixture to the bowl with the rice krispie cereal and mix well with a large spoon or a silicone spatula.
You can spray the spatula or spoon with non-stick cooking spray and that can help. At some point though, you’ll probably need to use clean hands to mix if the mixture gets too firm.

Step 6:
This is the point to add in mini or regular chocolate chips if you want.
Step 7:
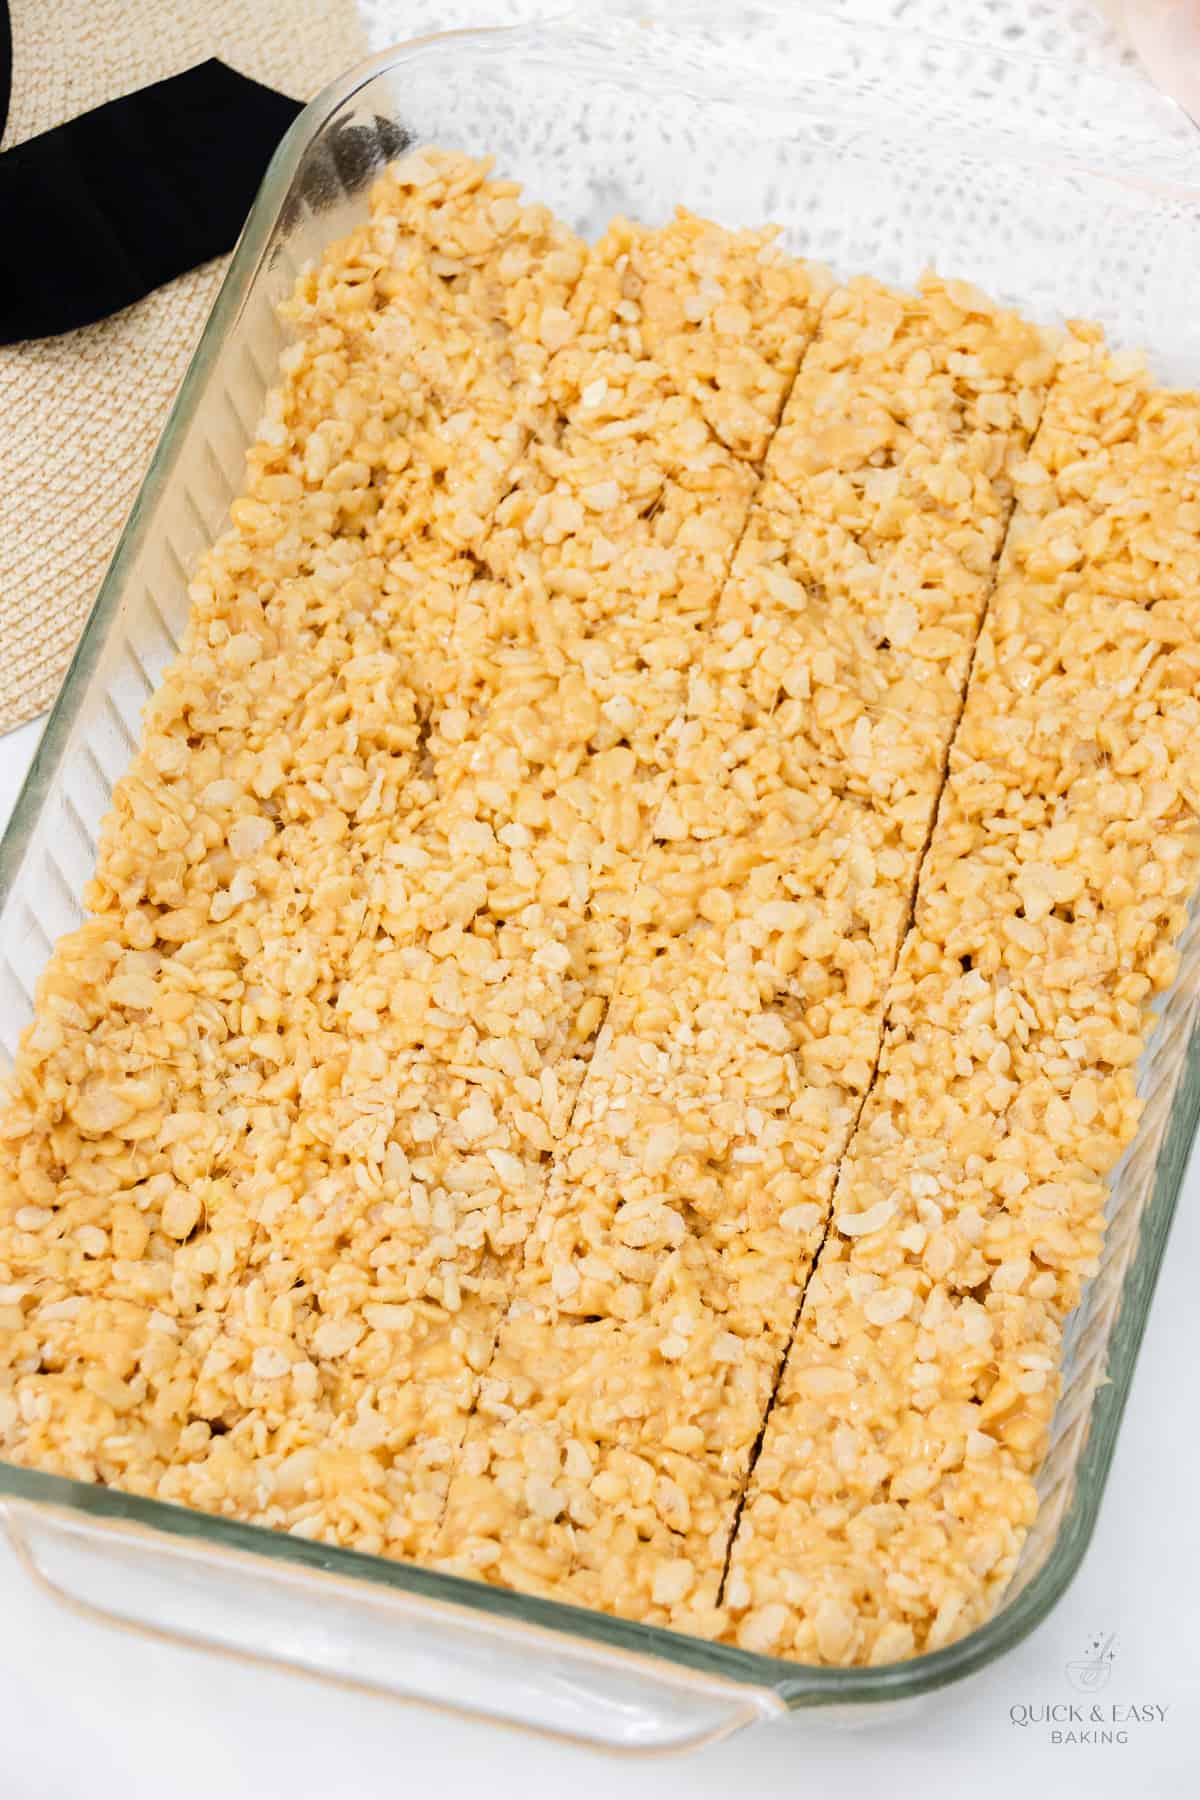
Now spread the mixture into the sprayed 13×9 inch pan and press down a little.

Step 8:
If you want a chocolate topping, you can always melt some chocolate and drizzle it over the top.
Step 9:
Once the bars cool, cut into squares and serve.
(Remember that the instructions will also be in the recipe card below.)

Peanut Butter Rice Krispie Treats
Ingredients
- 10 ounces mini marshmallows
- 4 tablespoons butter
- 1/2 cup creamy peanut butter
- 1 teaspoon vanilla extract
- 6 cups Rice Krispies cereal
- 1 cup mini or chocolate chips (optional)
- melted chocolate for drizzling (optional)
Instructions
- Spray a 13×9 inch baking dish with non-stick spray and set aside.
- Add 6 cups Rice Krispies cereal to a very large bowl and set aside.
- In a large saucepan, add the butter and melt over medium heat.
- After the butter has melted, add the marshmallows and peanut butter and melt. Stir frequently.
- Remove the pan from the heat and mix in the vanilla extract.
- Add the marshmallow mixture to the bowl with the rice krispie cereal and mix well with a large spoon or a silicone spatula. It helps to spray the spatula or spoon with non-stick cooking spray. You may need to use clean hands to mix if the mixture gets too firm.
- Add in mini or regular chocolate chips if desired at this point.
- Spread into the sprayed 13×9 inch pan and press down a little.
- Drizzle the top with melted chocolate if desired.
- Once cooled, cut into squares and serve.
Notes
Nutrition
How to Share
I’d love for you to share this recipe link or tag it, but please do not share screenshots or copy/paste the recipe to social media as the content and photographs are copyright protected and we (bloggers) work really hard on our content. Sharing the link, tagging us on socials and pinning it is super appreciated though!
Tips & FAQs:
Yes, probably. I don’t think that would be a problem, just make sure the amount of ounces you use is the same that the recipe calls for.
That might work, but I can’t be sure. Butter will give you the best flavor though.
Either works fine in this recipe.
Maybe although I haven’t tried that out.
Yes, you can use chunky peanut butter if you prefer it.
No. If you don’t have it, you can omit it.
No. Feel free to omit the chocolate.
Keep these treats in the 13×9 inch baking dish and cover with plastic wrap, or place squares into an airtight container. These treats are best eaten within 2-3 days.

Video:
Supplies used for this recipe:
This post contains affiliate links. As an Amazon Associate, I earn from qualifying purchases.


- Easy Lemon Cream Cheese Swirl Cake (using a cake mix) - April 2, 2024
- Easy Lemon Poppy Seed Bread (using a cake mix) - April 2, 2024
- Easy Lemon White Chocolate Cookies (using a cake mix) - April 2, 2024