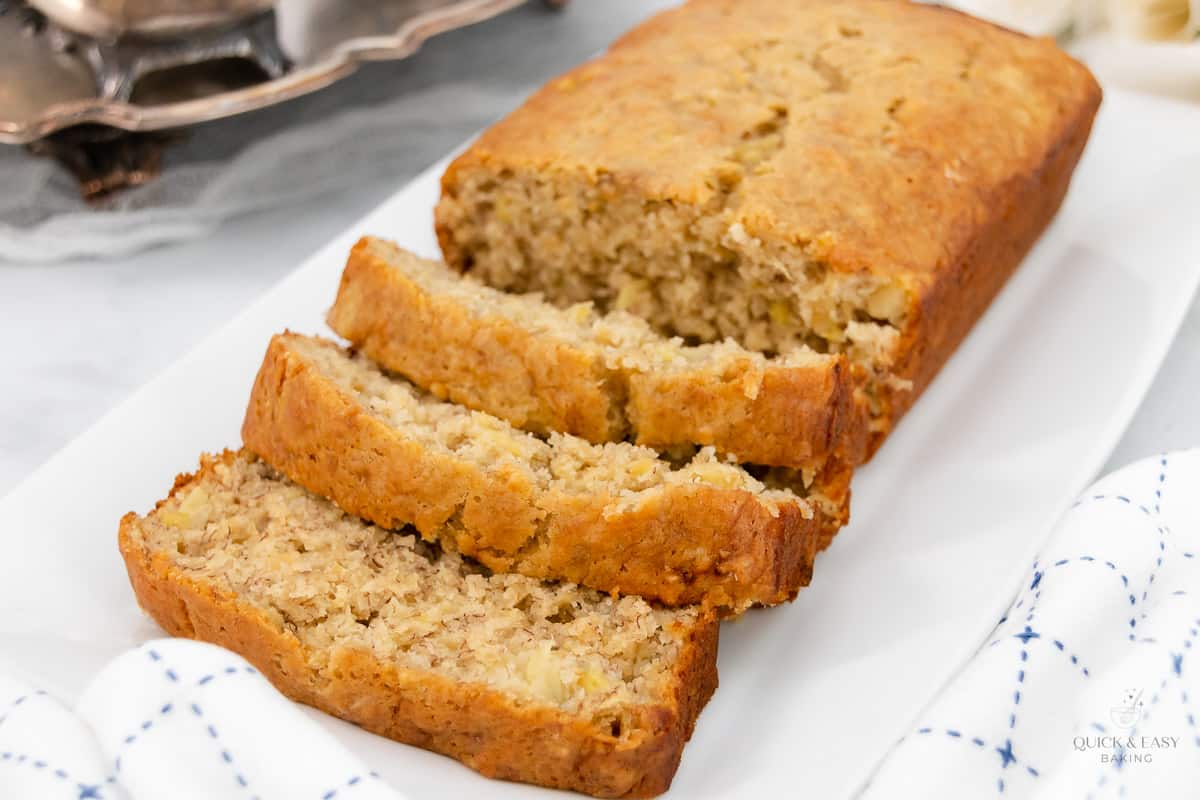
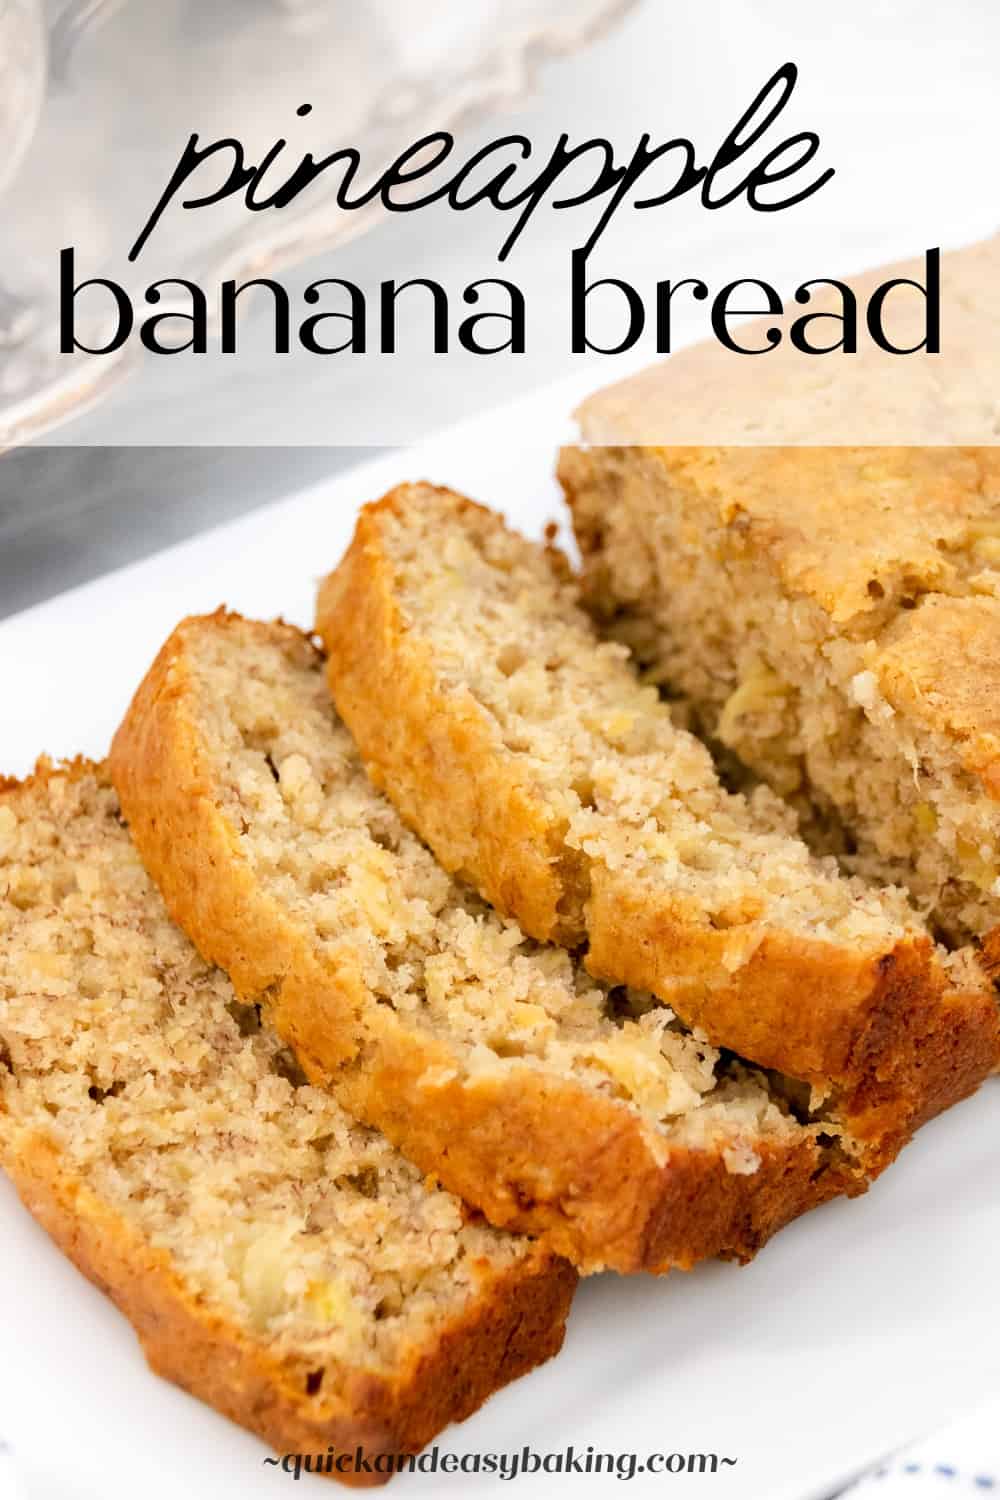
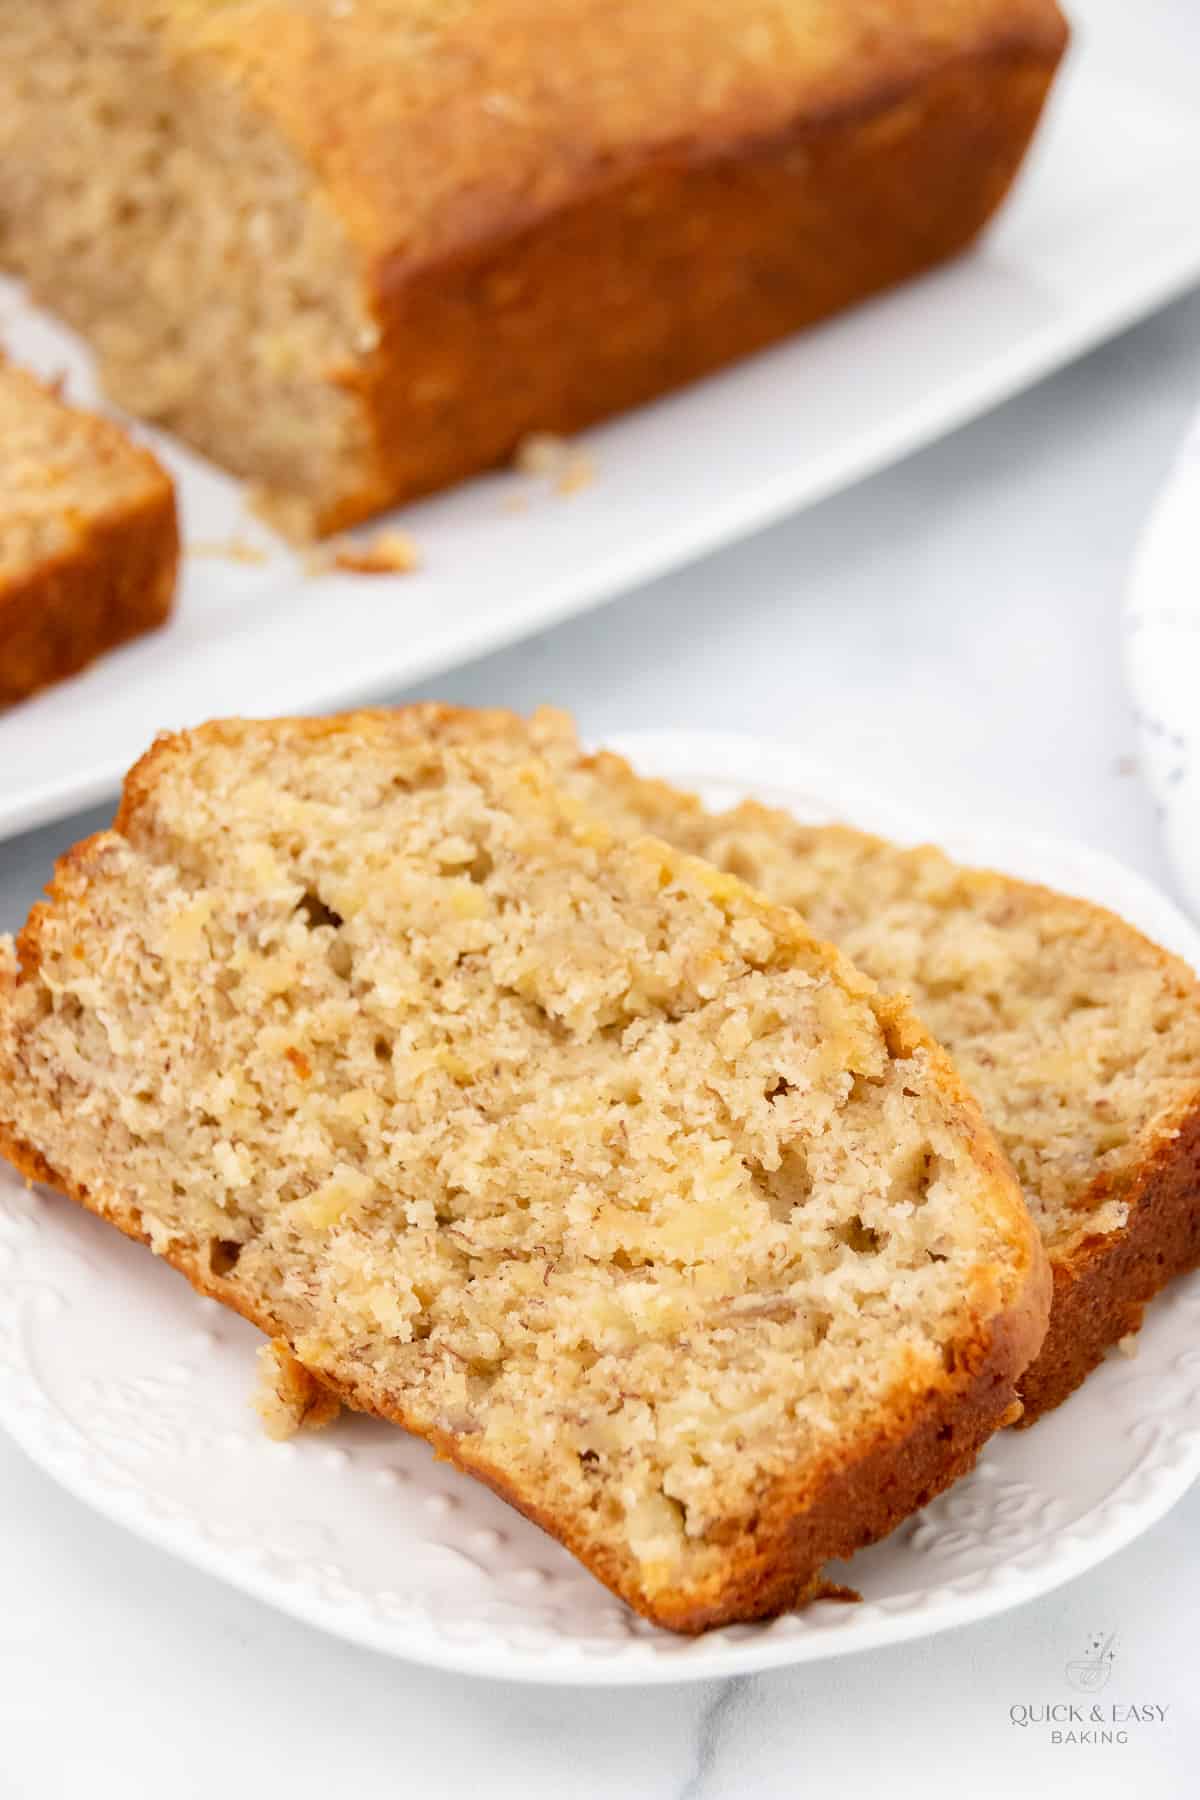
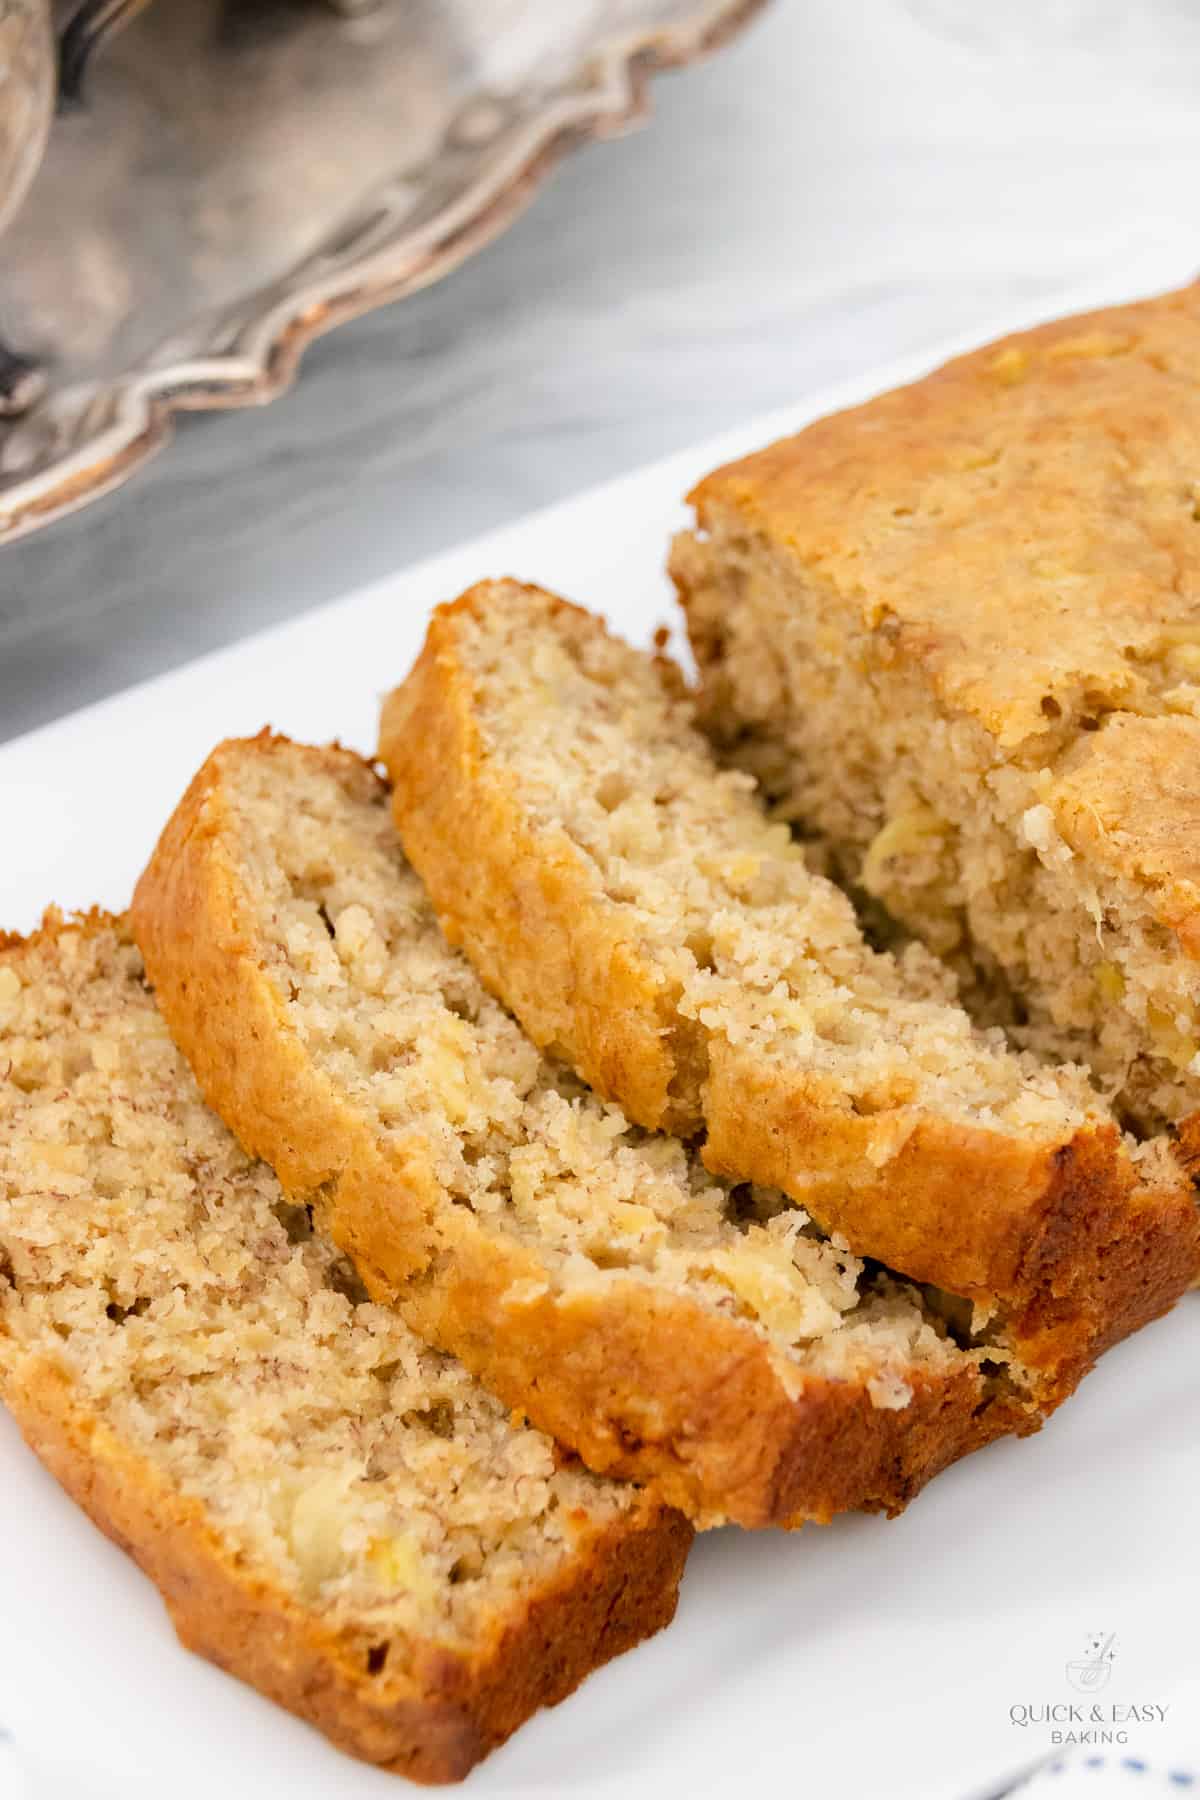
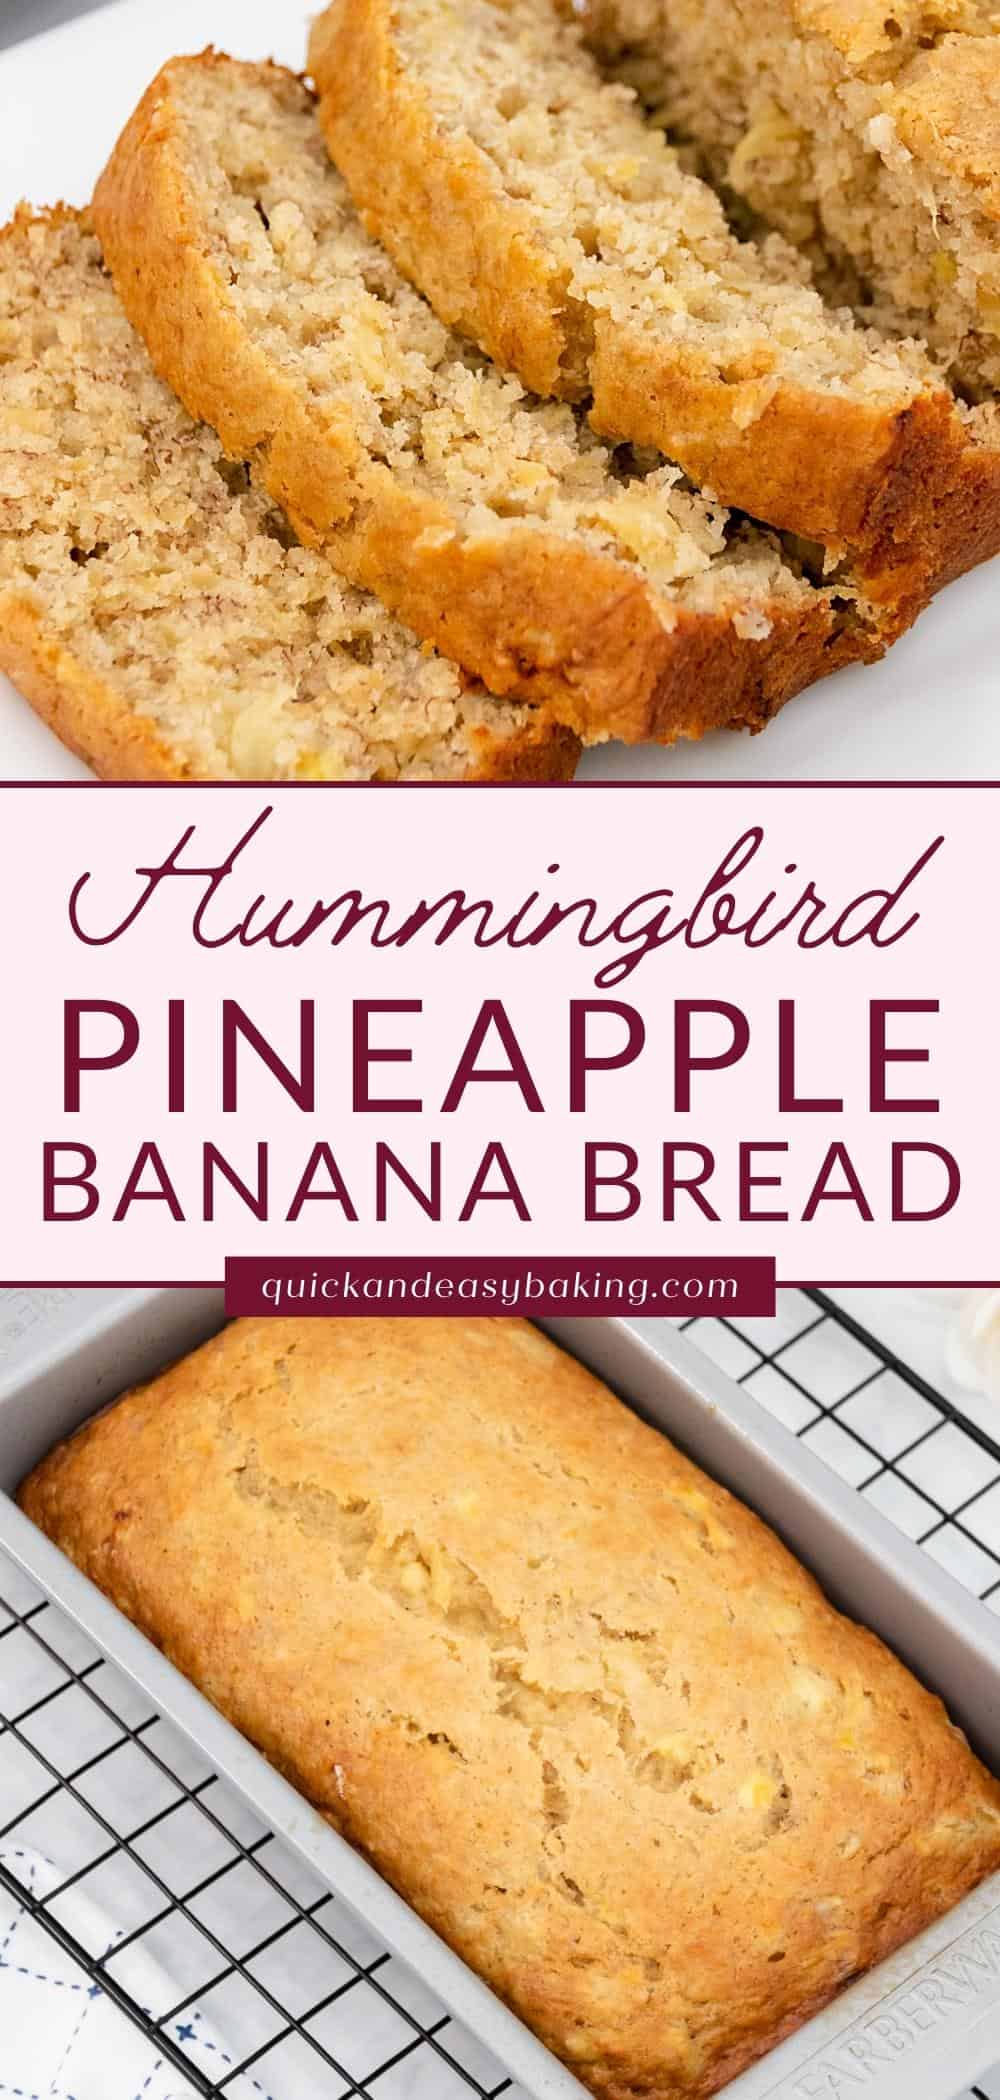
This easy pineapple banana bread, otherwise known as hummingbird bread is super moist and loaded with flavors of pineapple, banana and a hint of cinnamon in every bite.
With just simple ingredients, this recipe takes no time at all to make, so you won’t be spending a ton of time in the kitchen.
If you’re a fan of banana bread and tropical flavors, you’ll love this Hawaiian pineapple banana bread.
Table of Contents:
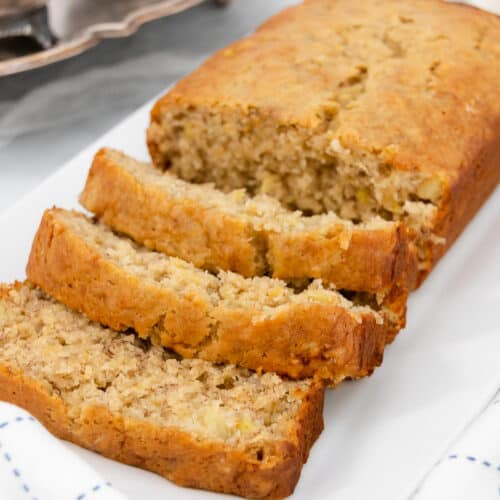
This bread is such a unique take on traditional and classic banana bread, because it adds in a light tropical pineapple flavor, which just goes perfectly with the banana flavor.
This banana pineapple loaf can be eaten for breakfast, as a snack, or a delicious dessert. This is a sweet bread that your family will ask for over and over.
Ingredient Notes:
Now let’s talk about just some of the main ingredients in this banana bread with crushed pineapple. (The printable list of all ingredients are in the recipe card below.)
All-purpose flour: There’s no need to purchase any specialty flour to make this bread as you’ll just use regular all-purpose flour to make it.
Baking powder and baking soda: You’ll need both to help this bread rise properly.
Cinnamon: Try not to skip this as it really adds a subtle hint of flavor and marries the banana and pineapple well.
Bananas: It’s really best to use very ripe bananas for this recipe as they will give the most flavor.
Light brown and granulated sugar: Both types of sugar are called for in this recipe. I feel like the brown sugar really adds a good depth of flavor. Try not to lower the sugar amount as it also adds moisture.
Oil: This will also give a good amount of moisture to the bread.
Crushed pineapple: This is one of the stars of this bread. It really gives a nice subtle tropical flavor to this banana bread.
(Make sure to check out the FAQ section below in this post for ingredient and substitution questions.)

How to make this bread:
Let’s talk about how to make hummingbird bread. (The printable instructions are in the recipe card below.)
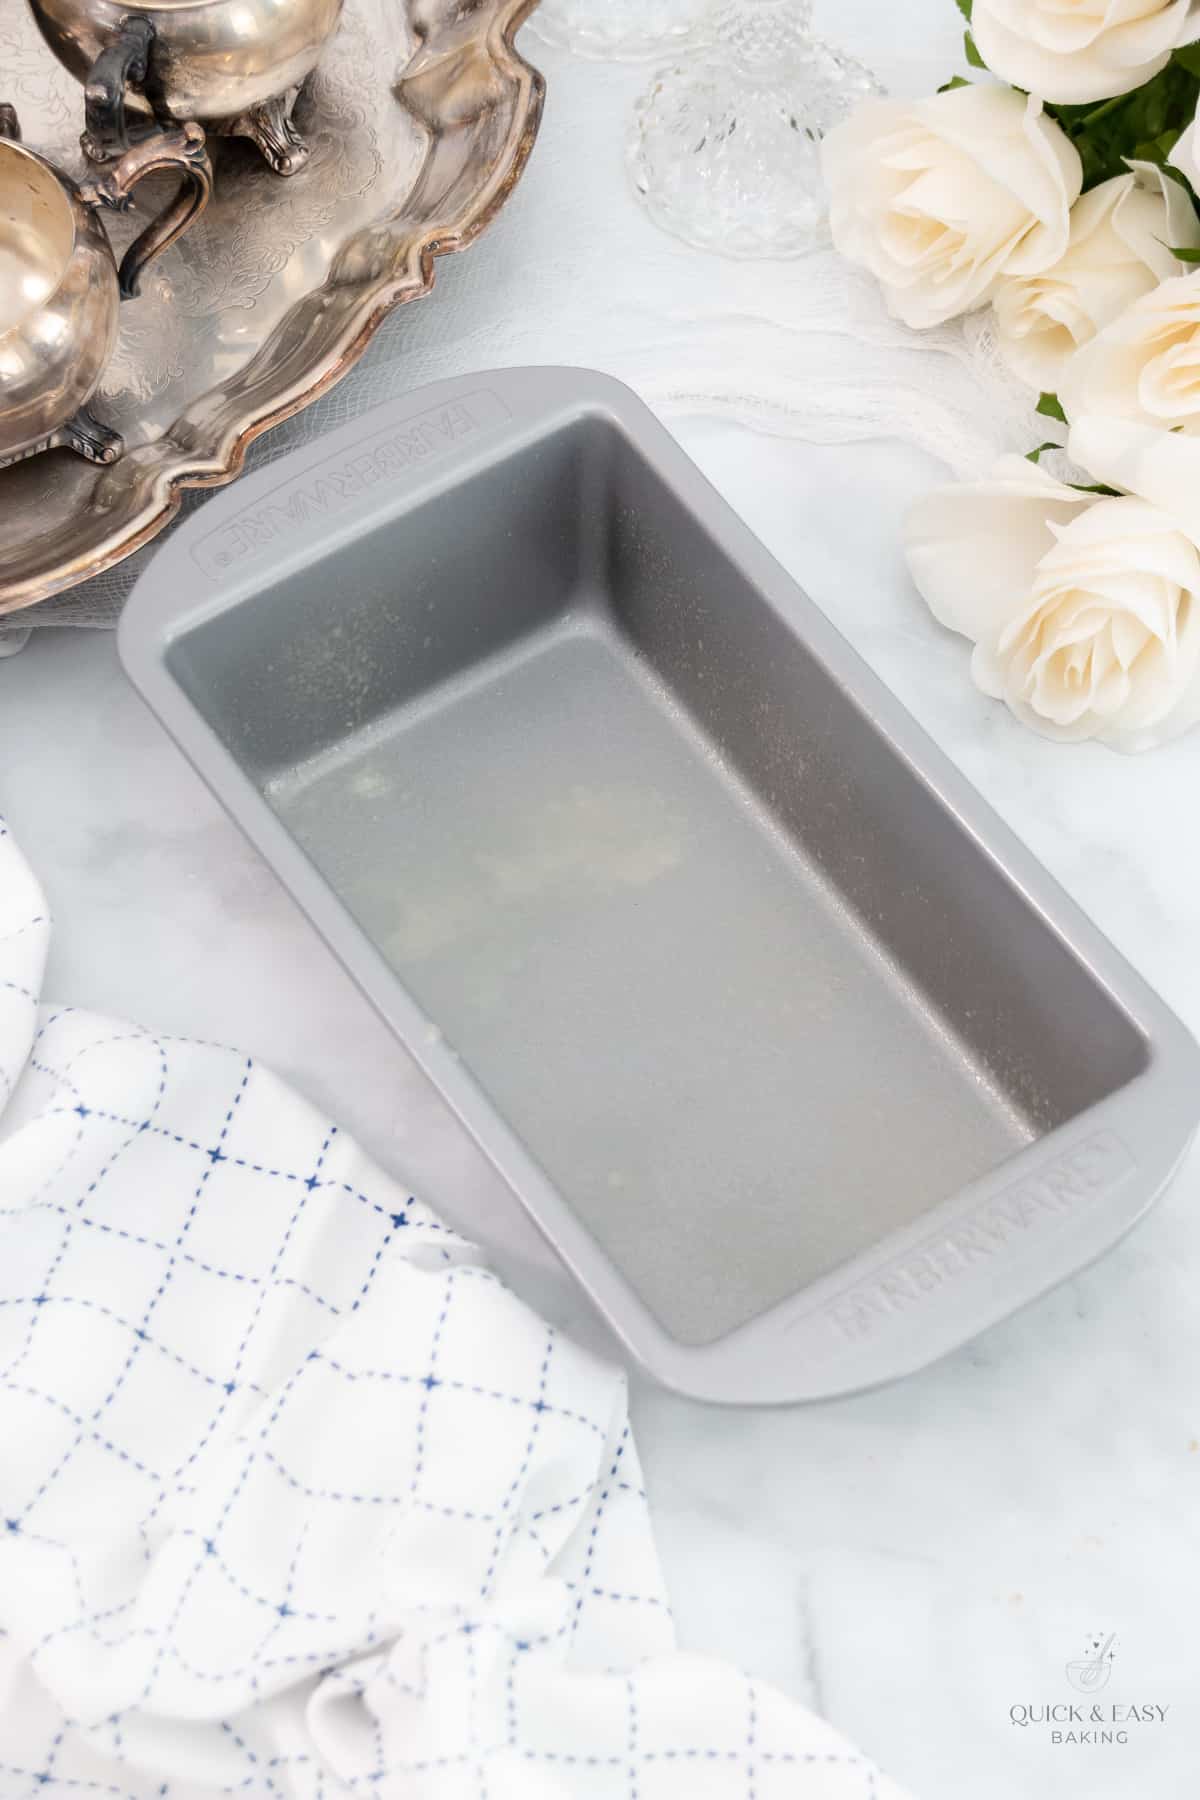
Step 1:
Make sure to preheat the oven to 350 degrees F and spray or grease an 8 or 9-inch loaf pan, then set it aside.
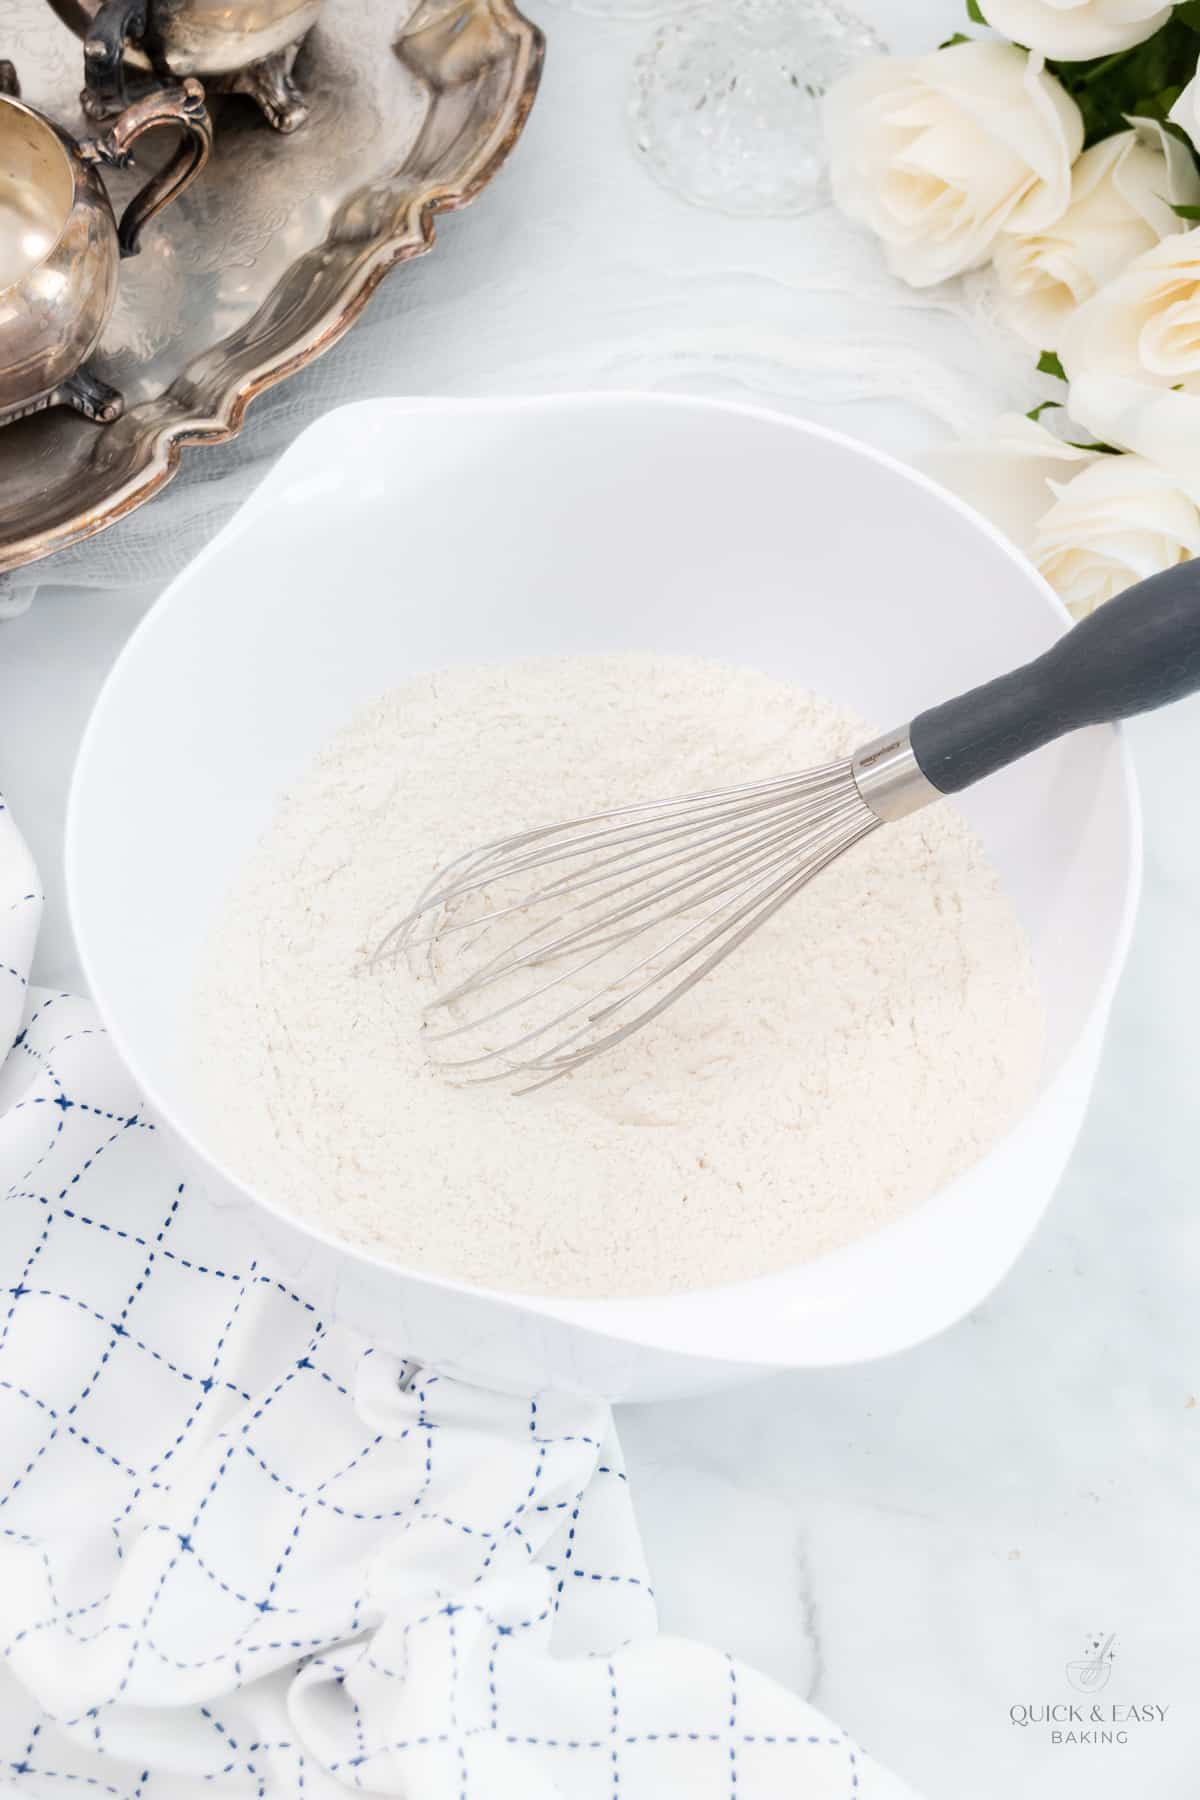
Step 2:
Now take a large mixing bowl and add the flour, baking powder, baking soda, cinnamon and salt. Whisk that well and set it aside.
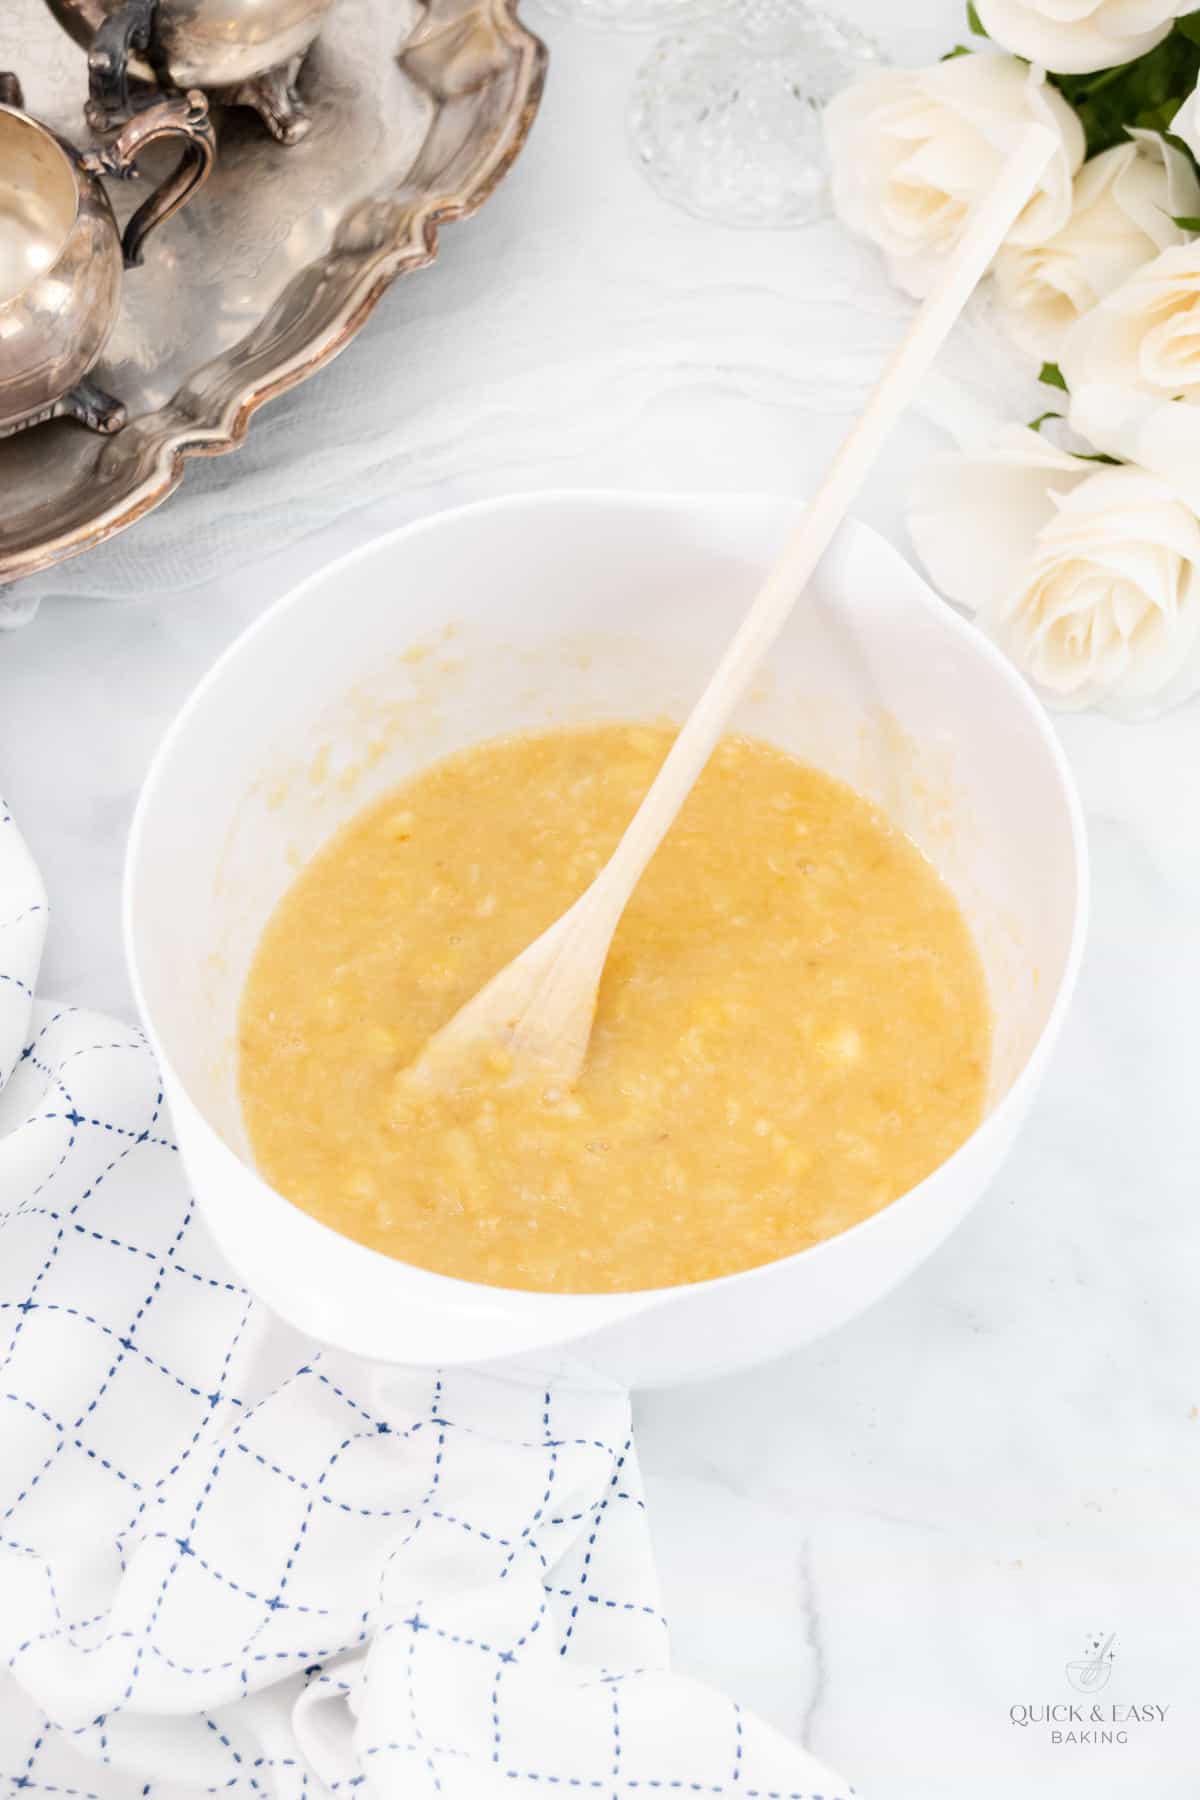
Step 3:
Now take a smaller mixing bowl and add the egg, mashed bananas, brown sugar, granulated sugar, oil, vanilla extract and pineapple, then mix well with a whisk.
Step 4:
Next, add the liquid ingredients to the dry ingredients and mix with a large spoon. You don’t need a hand mixer for this.
Make sure to mix only until the ingredients are well combined, but do not mix too long.

Step 5:
Add the bread batter to the prepared loaf pan and bake at 350 degrees F on the middle rack for about 50-60 minutes. The bread is finished baking when a toothpick inserted into the center comes out with either a few moist crumbs on it or clean.

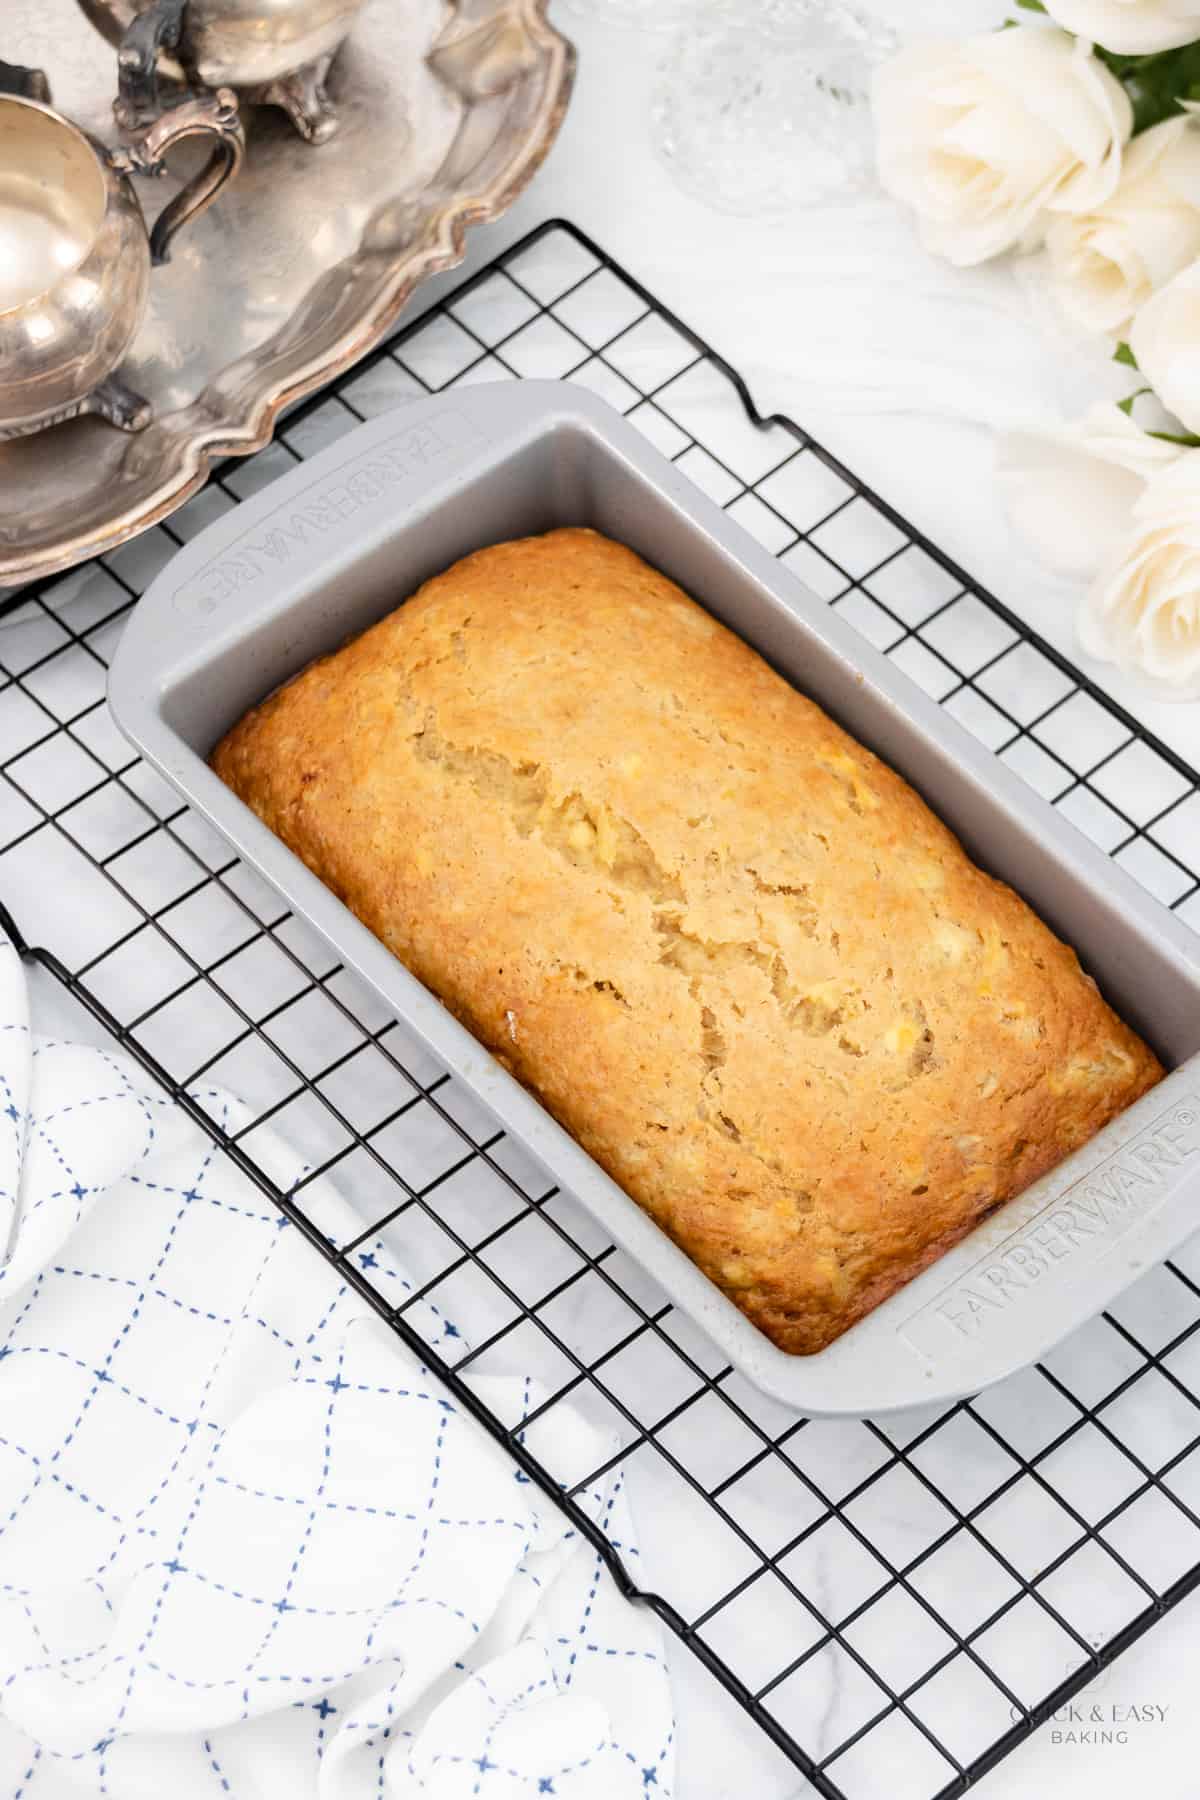
Step 6:
Remove the bread from the oven and place onto a cooling rack for about 20 minutes, then remove the bread from the pan and set on the rack to cool completely.
Step 7:
Serve this bread at room temperature, warm or cold. It’s also good warmed with a bit of butter.
(Remember that the detailed instructions will also be in the recipe card below.)
Easy and Moist Pineapple Banana Bread (Hummingbird Bread)
Ingredients
- 1 2/3 cups all-purpose flour (measured correctly: spooned into the measuring cup and leveled off – don't scoop and pack the flour into the cup)
- 1/2 teaspoon baking powder
- 1/2 teaspoon baking soda
- 1/4 teaspoon cinnamon
- 1/4 teaspoon salt
- 1 egg
- 3 mashed medium-sized very ripe bananas
- 1/4 cup packed light brown sugar
- 1/2 cup granulated sugar
- 1/4 cup vegetable oil
- 1 teaspoon vanilla extract
- 1 cup crushed pineapple, drained
- 1/2 cup chopped walnuts or pecans (optional)
Instructions
- Preheat the oven to 350 degrees F.
- Spray or grease an 8 or 9-inch loaf pan and set aside.
- In a large mixing bowl, add the flour, baking powder, baking soda, cinnamon and salt. Whisk well and set aside.
- In a smaller bowl, add the egg, mashed bananas, brown sugar, granulated sugar, oil, vanilla extract and pineapple. Whisk well.
- Add the liquid ingredients to the dry ingredients and mix with a large spoon. Only mix until the ingredients are well combined, but do not mix too long. There may still be some small or medium-sized lumps and that's okay. Just make sure there aren't any large lumps. (Mixing too long or until completely smooth can cause a very dense and rubbery bread and can also cause the bread to fall.)
- Gently fold in chopped nuts if desired.
- Add the batter to the prepared loaf pan and bake at 350 degrees F on the middle rack for about 50-60 minutes. (If using dark coated pans, those can tend to over-brown the bottom of bread, so sometimes it's helpful to add a thick cookie sheet on the rack below the bread to help keep it from over-browning so much on the bottom.) The bread is finished baking when a toothpick inserted into the center comes out with either a few moist crumbs on it or clean.
- Remove the bread from the oven and place onto a cooling rack for about 20 minutes, then remove the bread from the pan and set on the rack to cool completely. Once cool, wrap in plastic wrap. The bread is best cut and served the next day. This gives the flavor enough time to intensify. You can eat this bread the day you make it if you don't want to wait though.
- See the notes section for best ways to store this bread, serve it and for answers to more questions.
Notes
Nutrition
How to Share
I’d love for you to share this recipe link or tag it, but please do not share screenshots or copy/paste the recipe to social media as the content and photographs are copyright protected and we (bloggers) work really hard on our content. Sharing the link, tagging us on socials and pinning it is super appreciated though!
Tips & FAQs:
Make sure not to pack the flour down into the measuring cup when you measure it out.
No, you don’t want to do that. Those are different and cannot be substituted equally for each other.
Yes, you can use dark brown sugar.
Yes, you most likely can. I have not tested that out, but it should work fine, but you’ll want to use about a third cup of melted butter. Basically, you’ll need to use a little more when using butter instead of the oil.
Yes
Just drain it as best you can, but you don’t need to remove every drop of liquid from it as crushed pineapple has a lot of liquid.
I have not personally tried that, so I can’t say whether fresh crushed pineapple will work the same.
No, nuts aren’t necessary. I didn’t use nuts in mine as I’m allergic and it did not affect it.
Be very careful not to mix to much or too long or that will cause a dense and rubbery bread. The batter does not need to be completely smooth. You don’t need to mix with an electric mixer either. Just use a large spoon. I like using wooden spoons.
If the top of the bread is over-browning, you can tent a piece of foil over to top to help keep it from browning even more. If you’re using dark-coated pans, it tends to over brown things easily, so setting a baking sheet on the rack under the bread can help that.
No. The flavors do intensify if you can wait until the next day to cut it, but it’s not vital. It can still be eaten the same day it’s baked.
The bread is finished baking when a toothpick inserted into the center comes out with either a few moist crumbs on it or clean.
This bread can be made ahead of time and frozen if desired. Let the baked bread cool completely, then wrap in plastic wrap and foil and place in the freezer for up to two months.
To thaw, place the wrapped bread on the counter at room temperature and let thaw completely, then remove the wrapping.
This bread can be stored in an airtight container, or covered in plastic wrap, at room temperature for 4-5 days, or it can be covered well and stored in the refrigerator for up to one week.
I have not tested this recipe out as muffins, but I think it should work just fine. Fill a cupcake pan (12 cupcakes) with cupcake liners and fill with batter about 2/3 of the way full. Bake at 350 degrees F and start checking for doneness at around 20-25 minutes. It may make more than 12 muffins, but I have not tried this recipe out as muffins, so I can’t be sure.
This bread is best served at room temperature or warmed up a little in the microwave for a few seconds. You can also add butter to warmed slices.
Video:
Supplies used for this recipe:
This post contains affiliate links. As an Amazon Associate, I earn from qualifying purchases.

- Easy Lemon Cream Cheese Swirl Cake (using a cake mix) - April 2, 2024
- Easy Lemon Poppy Seed Bread (using a cake mix) - April 2, 2024
- Easy Lemon White Chocolate Cookies (using a cake mix) - April 2, 2024