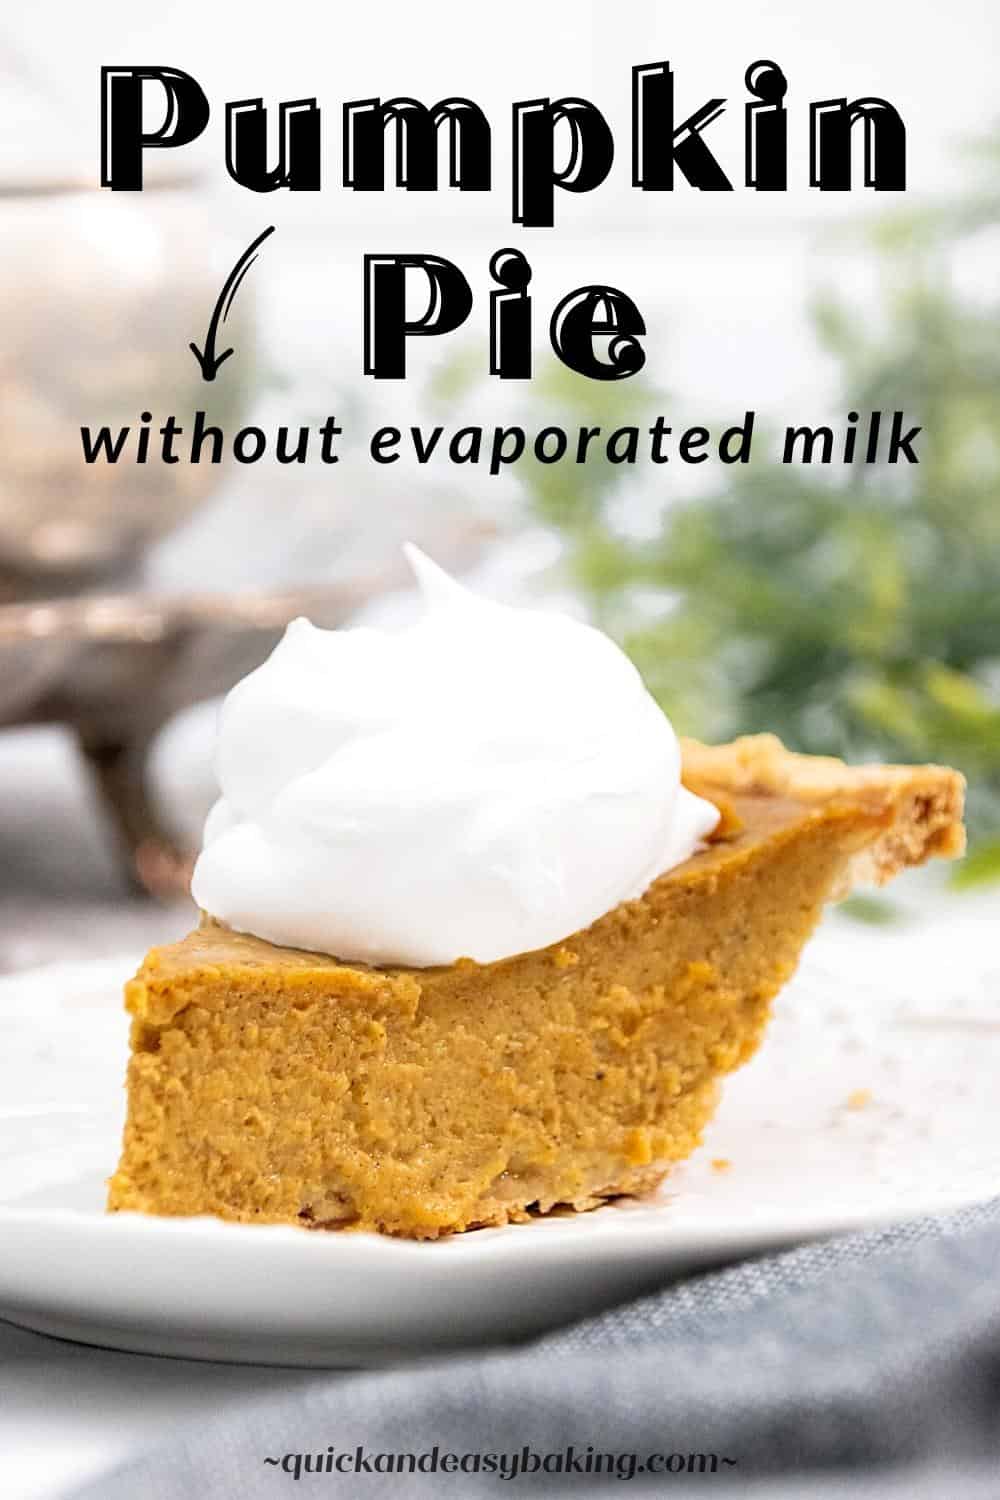
A quick and easy, creamy and flavorful classic pumpkin pie without evaporated milk.
This pie takes only minutes to mix up and the great thing about it is that you don’t need any canned milk to make it. It’s super easy because you can make it using half and half cream instead of having to go out and get evaporated or condensed milk.
Table of Contents:
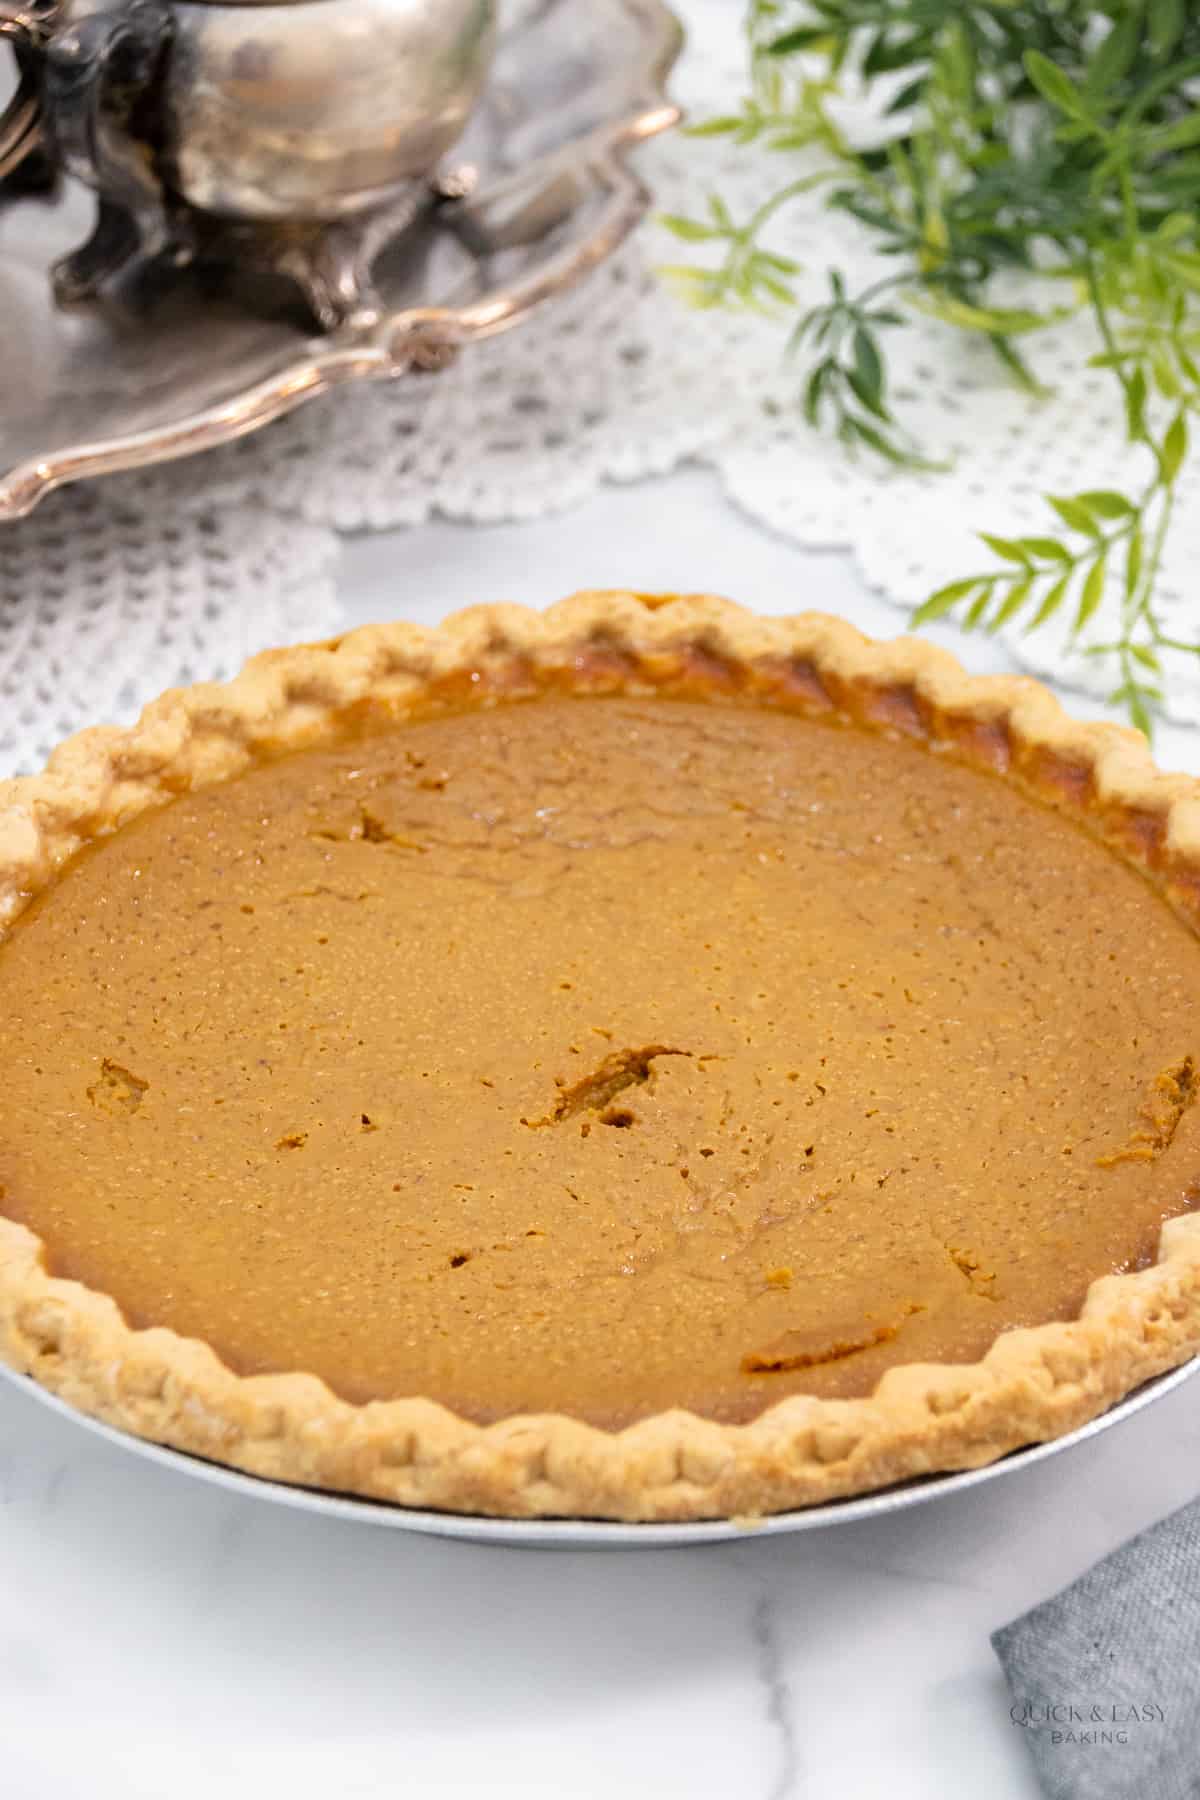
If you’ve been looking for a pumpkin pie recipe that you don’t need evaporated milk to make (let’s just say someone forgot to buy it…#me), then this is the one for you. This pumpkin pie is so creamy and good and still has all the glorious taste of a classic holiday pie.
Make this pie to celebrate fall, Thanksgiving and any other time you get a craving for an easy pumpkin dessert.
Ingredient Notes:
Now let’s talk a little about just some of the ingredients that are in this pie. (The printable list of all ingredients are in the recipe card below.)
Sugar: For this recipe, you’ll use both granulated sugar and light brown sugar. I think combining both types, gives the pie a nice deep flavor.
Flour: There’s just a small amount of flour called for in this recipe and that’s to help thicken up the filling a bit, so it will solidify.
Pumpkin pie spice or other spices: You can use either pumpkin pie spice or a combination of other spices to give you that same taste. Both options are listed in the recipe card below.
Eggs and egg yolk: The eggs will make this pie bake up and become solid.
100% pure pumpkin: This is the pumpkin that comes in a can, but it’s not the pumpkin pie filling. Pumpkin pie filling has all the spices and flavorings already incorporated into it. You want to use plain canned pumpkin. (See the FAQ section below for more questions about this.)
Half and half milk: This is used instead of using evaporated milk. It’s nice because if you drink coffee, then you might already have this.
Frozen deep dish pie crust: Using a frozen pie crust makes this recipe very quick and easy. A deep dish is preferred for this recipe, but there are notes in the recipe card below that will give instructions on baking in two standard-sized pie crusts.
(Make sure to check out the FAQ section below in this post for substitution questions.)
How to Make this Pie:
Let’s talk a little about how to make pumpkin pie without evaporated milk. (The printable instructions are in the recipe card below.)
Step 1:
Preheat the oven to 425 degrees F and set a deep dish frozen pie crust onto a pie plate or just leave the pie crust in the foil pie plate if it came in one.
Also, set the pie plate or crust on a cookie sheet. This will make it easy to move in and out of the oven.
Step 2:
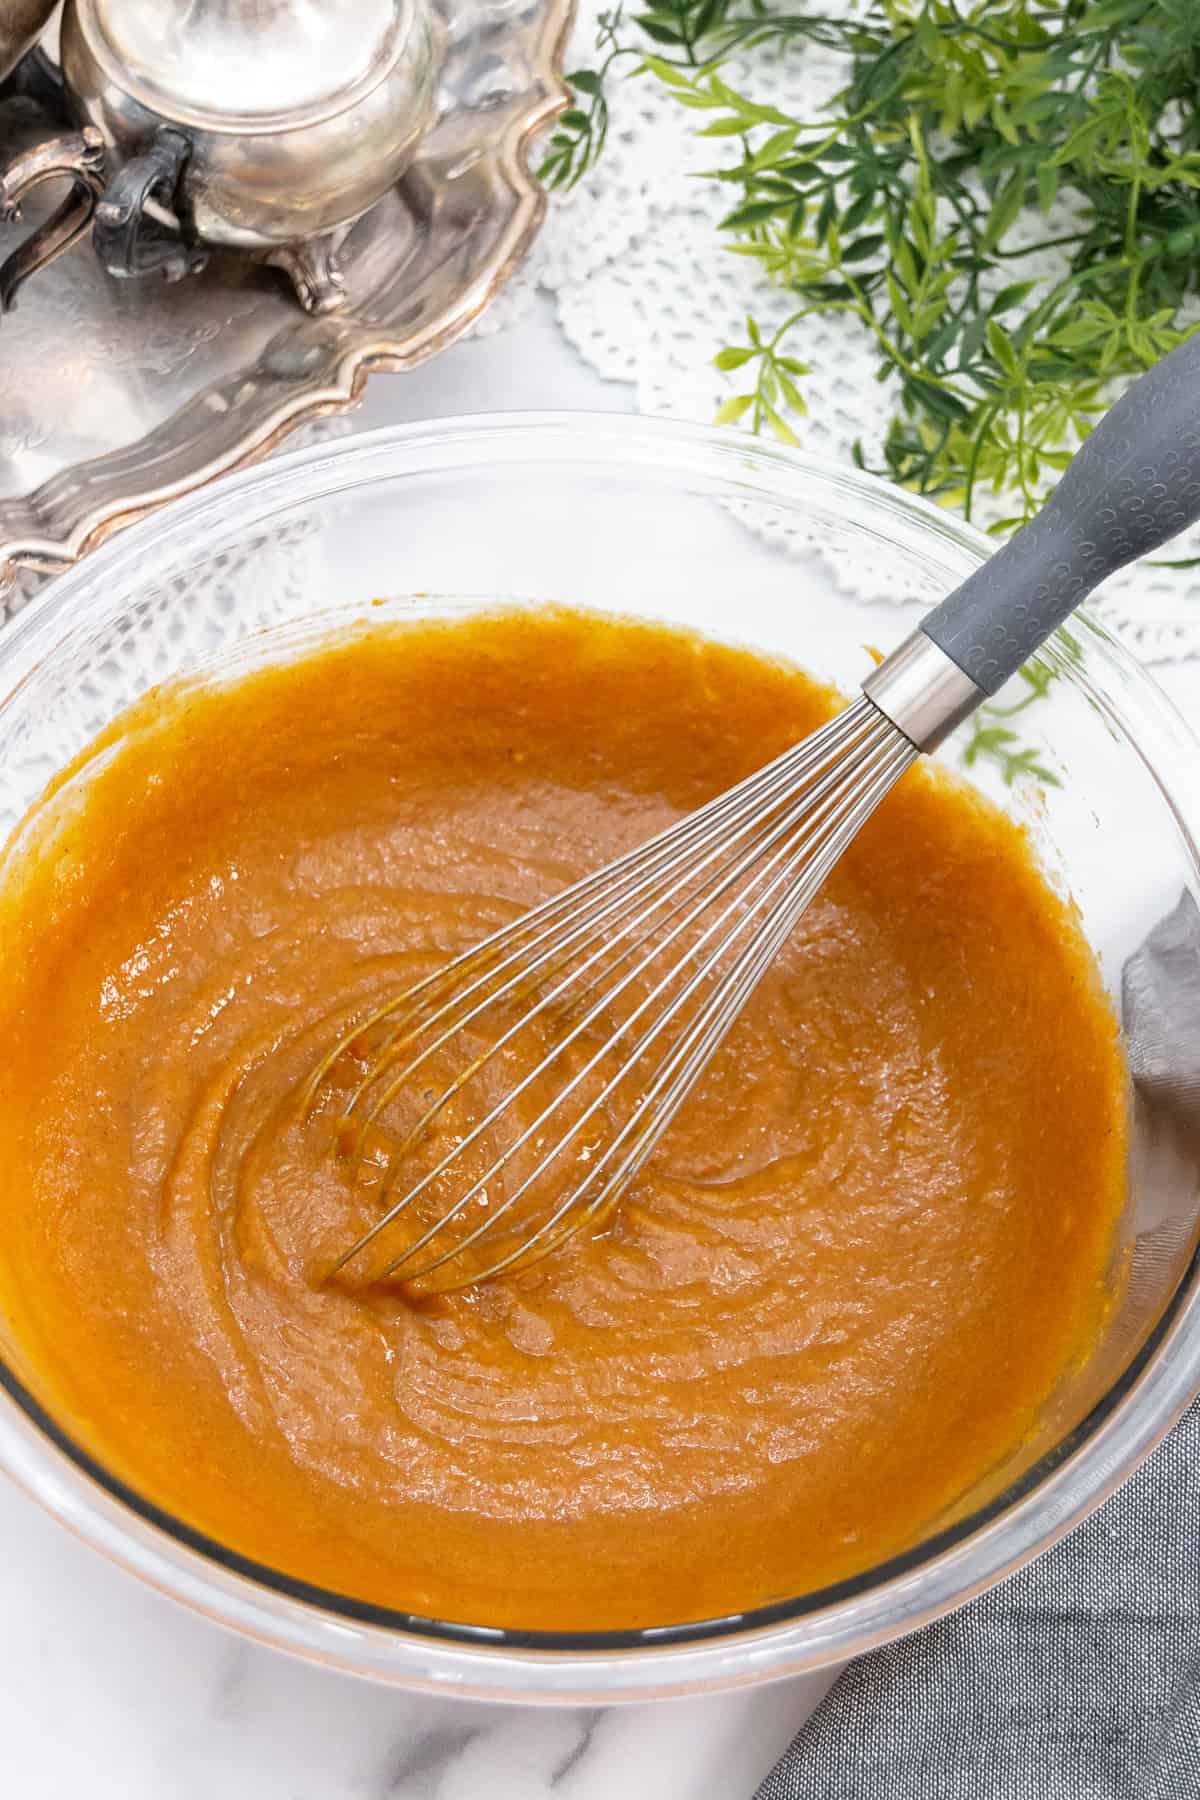
In a large mixing bowl, add all of the ingredients except the milk and whisk together until smooth.
Step 3:
Add the half and half milk to the pumpkin mixture in two parts, whisking well between each addition.

Step 4:
Next, pour the pie filling into the deep dish pie crust and bake at 425 degrees F for approximately 15 minutes, then turn the temperature down to 350 degrees F and bake for 50-60 more minutes.
If using 2 regular-sized pie crusts (instead of a deep dish pie crust) start checking for doneness at around 30 minutes.
Step 5:
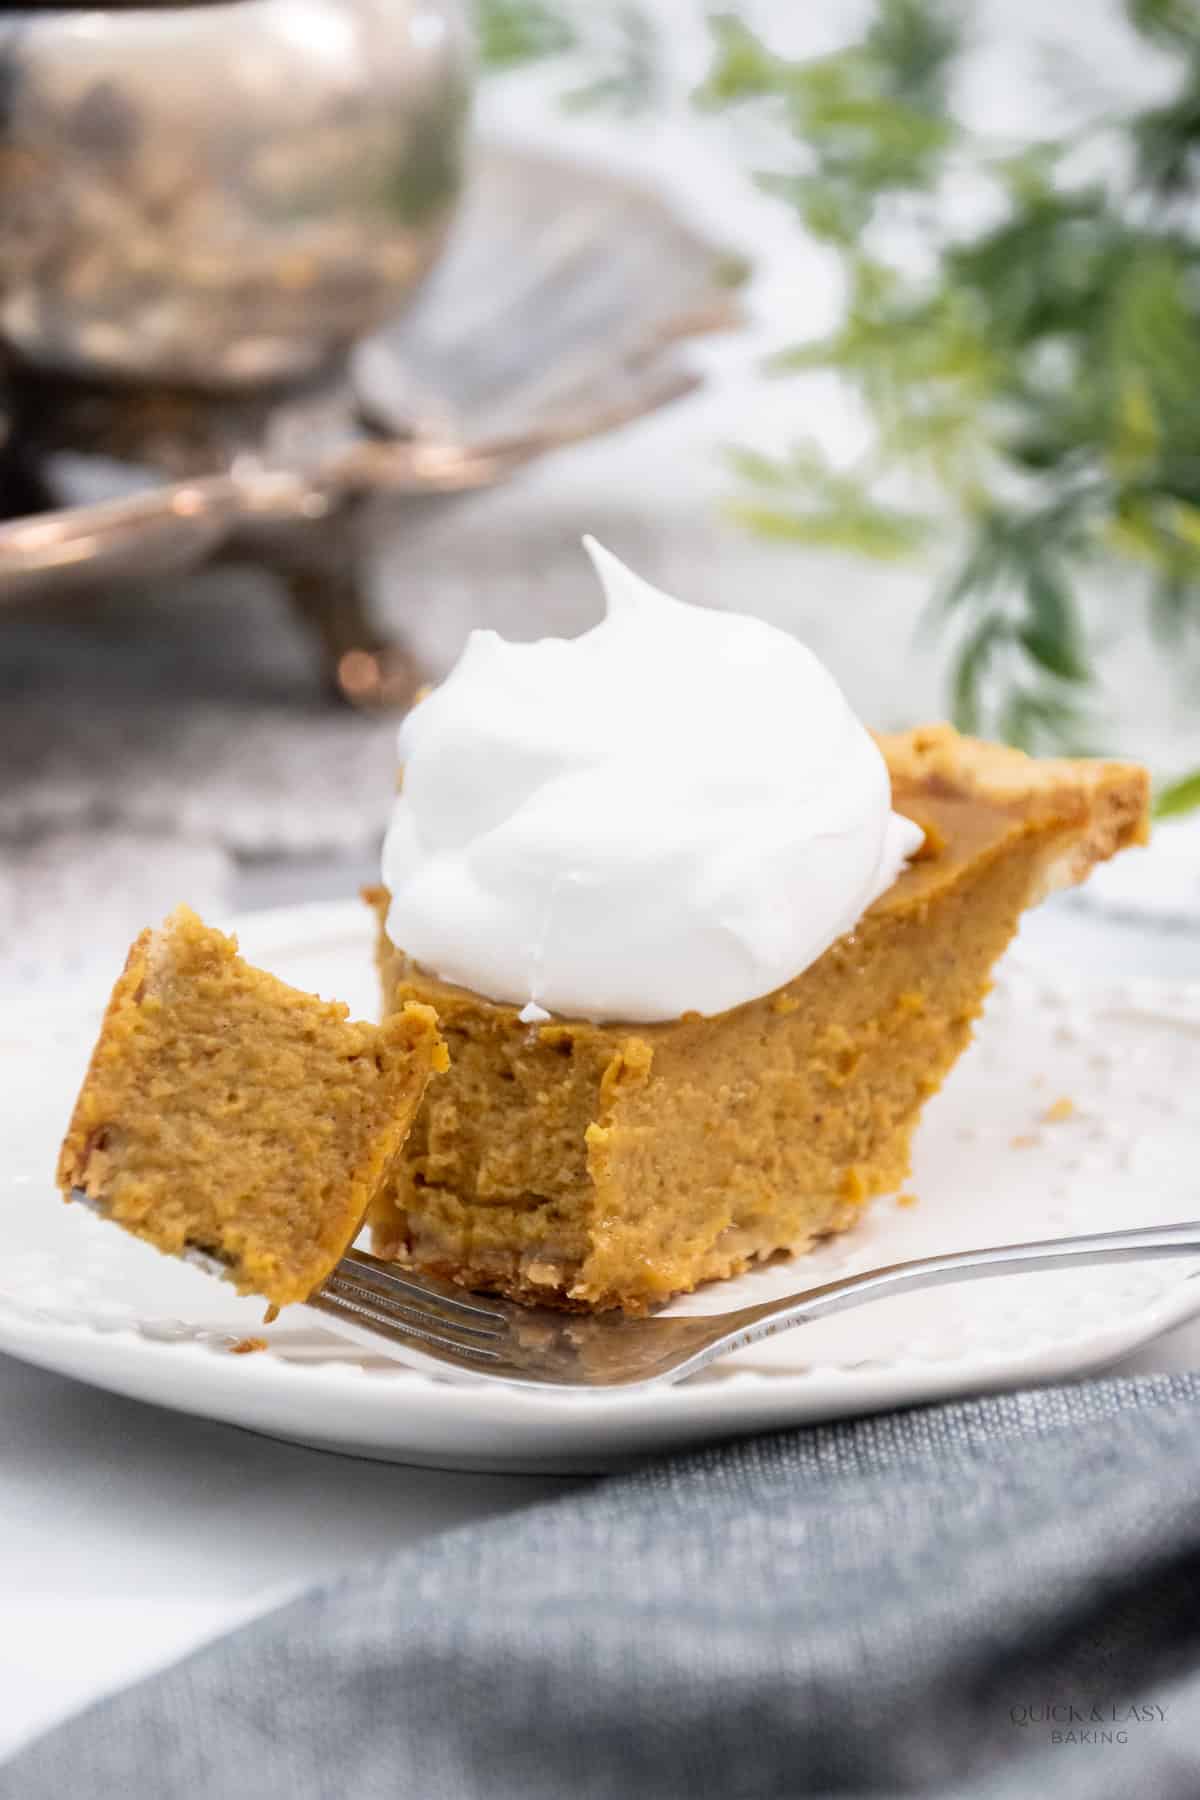
Once baked, cool the pie for about four hours on a wire rack before serving. This will allow the pie to fully firm up.
Step 6:
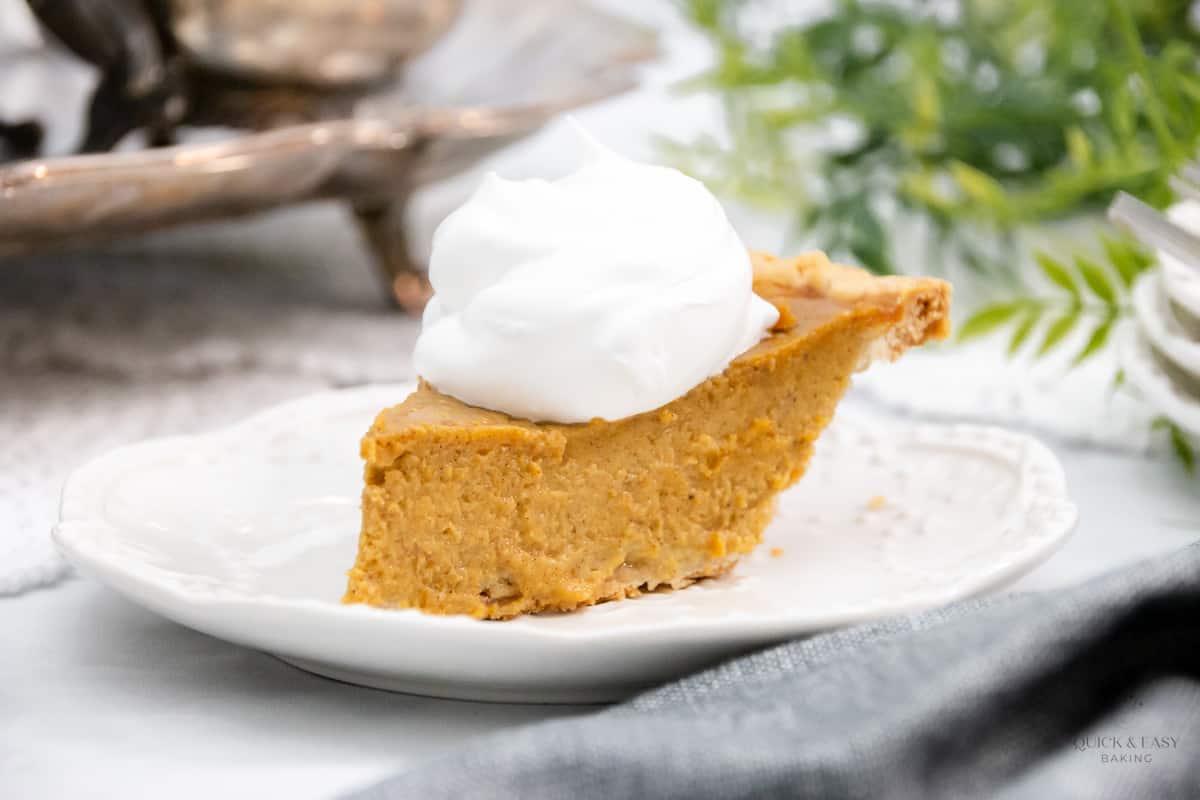
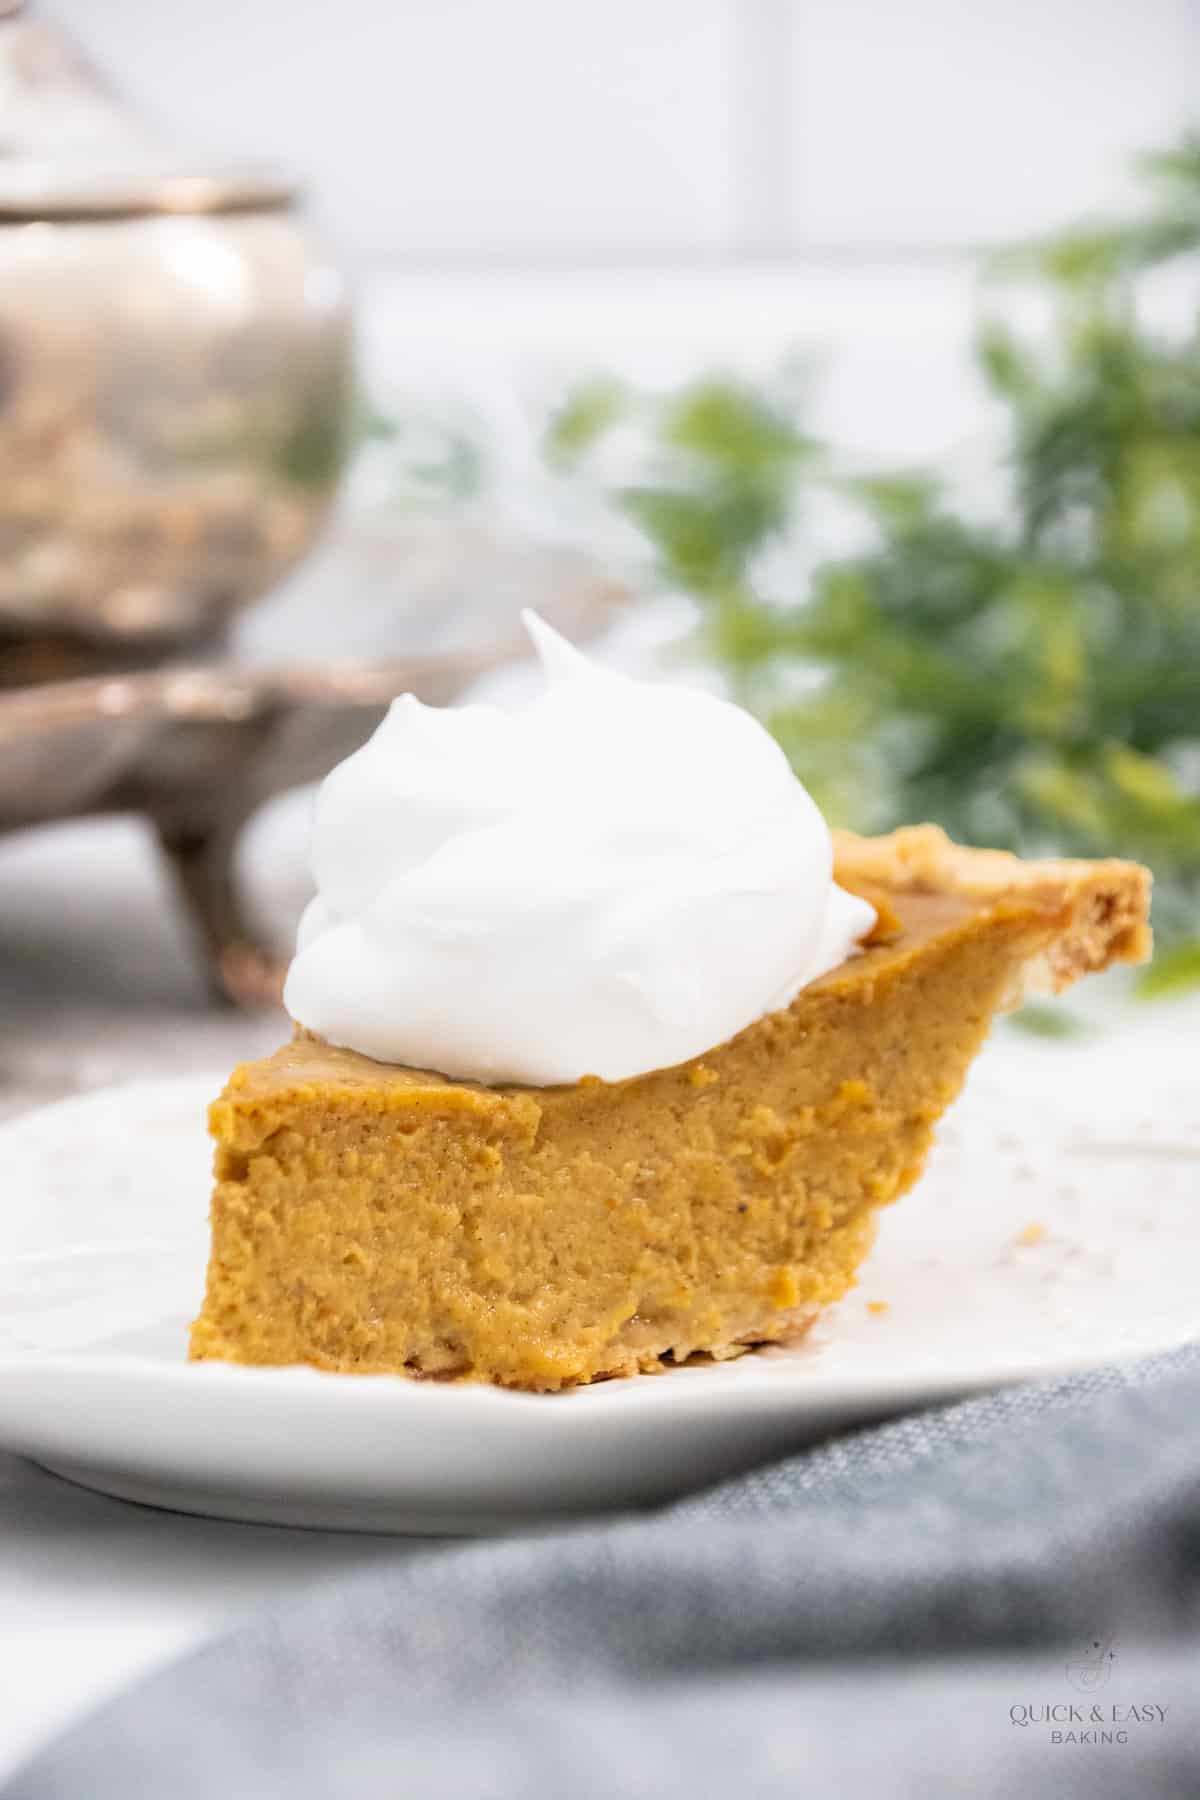
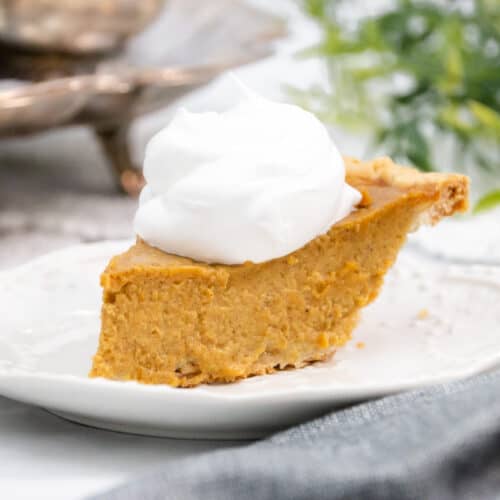
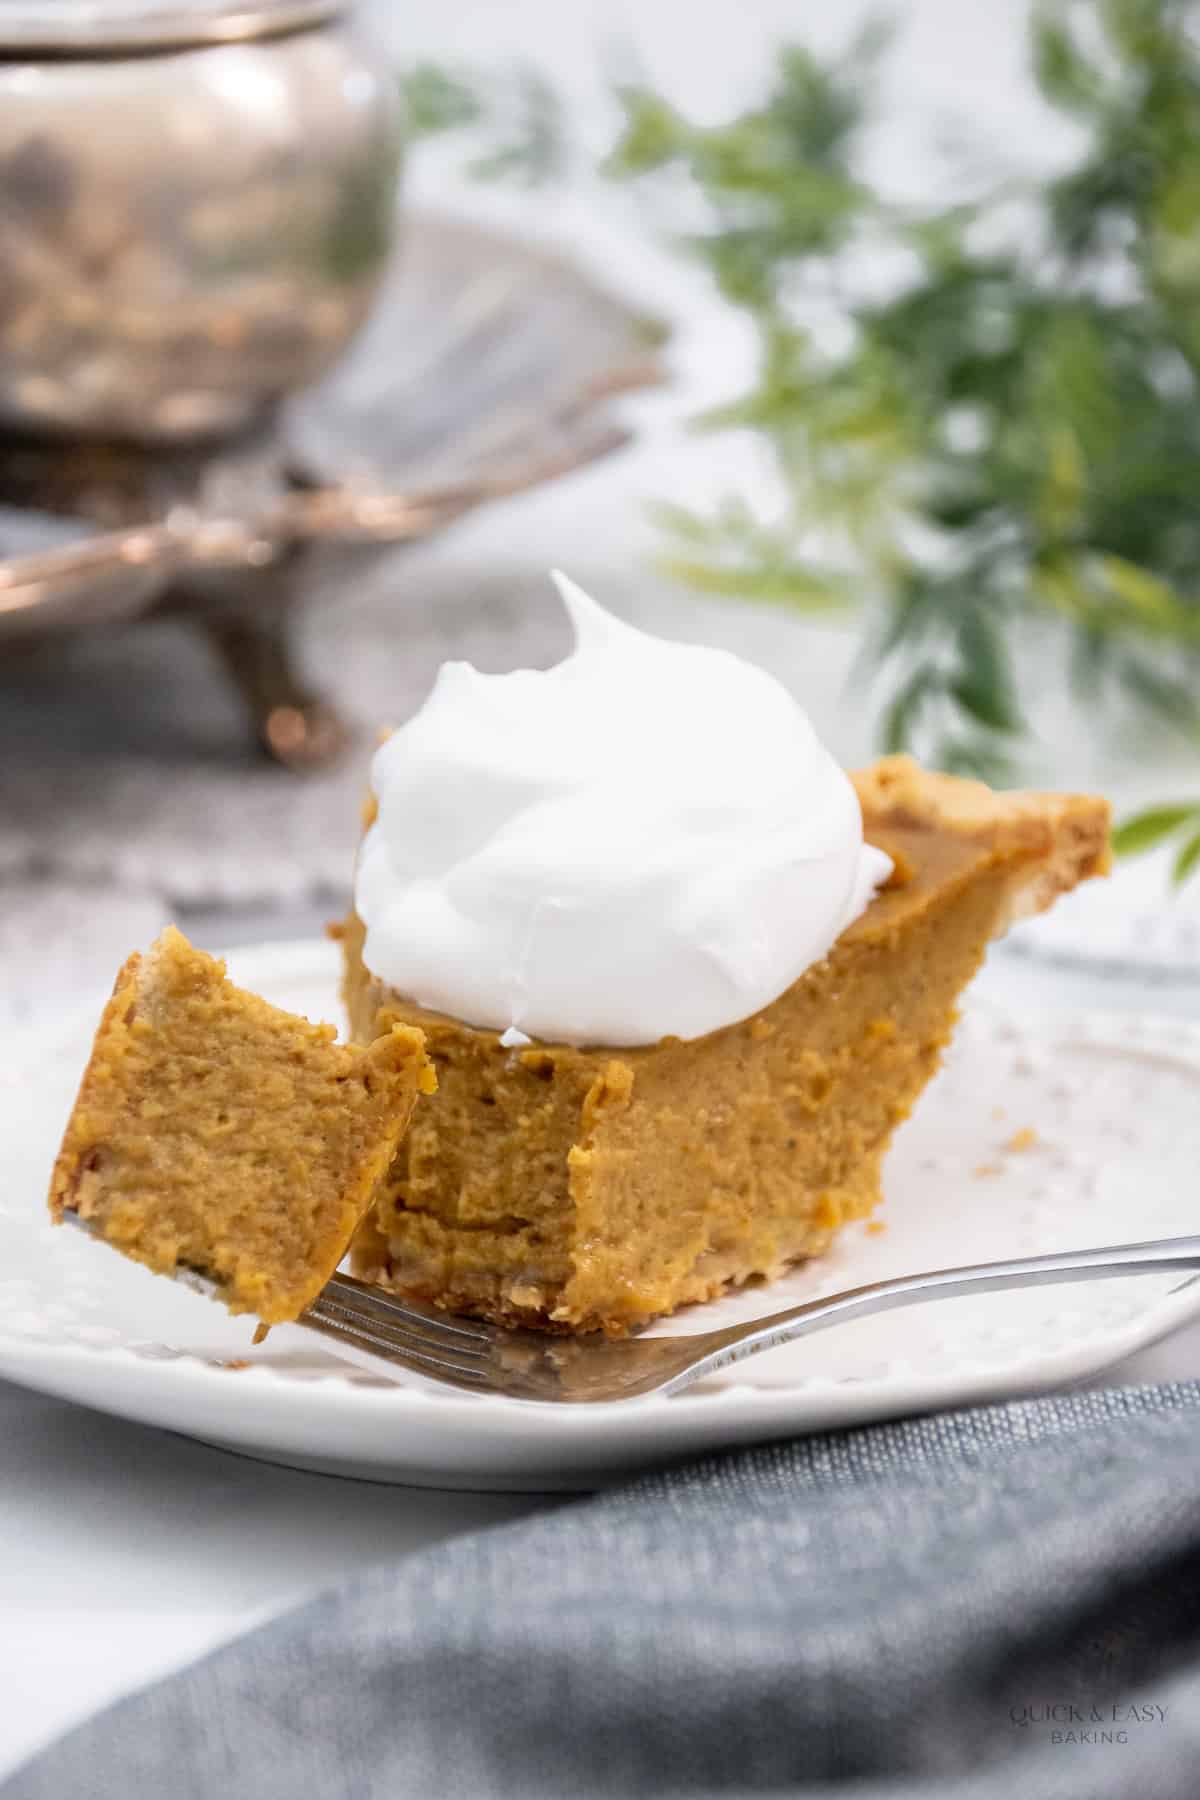
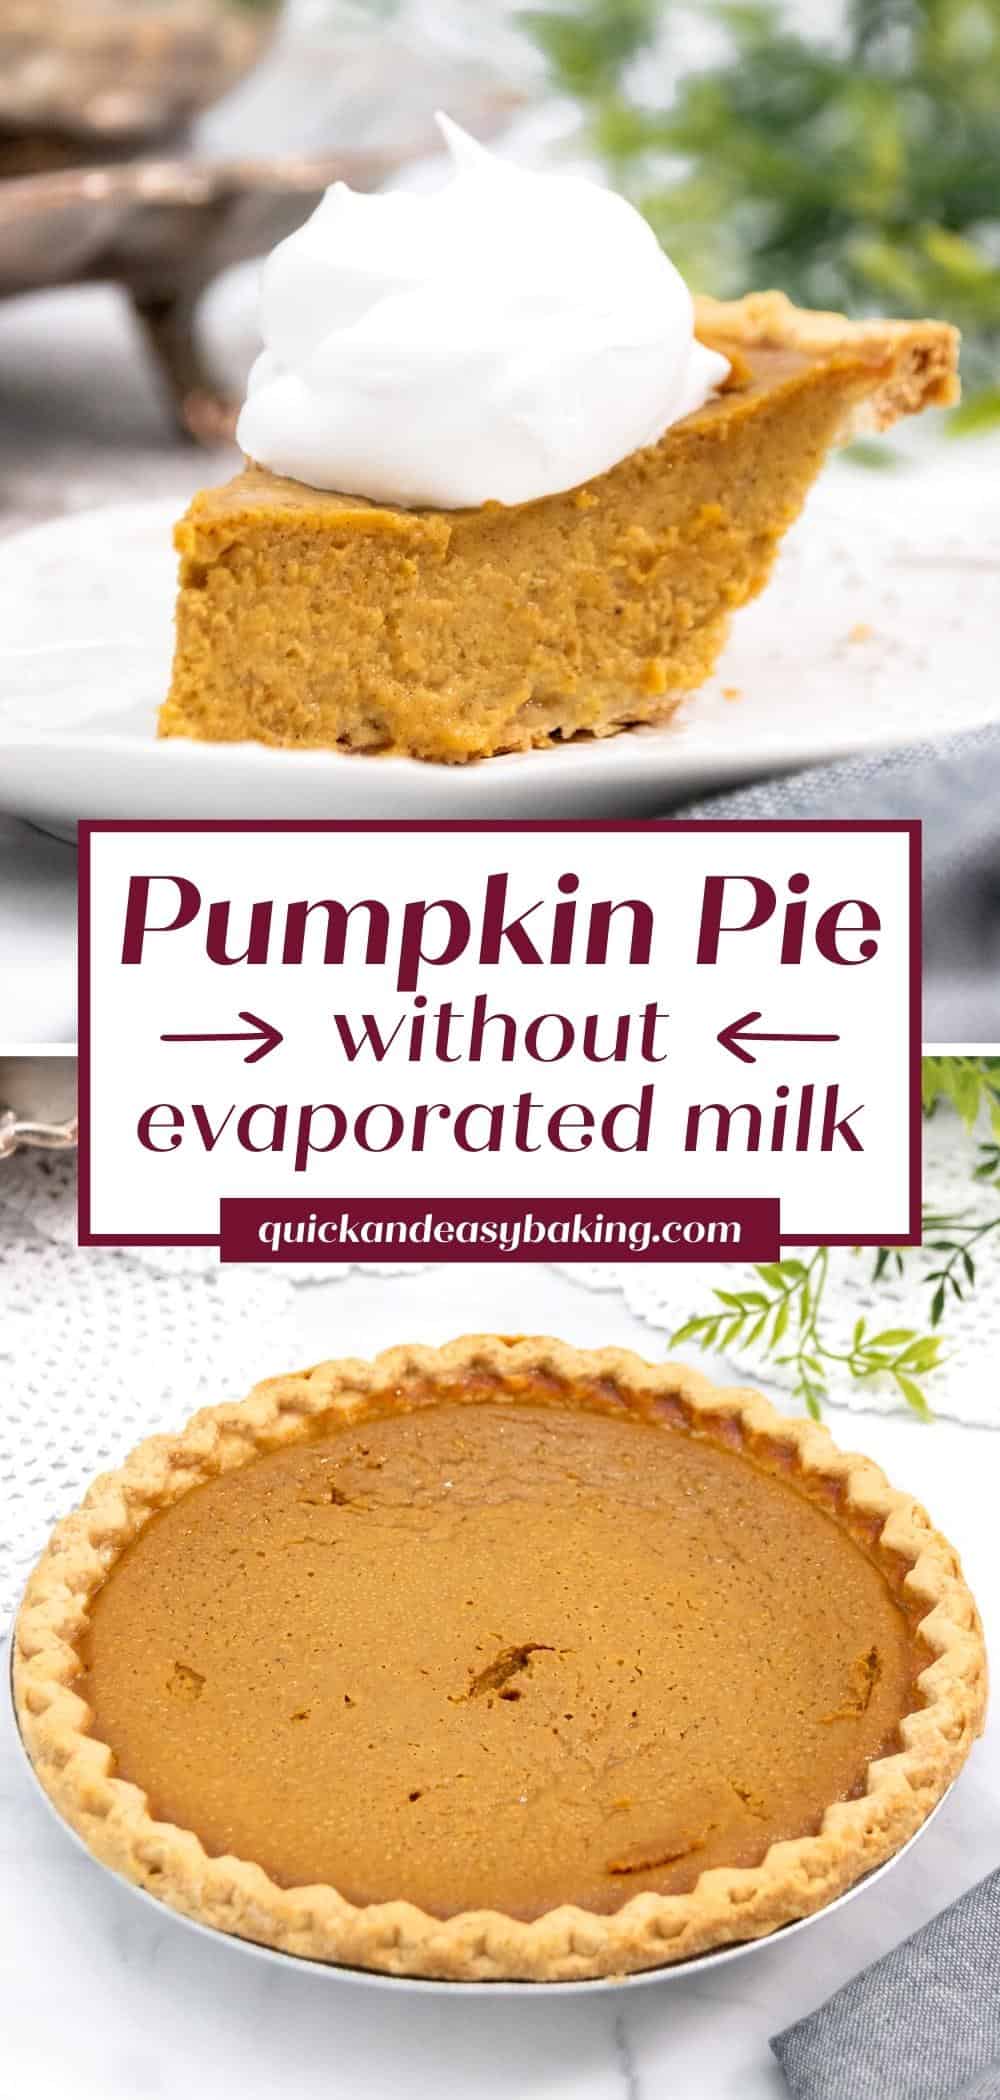
Serve this pumpkin pie either plain or with whipped cream.
Insanely Easy Pumpkin Pie Without Evaporated Milk
Ingredients
- 1/2 cup granulated sugar
- 1/2 cup packed light brown sugar
- 1/4 teaspoon salt
- 1 tablespoon flour
- 2 teaspoons pumpkin pie spice (or 1 1/2 teaspoons cinnamon, 1/2 teaspoon ginger, 1/4 teaspoon nutmeg, 1/4 teaspoon cloves)
- 2 large eggs
- 1 egg yolk
- 1 (15 ounce) can 100% pure pumpkin (I used Libby's brand, not the pumpkin pie filling)
- 1 cup half and half milk (or heavy cream)
- 1 9-inch unbaked frozen deep dish pie shell (see notes if not using a deep dish pie crust)
Instructions
- Preheat the oven to 425 degrees F.
- Add the deep dish frozen pie crust to a pie plate and set aside or just leave the pie crust in the foil pie plate if it came in one. Set the pie plate or crust on a cookie sheet. This will make it easy to move in and out of the oven.
- In a large mixing bowl, add all of the ingredients except the milk (so add the sugars, salt, flour, spices, eggs, egg yolk and pumpkin). Whisk together until smooth.
- Add the half and half milk to the pumpkin mixture in two parts, whisking well between each addition.
- Pour the mixture into the deep dish unbaked pie crust. Depending on how big your deep dish pie crust is, you may have a little filling leftover. (See notes if not using a deep dish pie crust.)
- Bake at 425 degrees F for approximately 15 minutes, then turn the temperature down to 350 degrees F and bake for 50-60 more minutes.
- If the edges of the pie crust begin to brown too much during baking, you can make a tent out of foil to cover the pie and keep the edges from overbrowning.
- The center of the pie will still be slightly jiggly when done, but a toothpick inserted into the center will come out mostly clean. (Don't worry though if it's still a little jiggly or if a little of the pumpkin filling comes out on the test toothpick at around the 60 minute mark, it should be okay to go ahead and take out.) The pie will solidify more once it begins to cool.
- Cool the pie for about four hours on a wire rack before serving. This will allow the pie to fully firm up.
- Serve plain or with whipped cream.
Notes
Nutrition
How to Share
I’d love for you to share this recipe link or tag it, but please do not share screenshots or copy/paste the recipe to social media as the content and photographs are copyright protected and we (bloggers) work really hard on our content. Sharing the link, tagging us on socials and pinning it is super appreciated though!
Tips & FAQs:
You want to use the solid pack pumpkin in a can like Libby’s 100% pure pumpkin, not the canned pumpkin pie filling.
No, that’s not the same as the canned solid pumpkin. The pumpkin pie filling already has the spices and maybe the sugar in it and is much more liquid than the solid pack pumpkin. It will not work the say way.
I have not tried this recipe using pumpkin puree. I only used the solid pumpkin that is canned. You can try it with puree if you’d like, although it may not solidify as much as needed.
In place of the 2 teaspoons of pumpkin pie spice, just use 1 1/2 teaspoons cinnamon, 1/2 teaspoon ginger, 1/4 teaspoon nutmeg and 1/4 teaspoon cloves instead. This is also noted in the recipe card below.
Yes, that should work fine.
Absolutely. The recipe card below will show you how to use half and half cream instead of canned evaporated milk.
I have not tested that out, but I don’t think that would work as half and half is a bit thicker and has more fat content than regular milk. if you use regular milk, the pie might not thicken up enough.
No, you can use it frozen.
Of course. Any deep dish pie crust you like whether frozen or homemade should work.
No, you don’t need to prebake the pie crust. It will bake along with the pie filling.
The center of the pie will still be slightly jiggly when done, but a toothpick inserted into the center will come out mostly clean. (Don’t worry though if it’s still a little jiggly or if a little of the pumpkin filling comes out on the test toothpick at around the 60 minute mark, it should be okay to go ahead and take it out.) The pie will solidify more once it begins to cool.
Cover the baked and cooled pie well with plastic wrap, then cover in foil and place in the freezer for up to 1 month. To defrost, set the pie in the refrigerator to thaw completely. This may take 8 or more hours, so you may want to do this the day before it’s needed.
This pie can stand at room temperature for about 4-6 hours, then cover with plastic wrap or store in a pie saver and refrigerate for up to 3 days.
This pie is amazing with whipped cream and even a sprinkling of cinnamon on top.
Video:
Supplies used for this recipe:
This post contains affiliate links. As an Amazon Associate, I earn from qualifying purchases.

- Easy Lemon Cream Cheese Swirl Cake (using a cake mix) - April 2, 2024
- Easy Lemon Poppy Seed Bread (using a cake mix) - April 2, 2024
- Easy Lemon White Chocolate Cookies (using a cake mix) - April 2, 2024