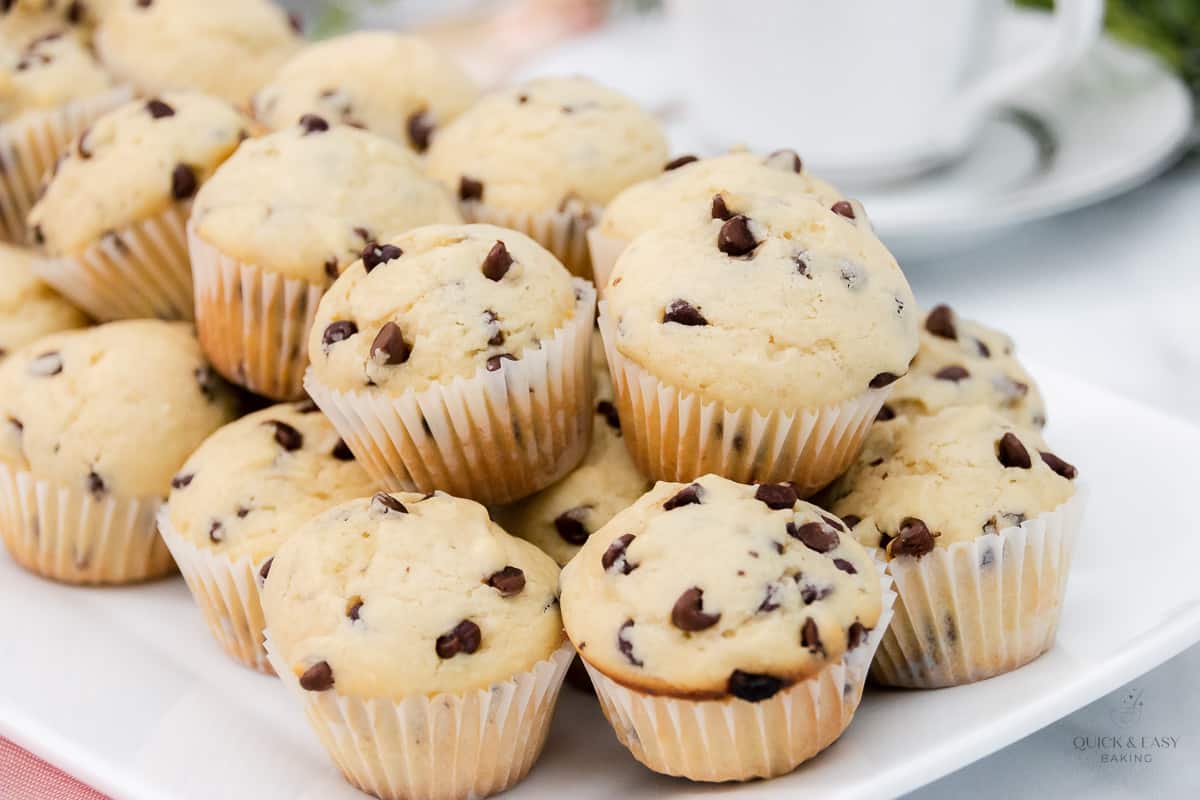
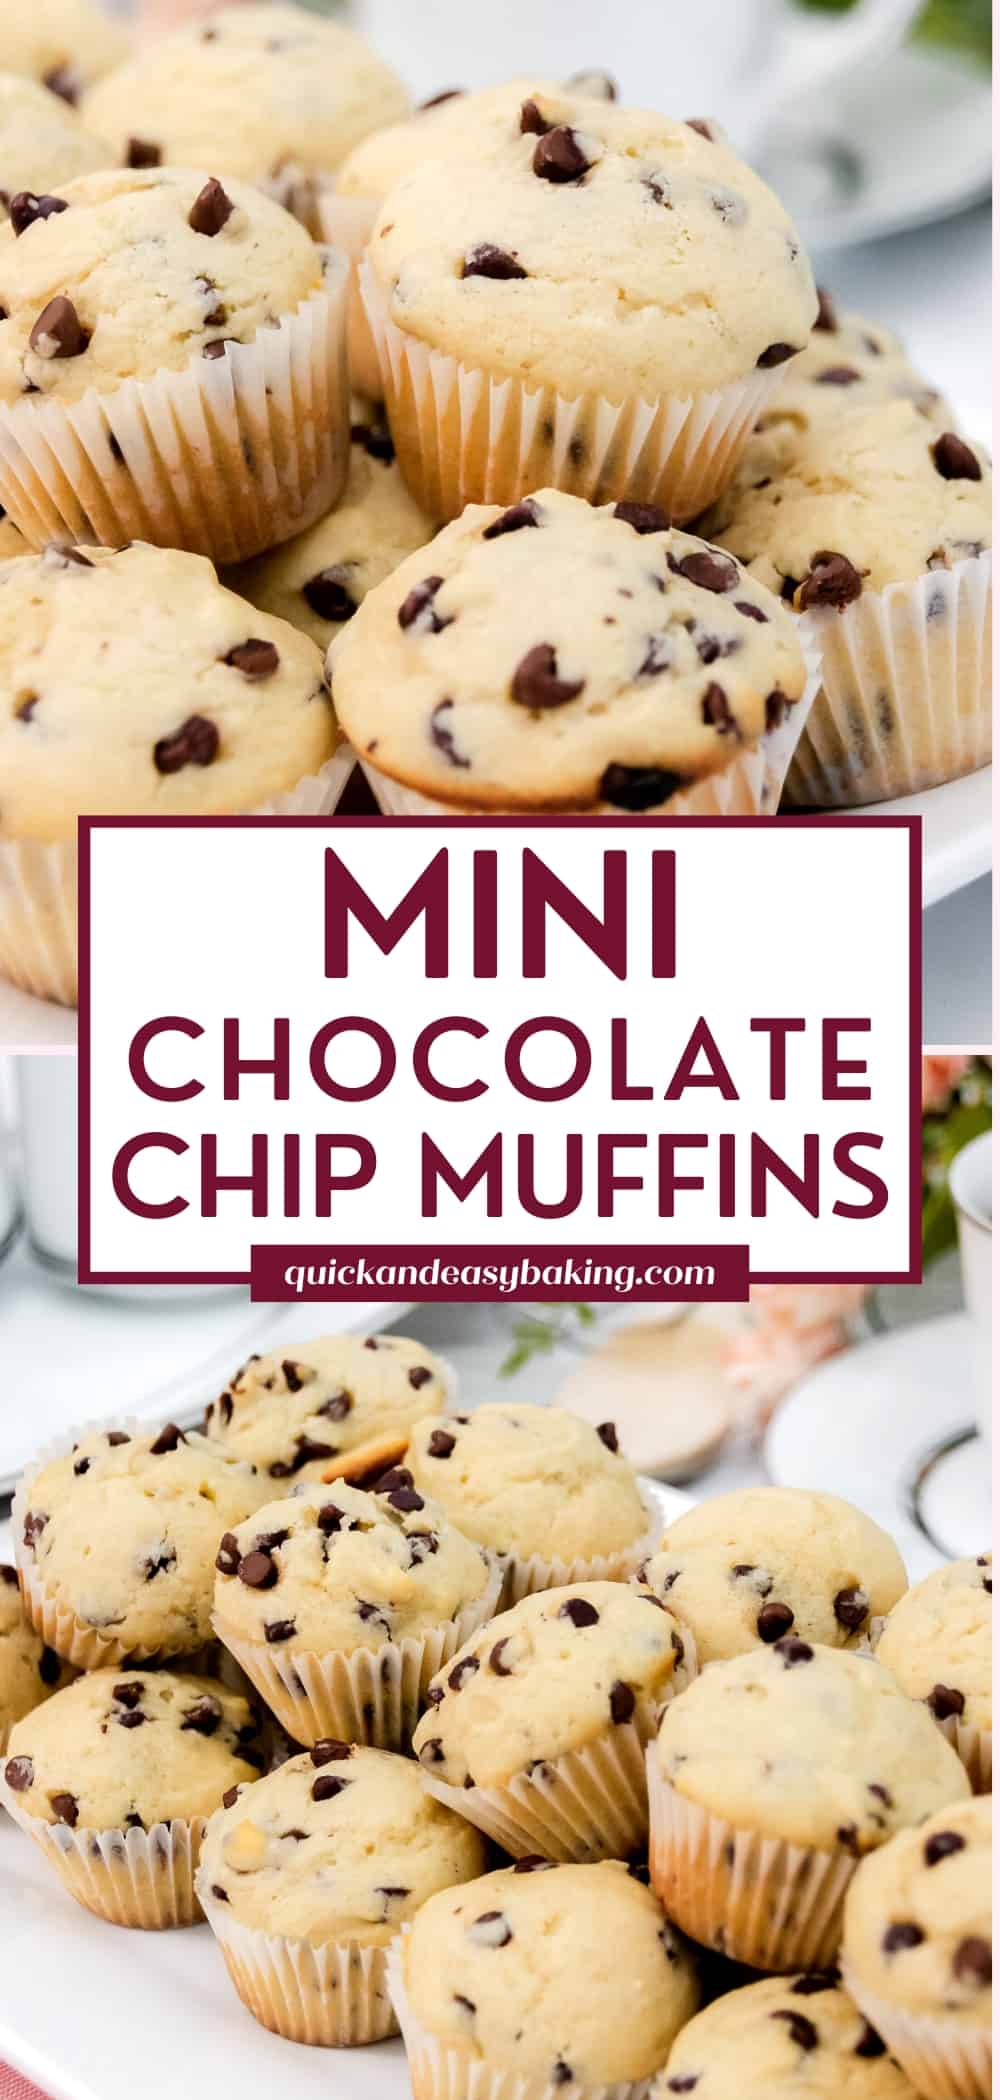
These chocolate chip mini muffins are moist, delicious and loaded with mini chocolate chips in every bite and they’re perfect for snacking, breakfast, or dessert.
Homemade, from-scratch muffins, are just the best and they’re really easy when you only need a few ingredients to make this recipe plus some chocolate chips.
Table of Contents:
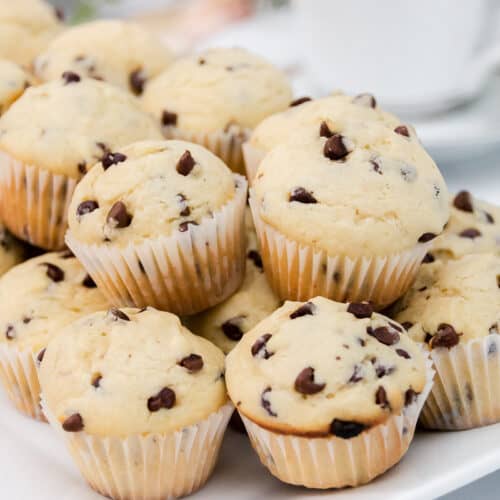
These bite-sized mini chocolate chip muffins are not only cute, but they’re super convenient if you just want a grab-and-go snack or a quick breakfast.
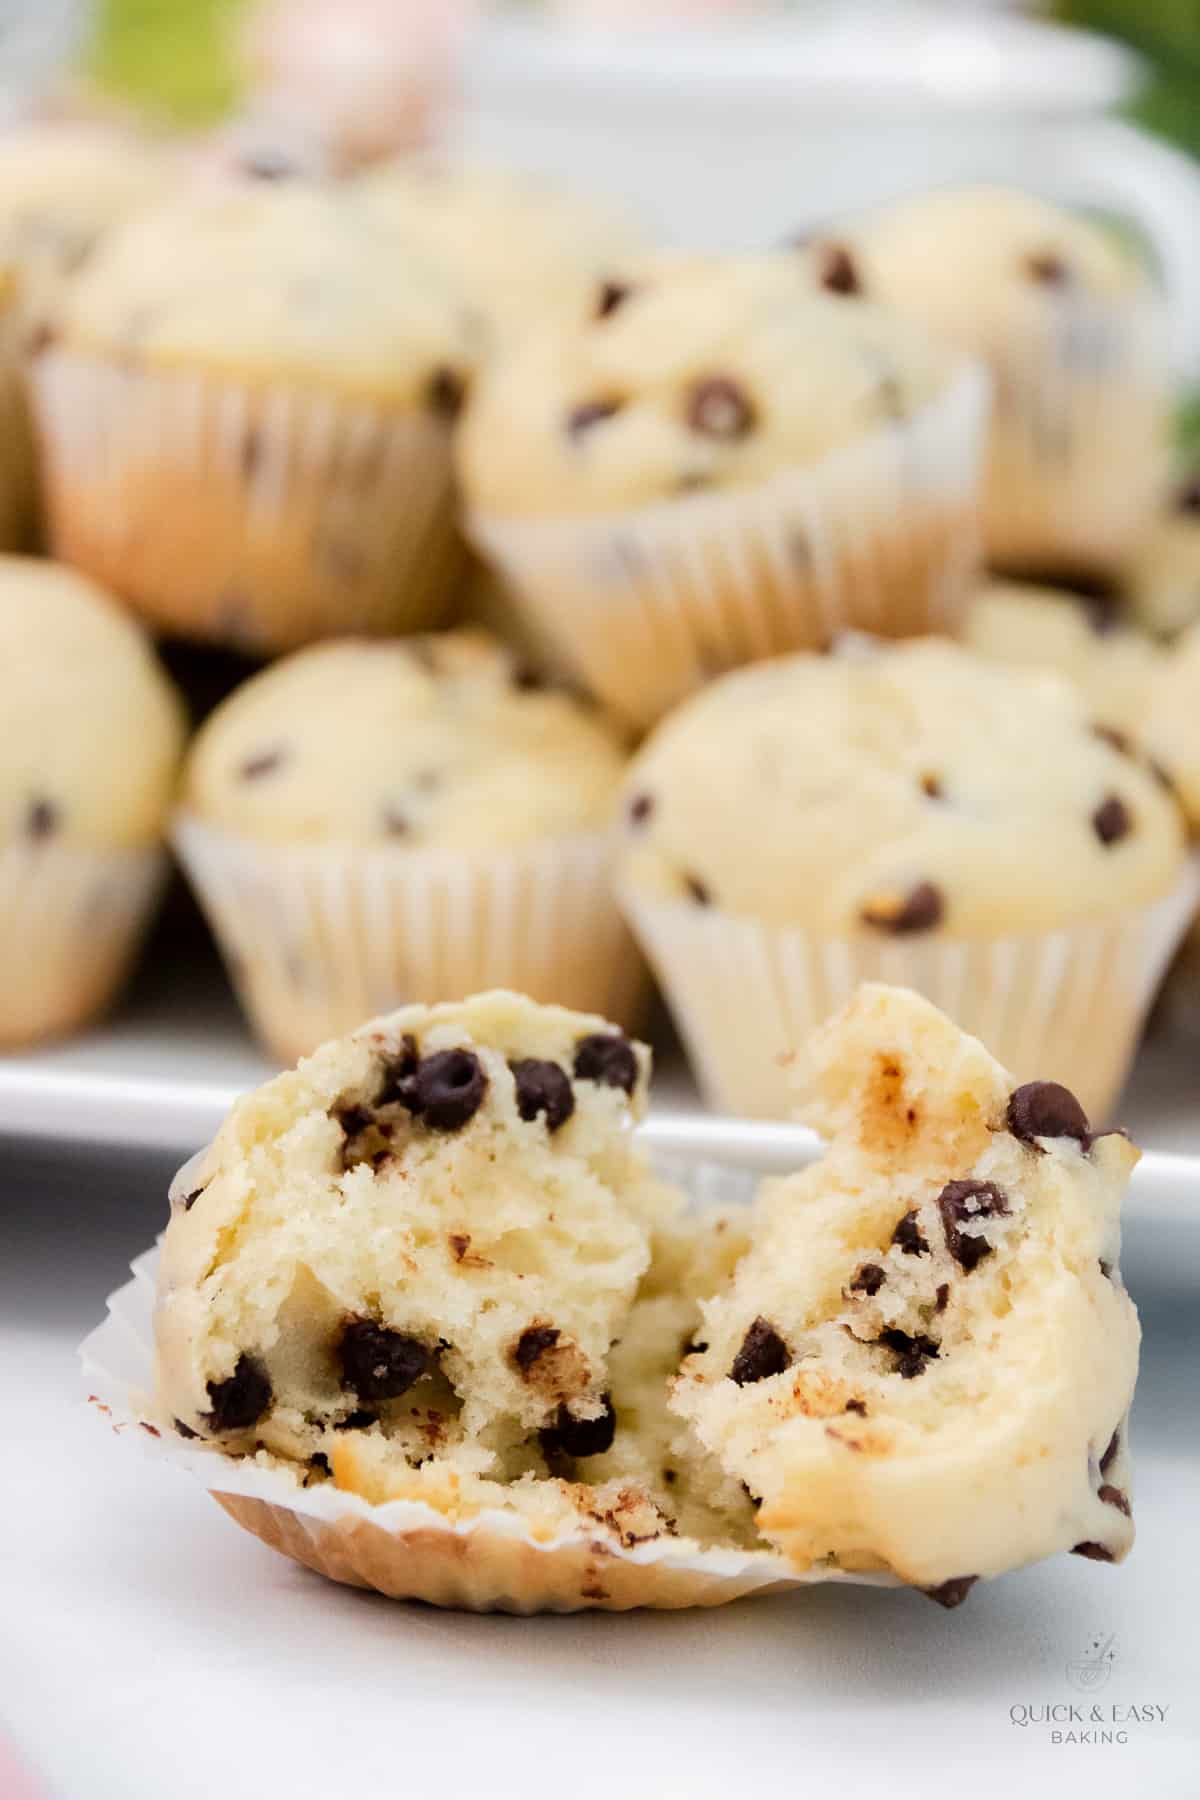
I really loved eating these warmed up…so moist and so good and they’re also good with a little butter on them…yum.
Ingredient Notes:
Now let’s talk a little about just some of the ingredients in these chocolate chip mini muffin bites. (The printable list of all ingredients are in the recipe card below.)
All-purpose flour: You’ll just need plain ol’ all-purpose flour for these muffins, so no fancy flour.
Baking powder and baking soda: You’ll use both of these for these muffins. These will help the muffins rise.
White sugar and brown sugar: This recipe calls for both types of sugar. They both add sweetness and moisture to the muffins and the brown sugar deepens the flavor a bit and gives it that chocolate chip cookie taste.
Egg: You’ll only need one egg for these muffins, but you’ll want it to be near room temperature.
Sour cream: I love using sour cream in baked goods. It adds a little flavor and a lot of moisture.
Unsalted butter: Butter just makes everything good, especially muffins. It adds moisture and it also gives these a nice buttery flavor.
Milk and oil: These will add moisture to the muffins.
Mini chocolate chips: You’ll definitely need these for the mini muffins. The mini chips are the best because they’re not so large and don’t overpower the small muffins.
(Make sure to check out the FAQ section below in this post for ingredient and substitution questions.)

How to make these mini muffins:
Let’s talk a little about how to make banana muffins from a cake mix. (The printable instructions are in the recipe card below.)
Let’s talk a little about how to make chocolate chip mini muffins. (The printable instructions are in the recipe card below.)
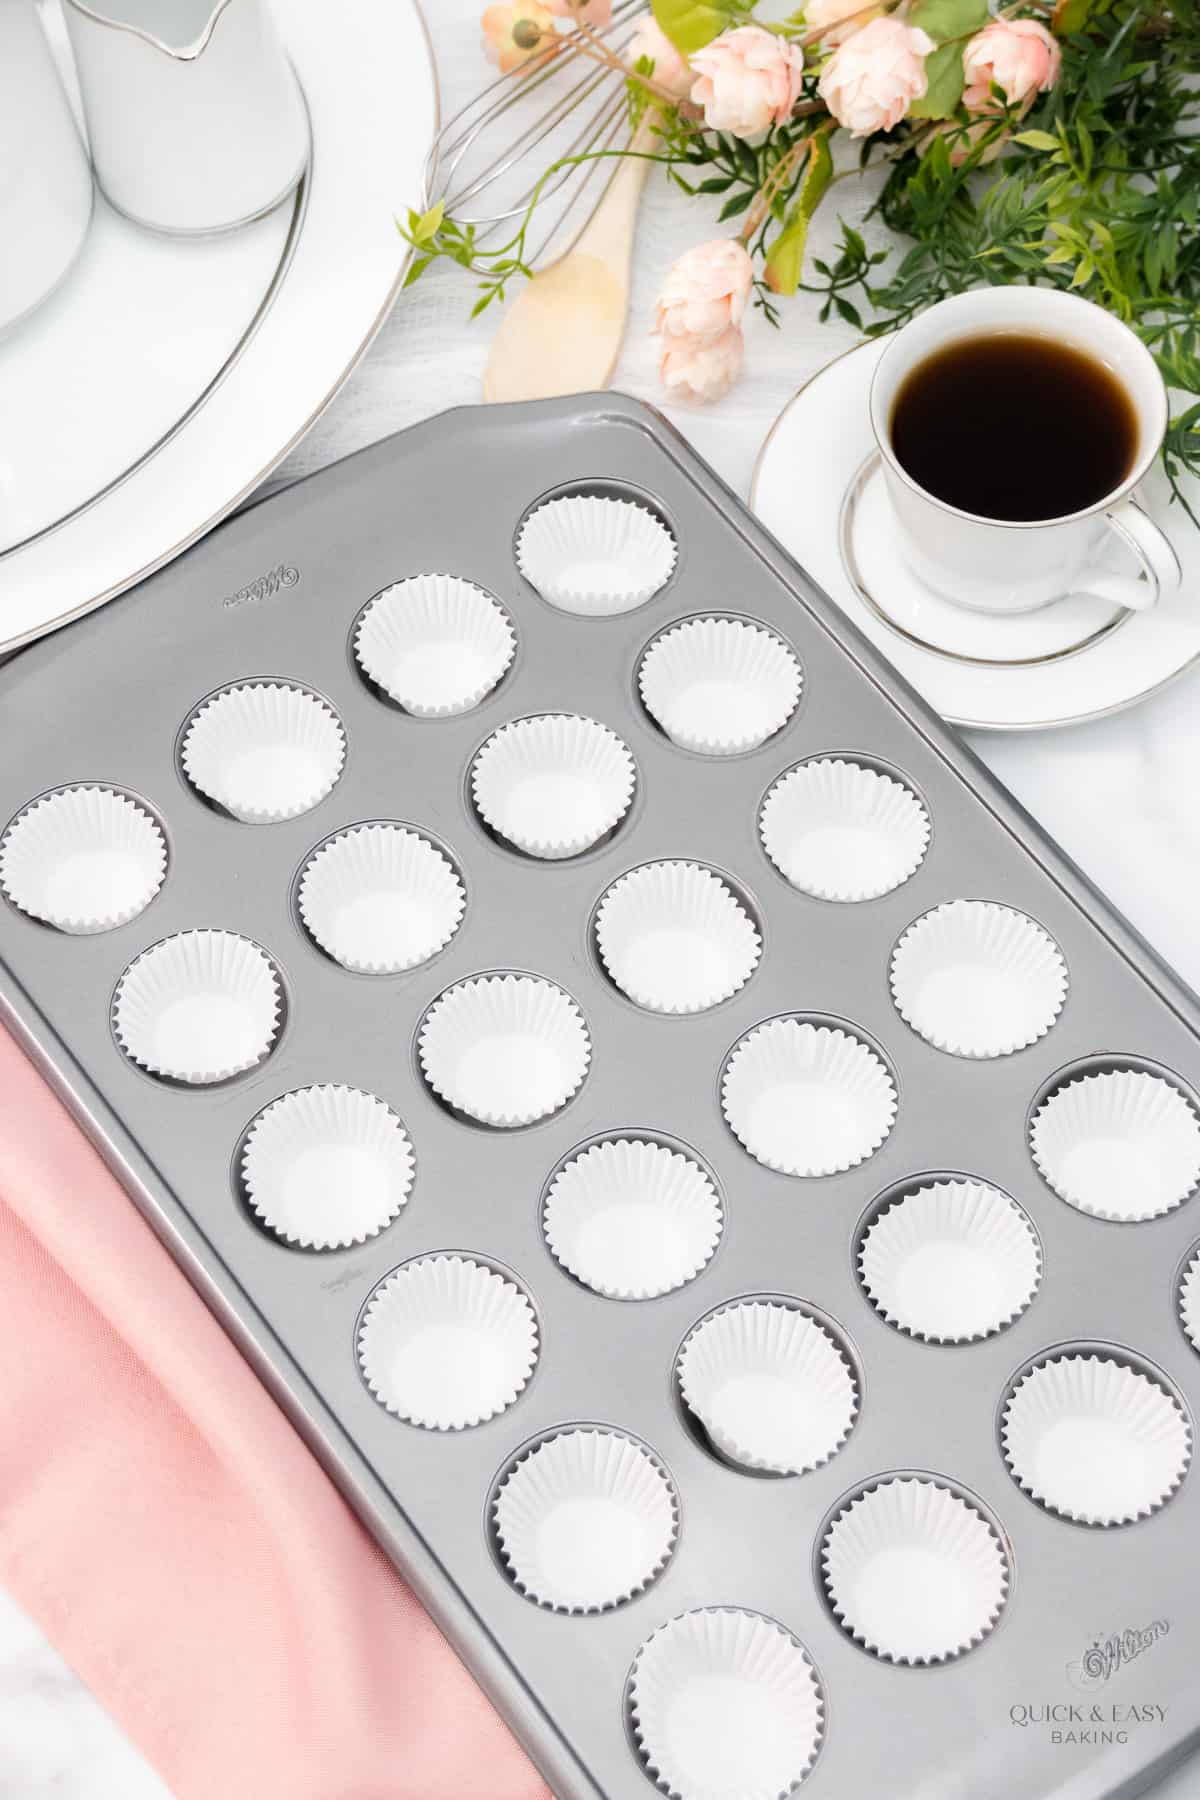
Step 1:
Preheat the oven to 375 degrees F and fill two mini muffin pans with mini muffin liners.
You may only have one pan and that’s okay (same here). If that’s the case then, just fill it and bake in batches. It’s also good to go ahead and spray the liners with non-stick baking spray.
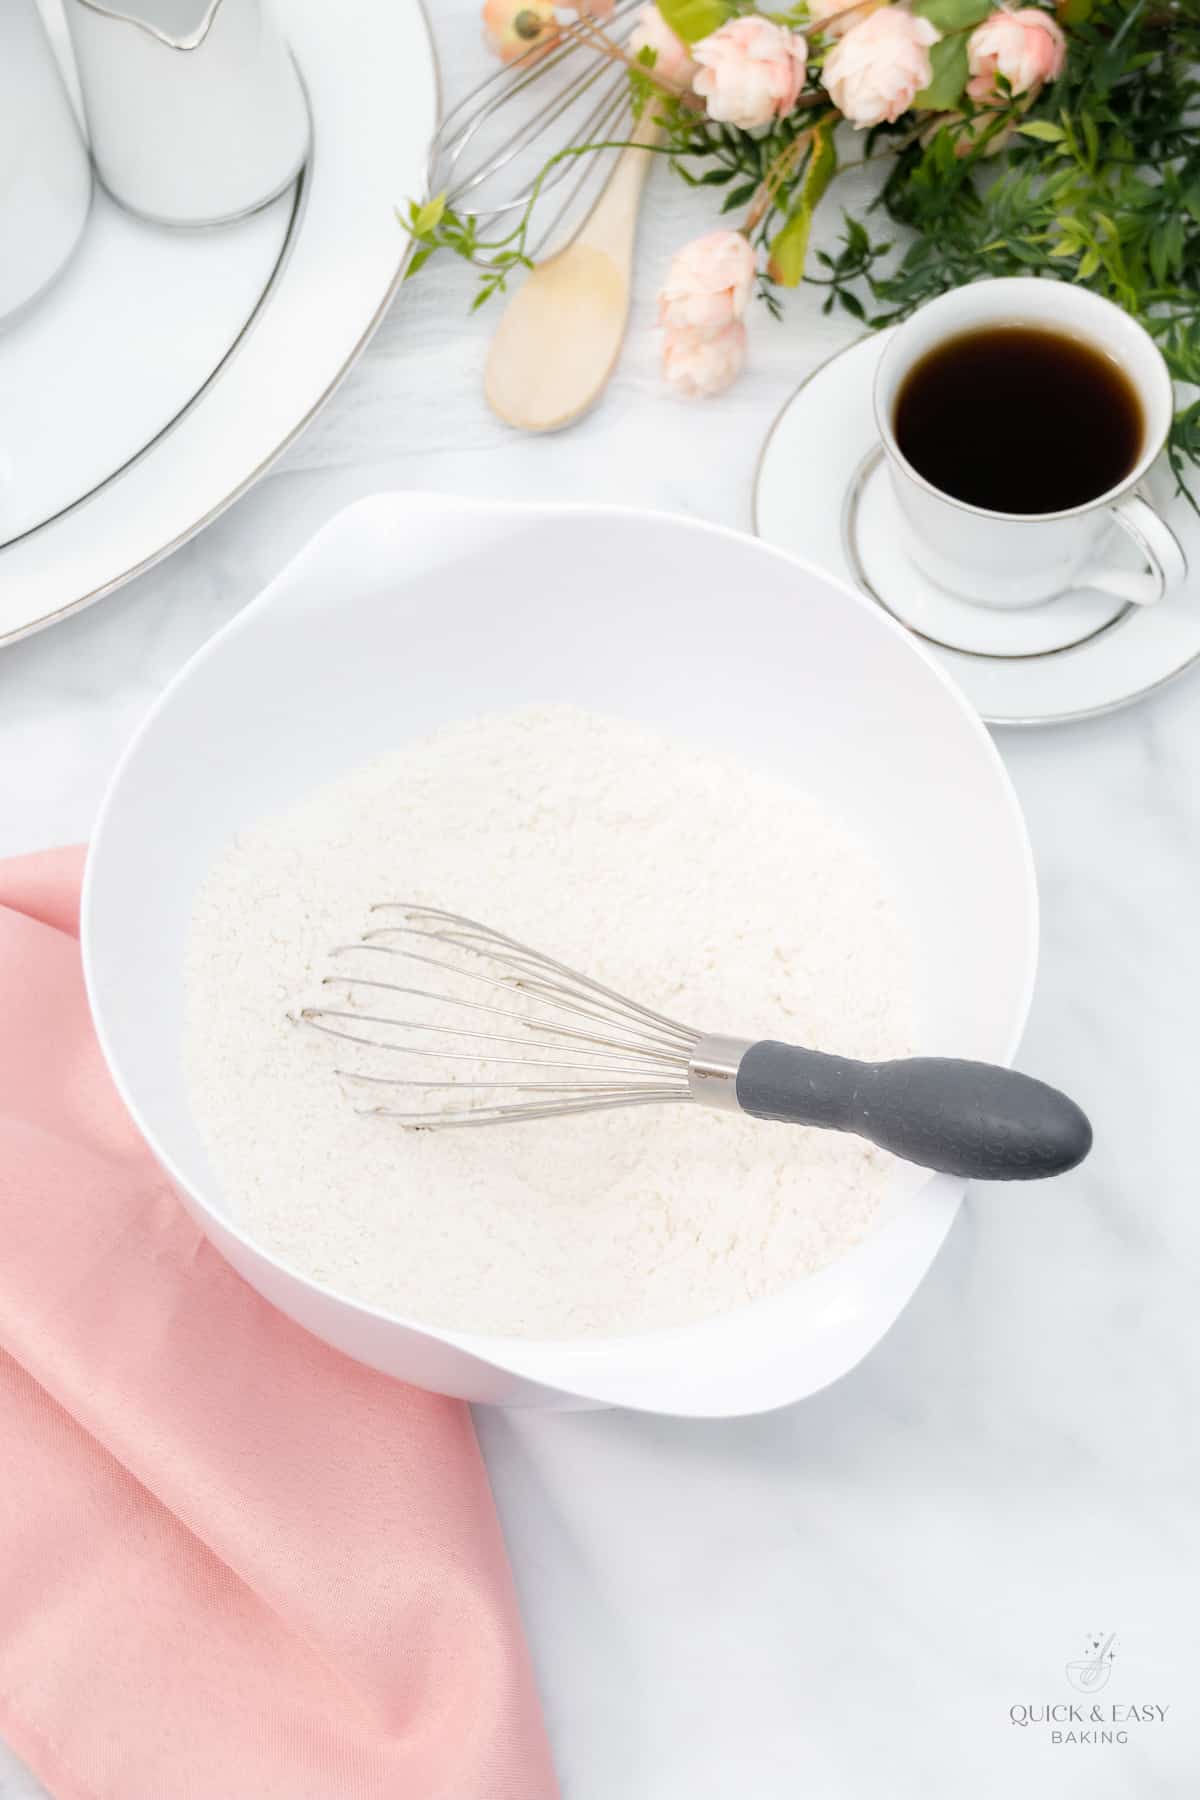
Step 2:
Add all of the dry ingredients (except for the chocolate chips) into a large mixing bowl and whisk well, then set aside.
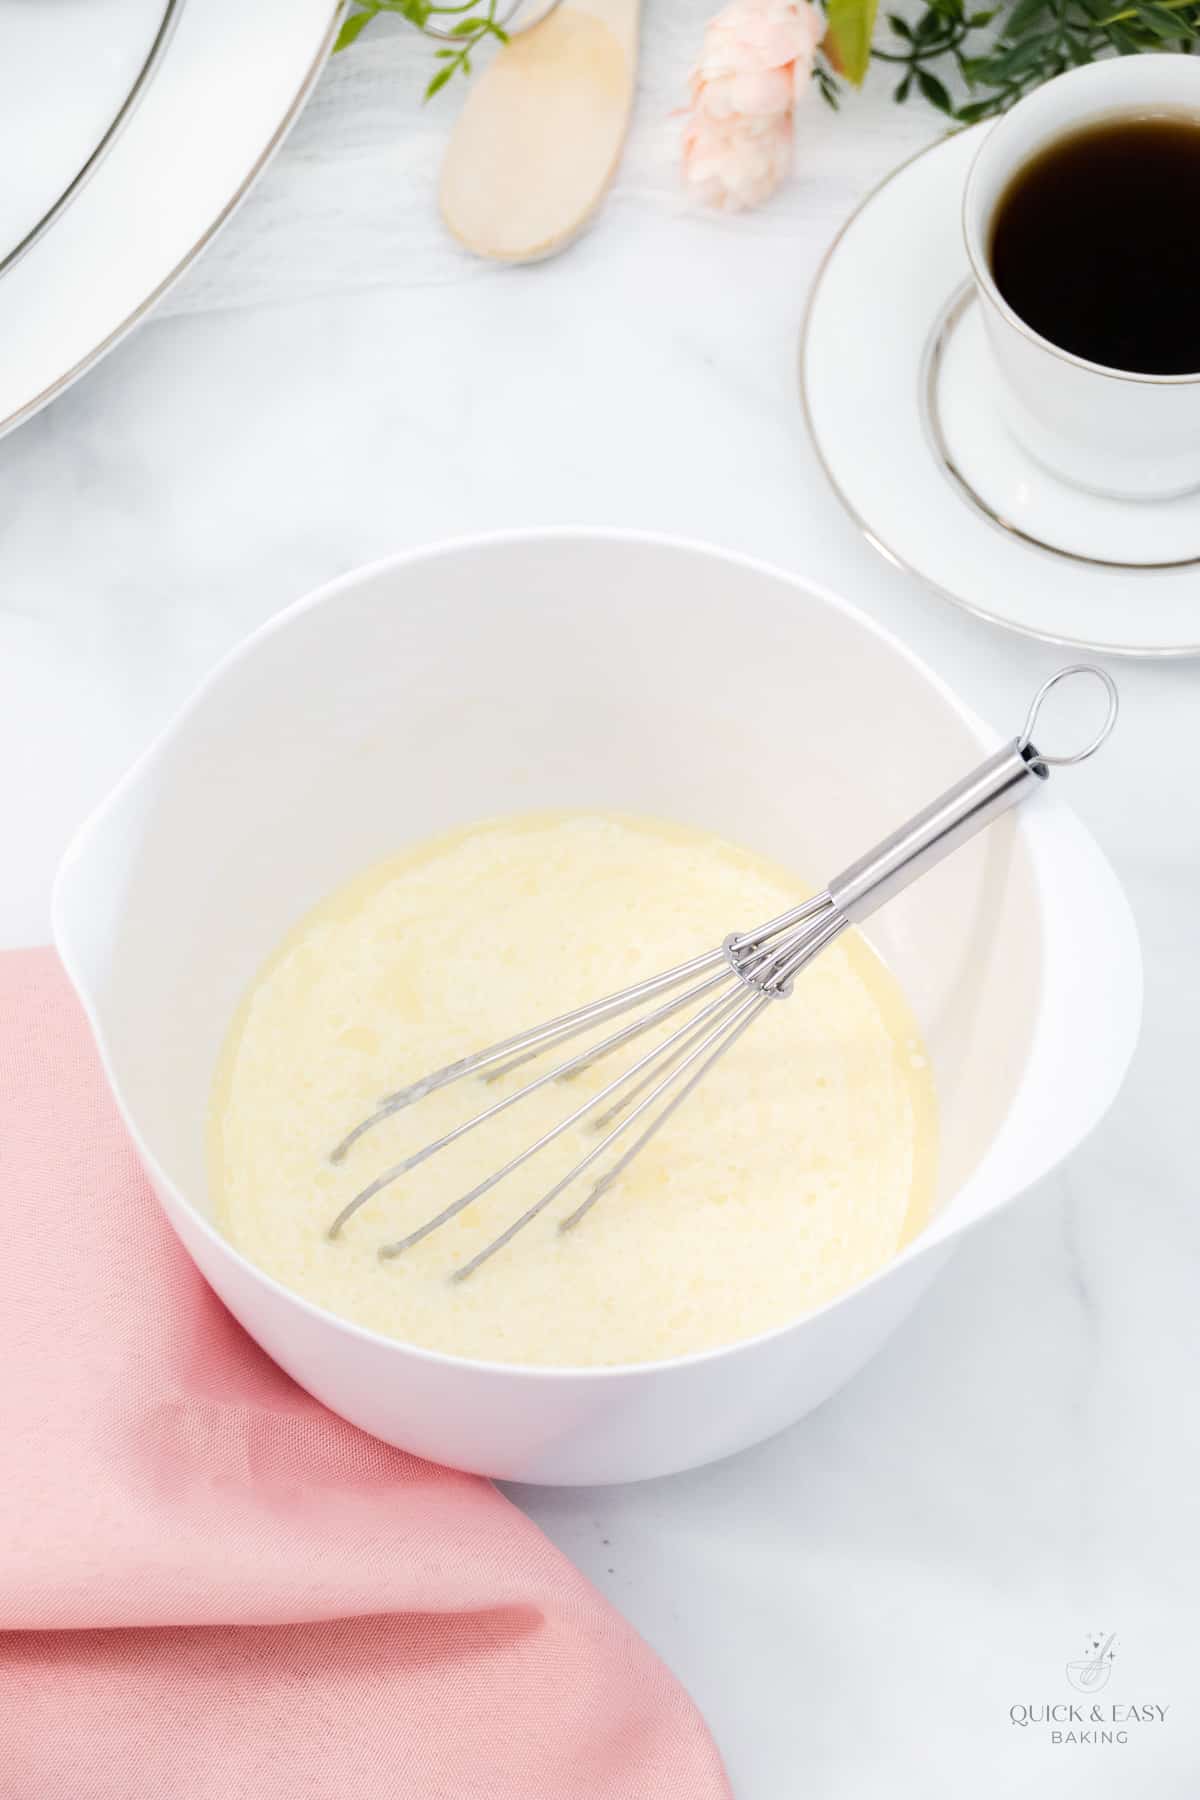
Step 3:
In another mixing bowl, add the liquid ingredients together and whisk well. (Make sure the liquid ingredients are not cold or they won’t mix well with the melted butter.)
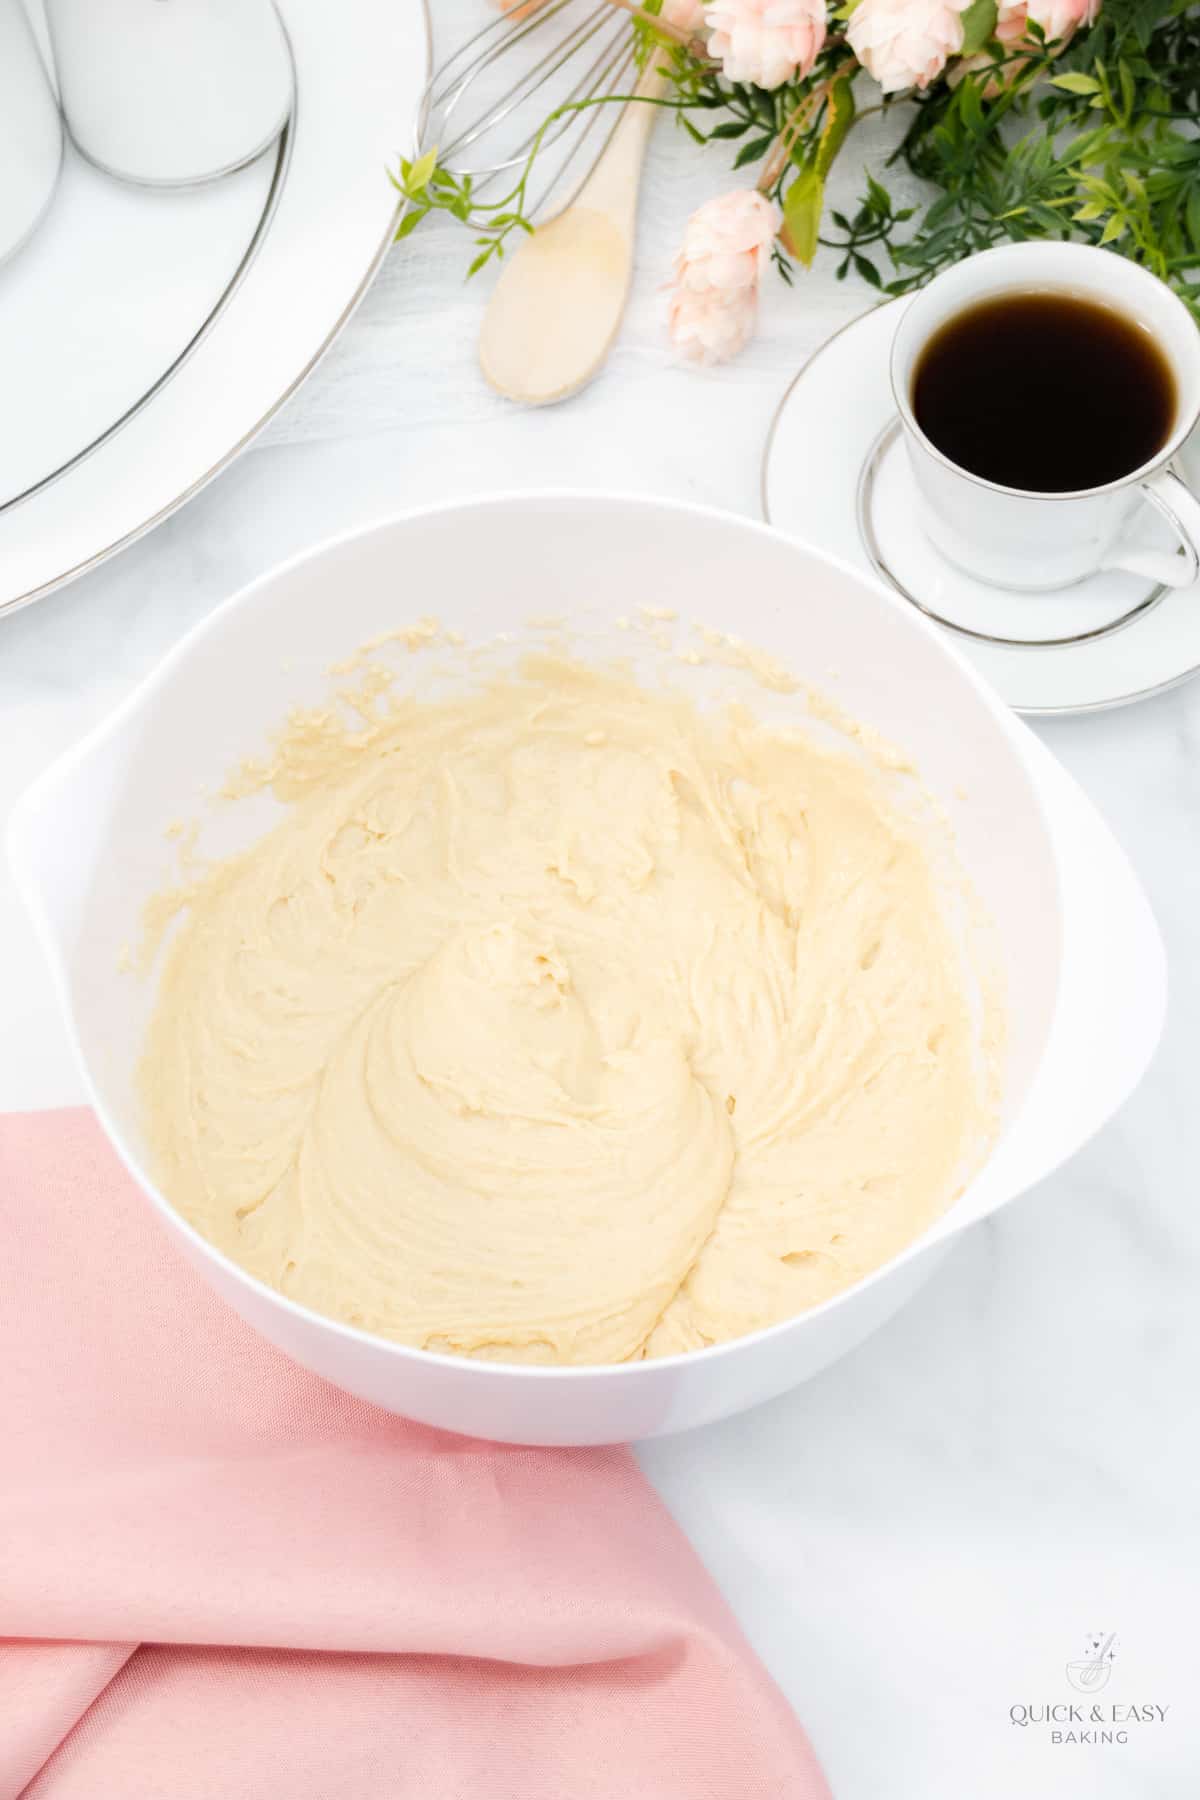
Step 4:
Now pour the liquid mixture into the dry mixture and mix with an electric mixer on medium speed only until combined. (You can also mix with a whisk if you prefer.)
You want to be very careful not to mix too long.
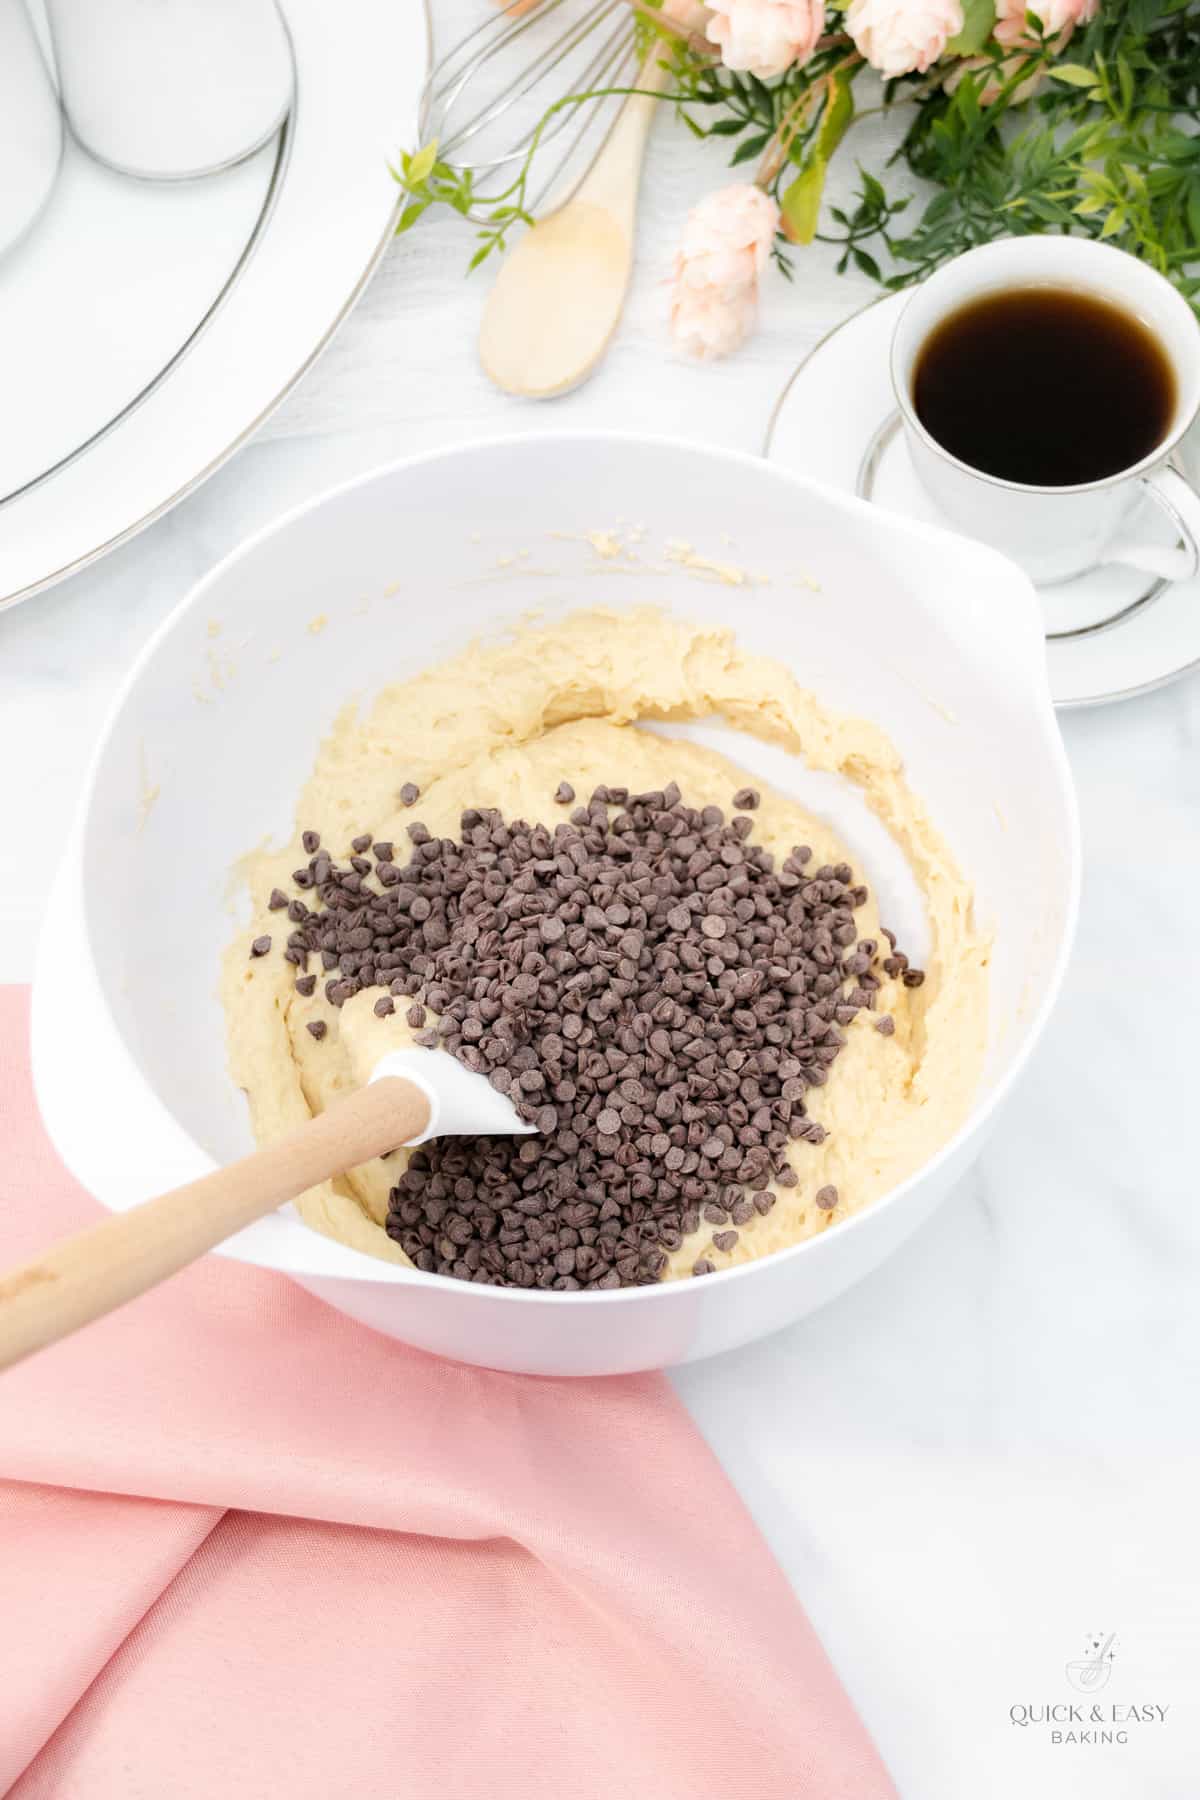
Step 5:
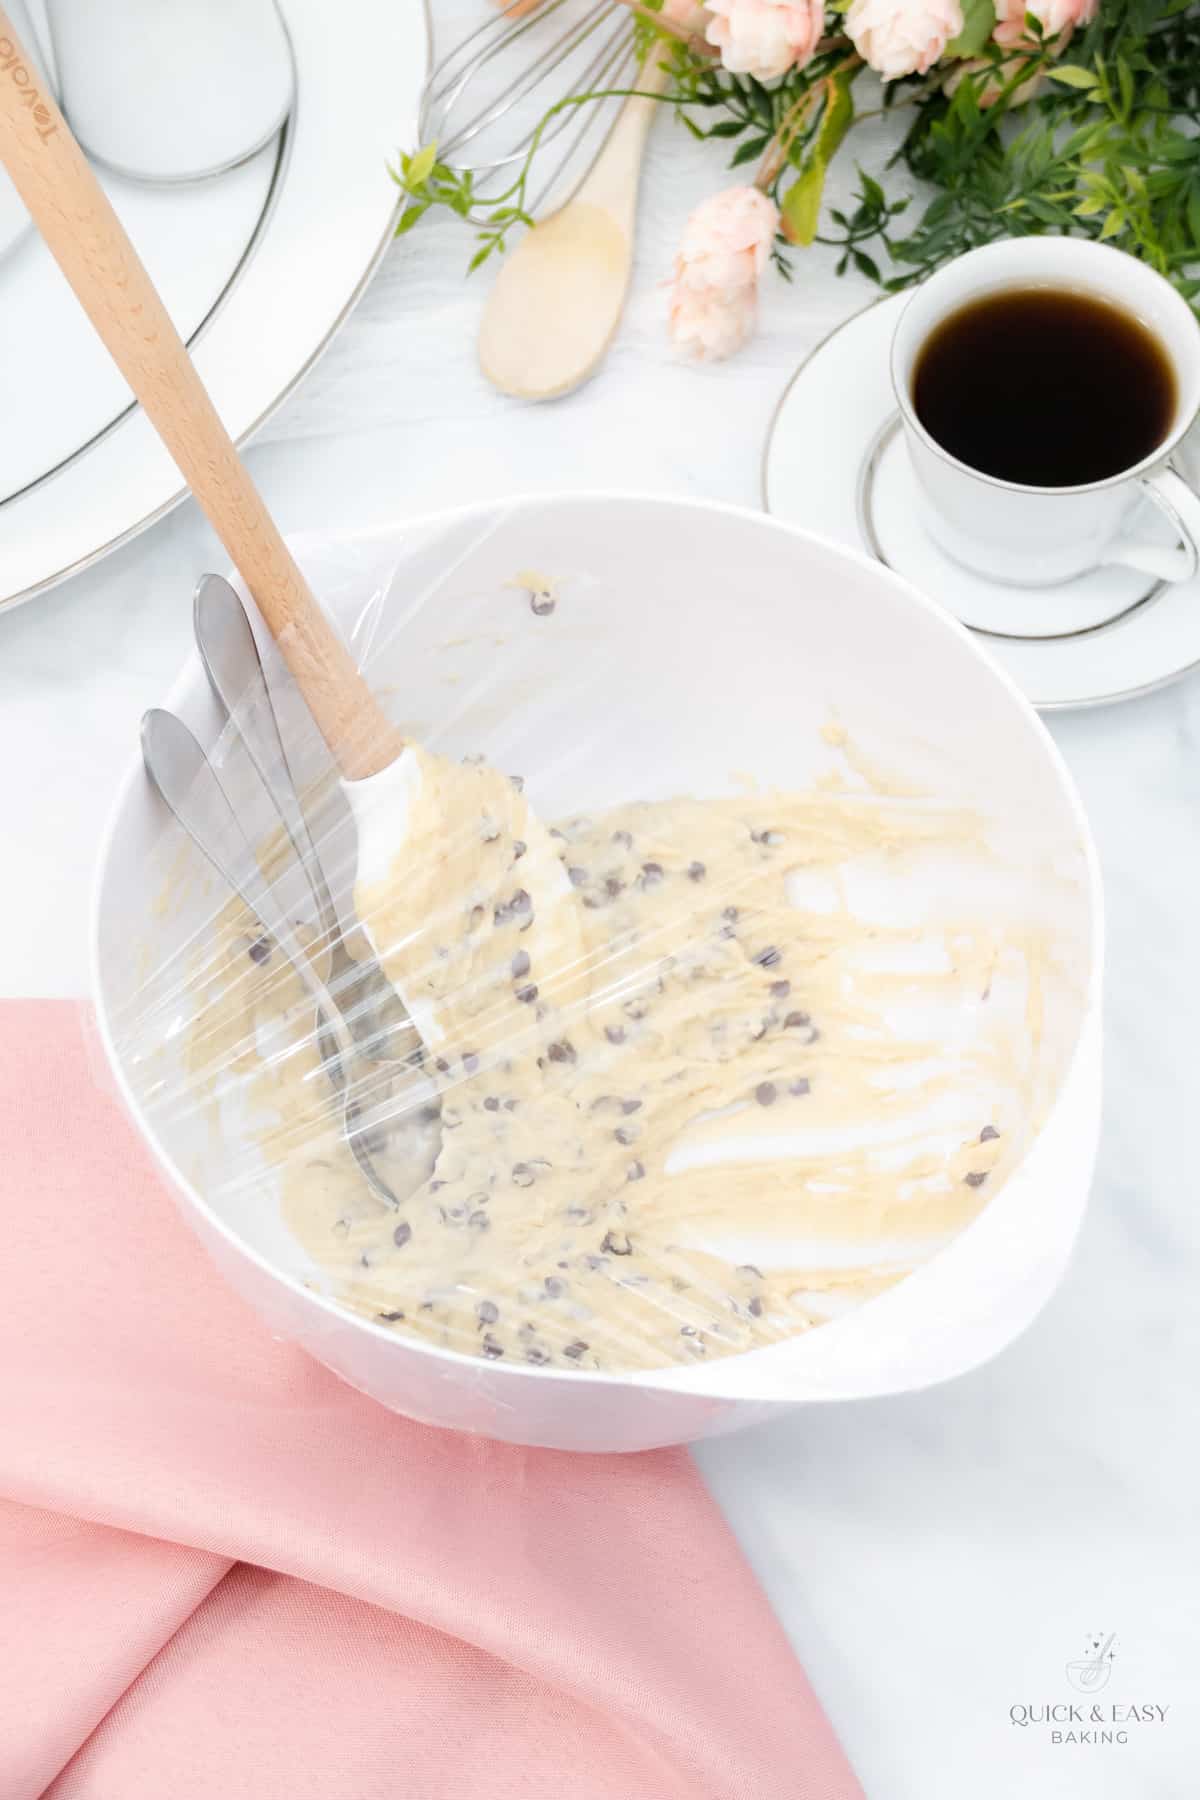
Next, fold in the mini chocolate chips with a large spoon or silicone spatula.
If you have to use full-sized chocolate chips, just try to chop them smaller.
Step 6:
Now add the batter to the mini muffin liners almost to the top. The batter is thick, so I found that it’s easier to use two teaspoons to spoon the batter into the mini cups.
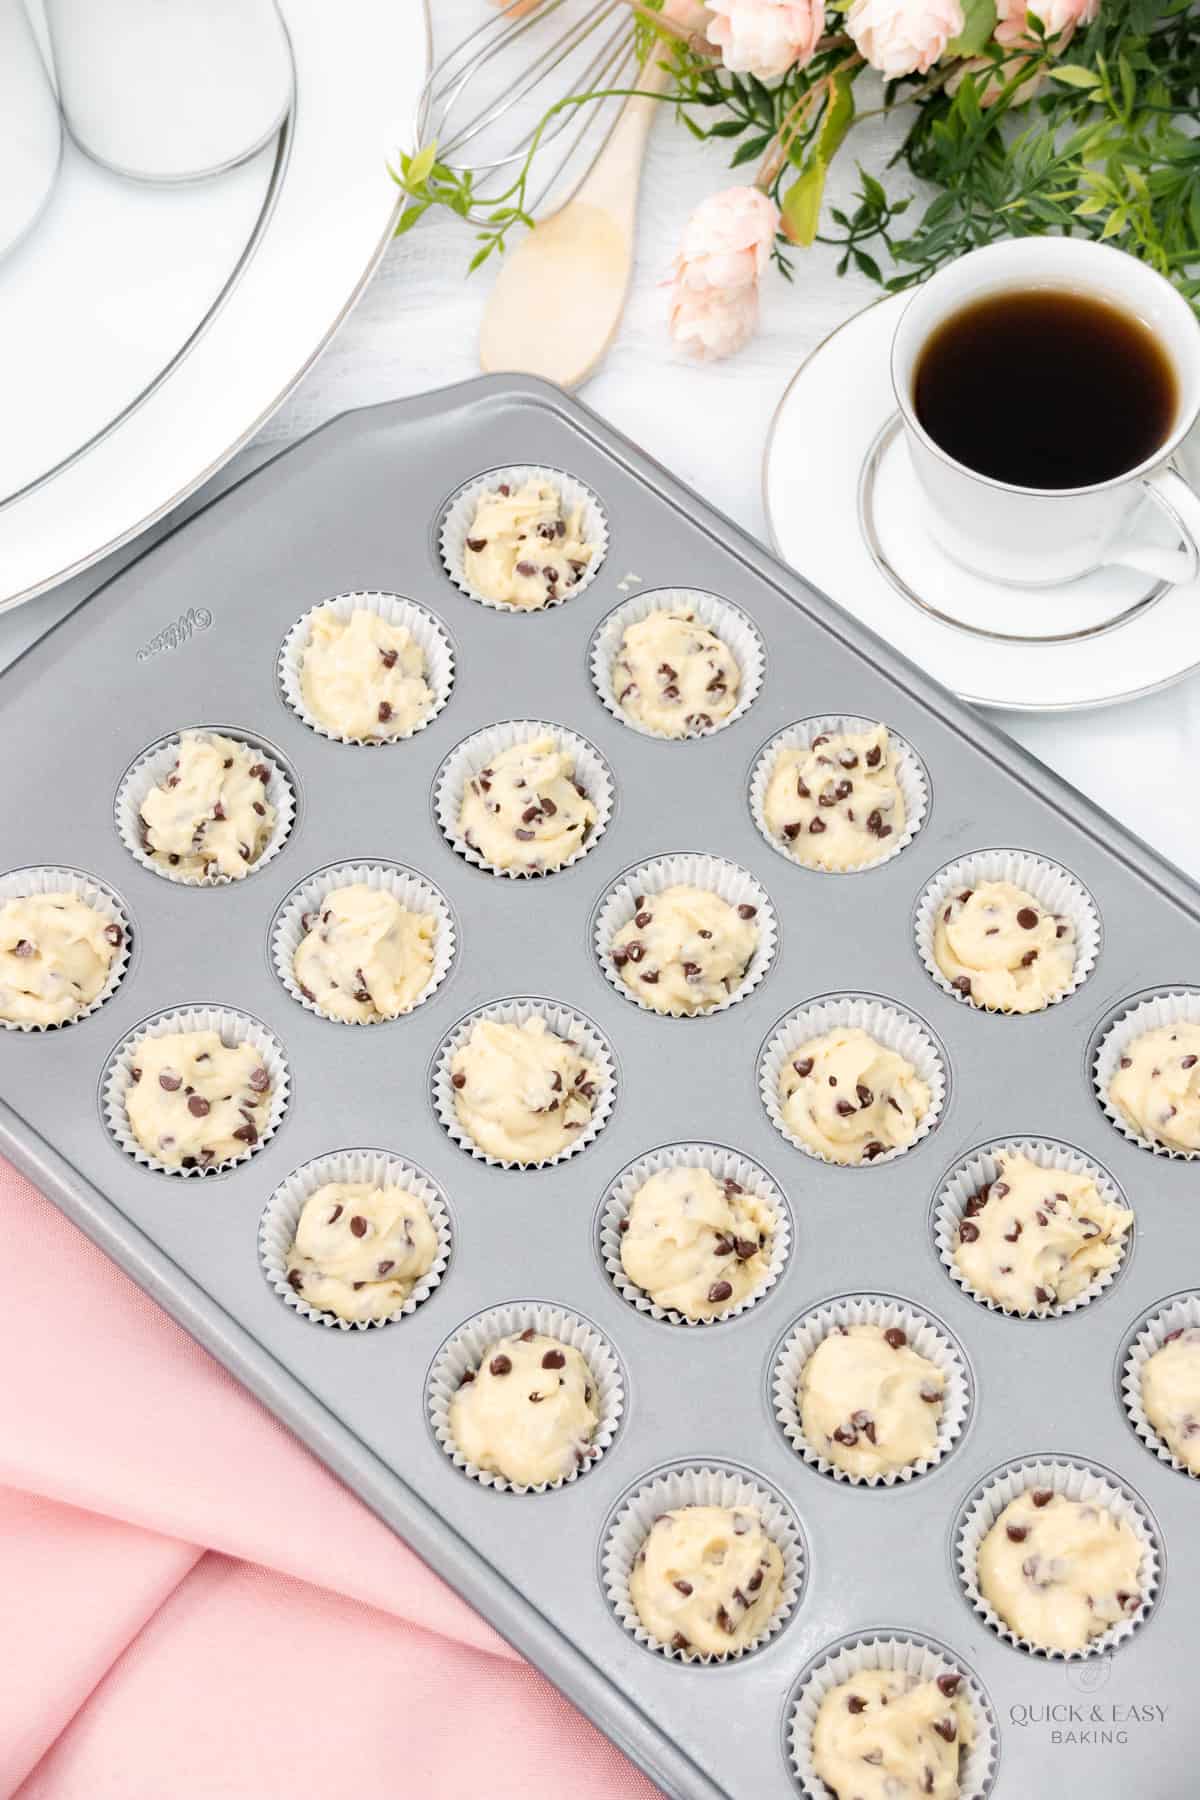
If using only one pan, then save the leftover batter, cover it, and chill it until the first batch bakes then bake the next batch.
Step 7:
Bake the mini muffins for approximately 11-13 minutes. (If baking in a standard-size muffin pan, bake for 16-18 minutes.)
Step 8:
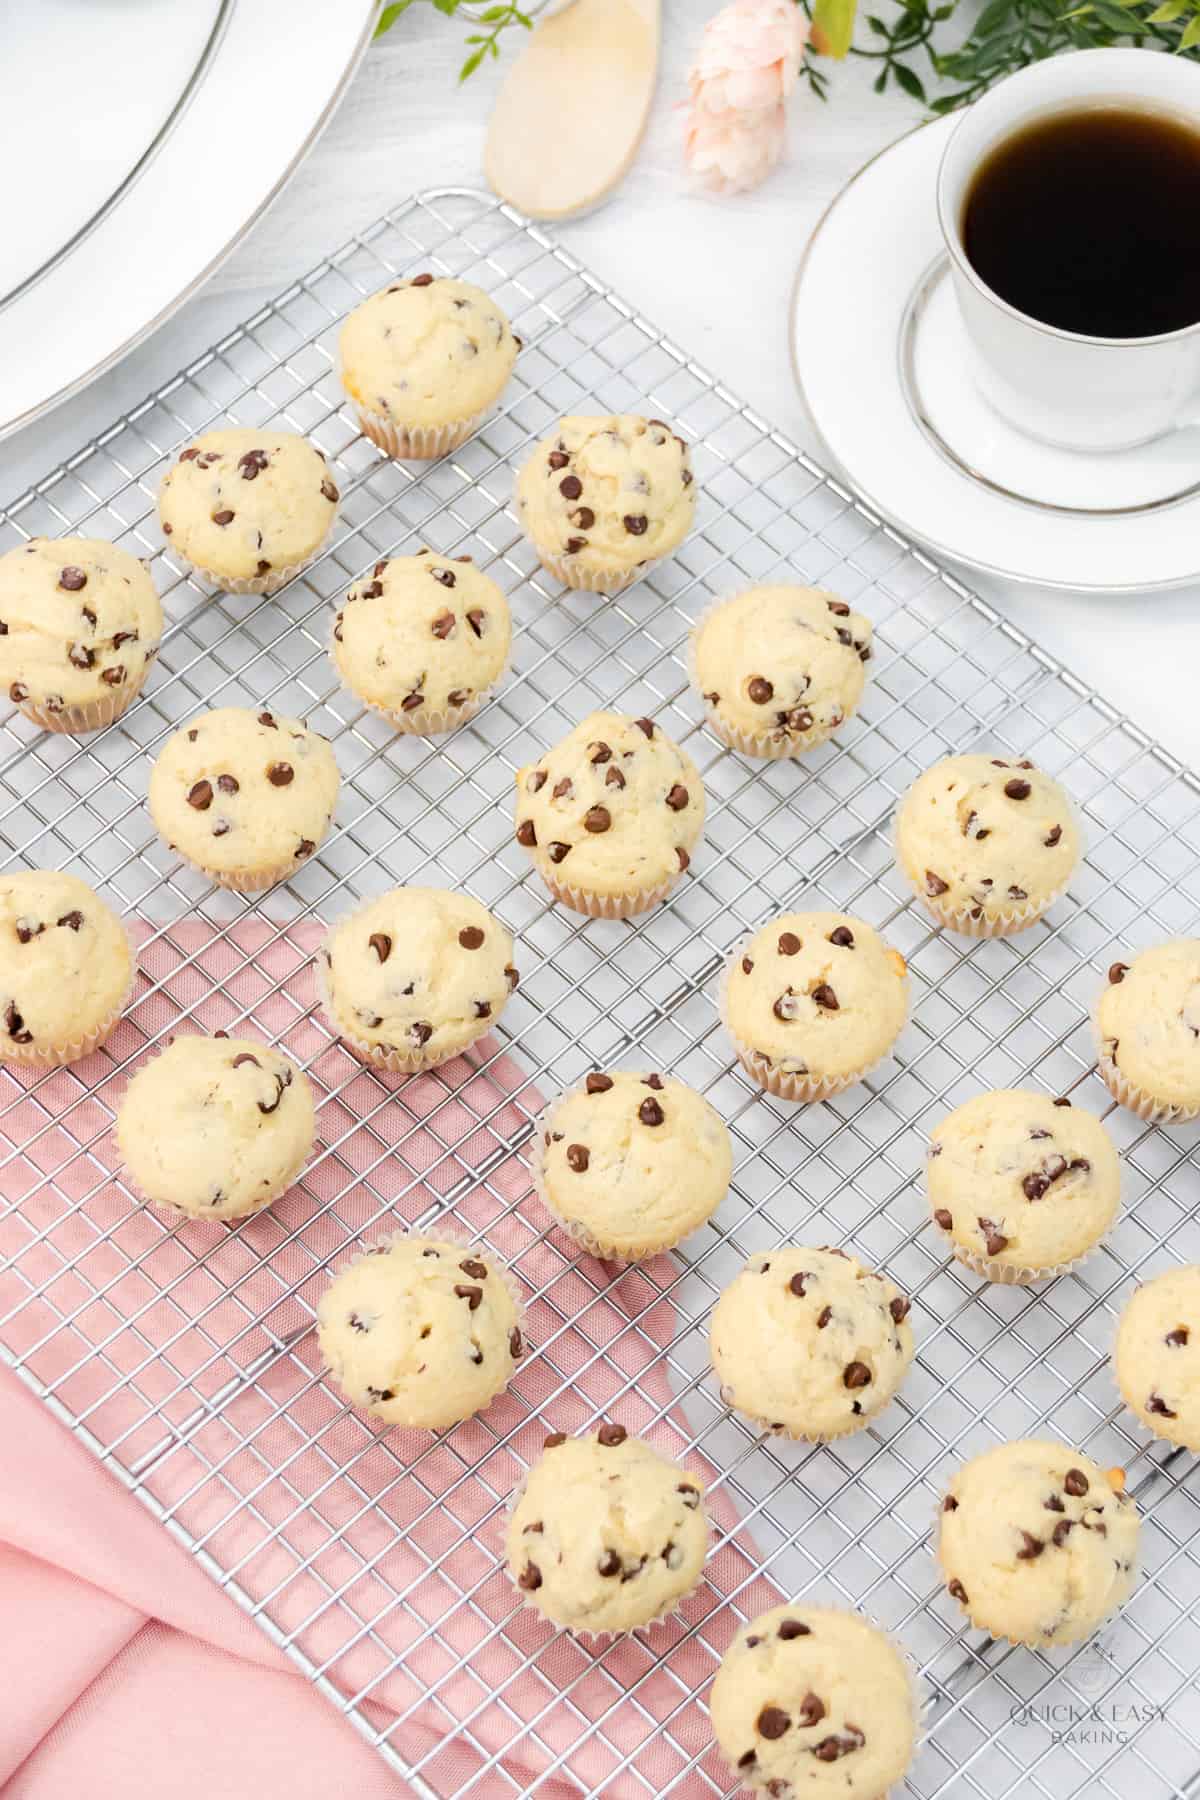
Once done, remove the mini muffins from the oven and set the pan on a cooling rack for about 5 minutes.

Step 9:
After about 5 minutes, transfer the muffins directly onto the cooling rack and cool completely or just until slightly warm.
(Remember that the instructions will also be in the printable recipe card below.)
Chocolate Chip Mini Muffins
Ingredients
- 2 cups all-purpose flour (Measured correctly: spooned into the measuring cup and leveled off – don't scoop and pack the flour into the cup)
- 1 1/2 teaspoons baking powder
- 1/4 teaspoon baking soda
- 1/4 cup white sugar
- 1/4 cup packed brown sugar (I used light brown sugar, but either works)
- ½ teaspoon salt
- 1 egg, near room temperature
- 1 teaspoon vanilla extract
- 1/2 cup sour cream, near room temperature
- 1/2 cup milk, near room temperature
- 1/4 cup unsalted butter, melted but cooled down a bit so it's not hot
- 3 tablespoons vegetable oil
- 1 cup mini chocolate chips
Instructions
- Preheat the oven to 375 degrees F.
- Fill two mini muffin pans with mini muffin liners. (If you only have one pan, just fill it and bake in batches.) Additionally, spray the liners with non-stick baking spray. (If making into standard-sized muffins, use a standard-sized muffin or cupcake pan.)
- Add the dry ingredients (flour, baking powder, baking soda, sugars and salt) to a large mixing bowl and whisk well. Set aside.
- In another mixing bowl, add the liquid ingredients (egg, vanilla, sour cream, milk, butter that's been melted and cooled down, vegetable oil) and whisk well. (If the liquid ingredients are cold, they may not mix well with the melted butter, which is why it's better to allow them to come closer to room temperature.)
- Add the liquid ingredient mixture to the dry ingredient mixture and mix with an electric mixer on medium speed only until combined. (You can also mix with a whisk if you prefer.) Be very careful not to mix for too long. Only mix until the large lumps are gone. There may still be smaller lumps and that's okay. Mixing too long will cause dense and rubbery muffins. Note that the batter will be thick.
- Fold in the mini chocolate chips with a large spoon or silicone spatula. (If you only have full-sized chocolate chips, try to chop them smaller.)
- Add the batter to the mini muffin liners almost to the top. It's easier to use two teaspoons to spoon the batter into the mini cups. If you only have one pan and have leftover batter, cover it and chill it until the first batch bakes then bake the next batch.
- Bake for approximately 11-13 minutes. (If baking in a standard-size muffin pan, bake for 16-18 minutes.) The muffins will puff up and a toothpick inserted into a muffin will come out clean or with a few moist crumbs on it, but no raw batter. The tops will also bounce back when touched. Be careful not to overbake or the muffins could turn out dry.
- Remove the mini muffins from the oven and set the pan onto a cooling rack for about 5 minutes, then transfer the muffins directly onto the cooling rack and cool completely.
- See the notes section for best ways to store these, serve them and for more questions.
Notes
Nutrition
How to Share
I’d love for you to share this recipe link or tag it, but please do not share screenshots or copy/paste the recipe to social media as the content and photographs are copyright protected and we (bloggers) work really hard on our content. Sharing the link, tagging us on socials and pinning it is super appreciated though!
Tips & FAQs:
Make sure to measure the flour correctly, which means spooning the flour into the measuring cup, then leveling it off. Don’t scoop the flour up with the measuring cup as that can add too much flour.
No, those aren’t exactly the same and they aren’t the same strength. It’s really best if you use both.
I used light brown sugar, but you can use either.
Sour cream is best in this recipe as it helps make the muffins moist and gives a little flavor. If you don’t have access to it, you can use plain yogurt, but use the full-fat yogurt instead of the low-fat or fat-free type.
Yes, you can use salted butter instead, however, if you use unsalted, then you may want to omit the additional salt that the recipe calls for, so that too much salt won’t be added.
Since this recipe calls for melted butter, if the liquid ingredients are cold when they’re mixed with the melted butter, then it will cause everything to clump up.
Having all the ingredients around the same temperature makes sure that everything mixes well together.
Full-size chips are a little too large for mini muffins, but you could chop them up a bit and then add them to the batter.
Make sure not to mix for very long. For scratch baked goods, you really only want to mix until everything is well incorporated. You don’t need to get every tiny little lump out, just the big lumps.
If the batter is mixed too long, it will over-develop the gluten and will make the muffins, dense, rubbery dry, and possibly even sink in the middle.
Yes, to do that, fill standard-sized muffin tins with cupcake liners, then with the batter. Bake at 375 degrees for 16-18 minutes. Basically, everything stays the same in the recipe except you’ll use standard-sized muffin or cupcake pans and bake a little longer.
These muffins are done baking when a toothpick inserted into the center comes out with a few moist crumbs on it or clean, but no raw batter.
These muffins can be stored in an airtight container at room temperature for up to 5 days.
These mini muffins are best eaten either at room temperature or warm. Feel free to pop a couple into the microwave and heat for about 10 seconds. These muffins are also good with a little butter or margarine.
Yes, these mini muffins can be frozen, however since they are so small, they can dry out easily, so make sure to cover them very well with plastic wrap, then either with foil or place them in a ziplock freezer bag. Add to the freezer for up to a month.
To thaw, place the wrapped muffins on the counter at room temperature and let thaw completely, then remove the wrapping. Once defrosted, make sure to keep in an airtight container.

Video:
Supplies used for this recipe:
This post contains affiliate links. As an Amazon Associate, I earn from qualifying purchases.
- Mini muffin/cupcake pan
- Mini muffin/cupcake liners
- Mixing bowls
- Whisk
- Hand mixer
- Silicone spatula
- Oven mitts
- Cooling rack

- Easy Lemon Cream Cheese Swirl Cake (using a cake mix) - April 2, 2024
- Easy Lemon Poppy Seed Bread (using a cake mix) - April 2, 2024
- Easy Lemon White Chocolate Cookies (using a cake mix) - April 2, 2024