Chocolate chip cookie cups are the easiest quick treat to make and it only takes two ingredients to get a quick, delicious dessert everyone will love.
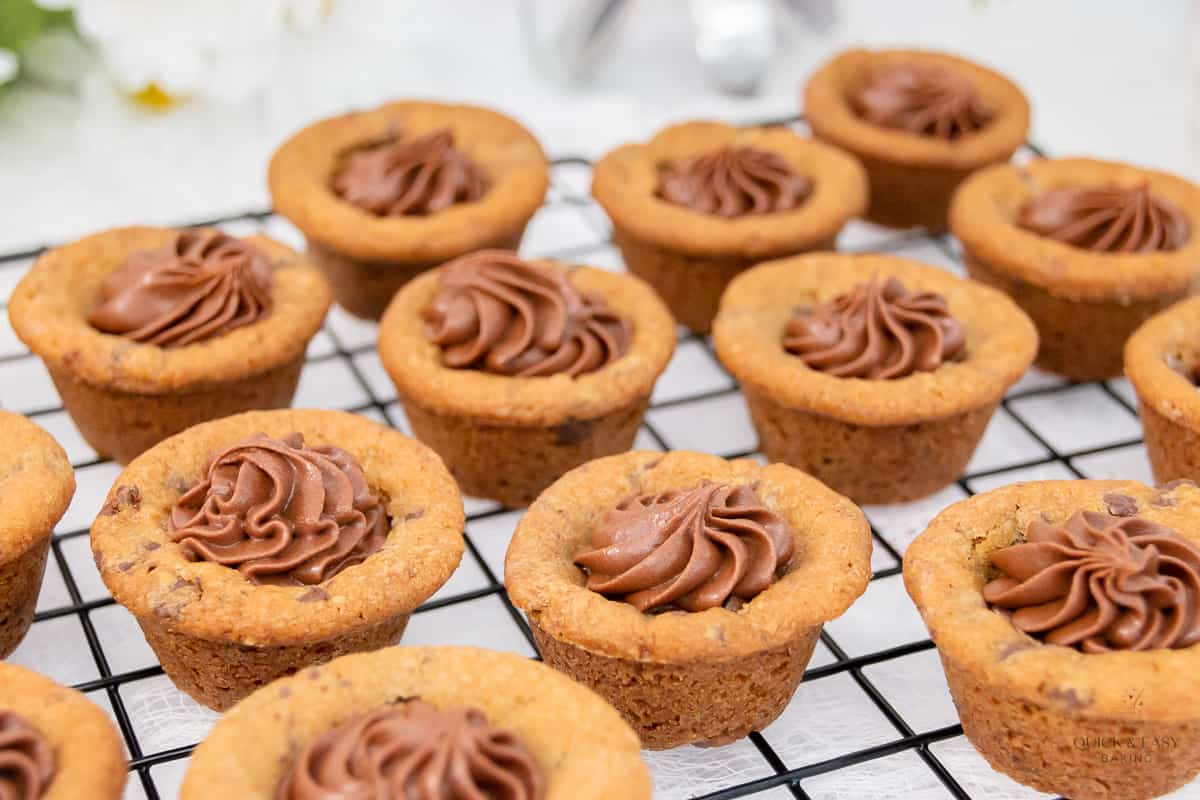
These cookie cups really look like they take a lot of effort and time to make, but they’re super easy to put together with the help of premade ingredients.
People will think you spent hours making these and that you’re super creative and you never have to tell them the secret.
These cookie dough cups will become a fast favorite in your house and you won’t mind making them because they come together in just minutes.
Table of Contents:
The great thing about these mini cookie cups is that you can change things up to suit your taste or the event. You can use different flavors of cookie dough and different flavors of frosting to make it your own.
You can even add food coloring to the frosting to make it unique. These really are the perfect-sized treat. It’s just enough cookie with the perfect amount of frosting.

Ingredient Notes:
Now let’s talk about some of the ingredients that are in these cookie cups. (The printable list of all ingredients is in the recipe card below.)
Refrigerated cookie dough: You’ll use pre-made refrigerated cookie dough for these cookie cups. It makes things go super quick and easy. I used chocolate chip cookie dough, the type in the tube package. You could probably use any type you like though. (Check out the FAQ section below for more ideas.)
Premade frosting: You can either make your own frosting or use pre-made canned frosting. I love adding a little confectioner’s sugar to canned frosting because it thickens it up just enough to pipe and adds a bit to the flavor, so that’s what I did. You don’t have to do that though.
How to Make these Cookie Cups:
Let’s talk about how to make these chocolate chip cookie cups. (The printable instructions are in the recipe card below.)
Step 1:
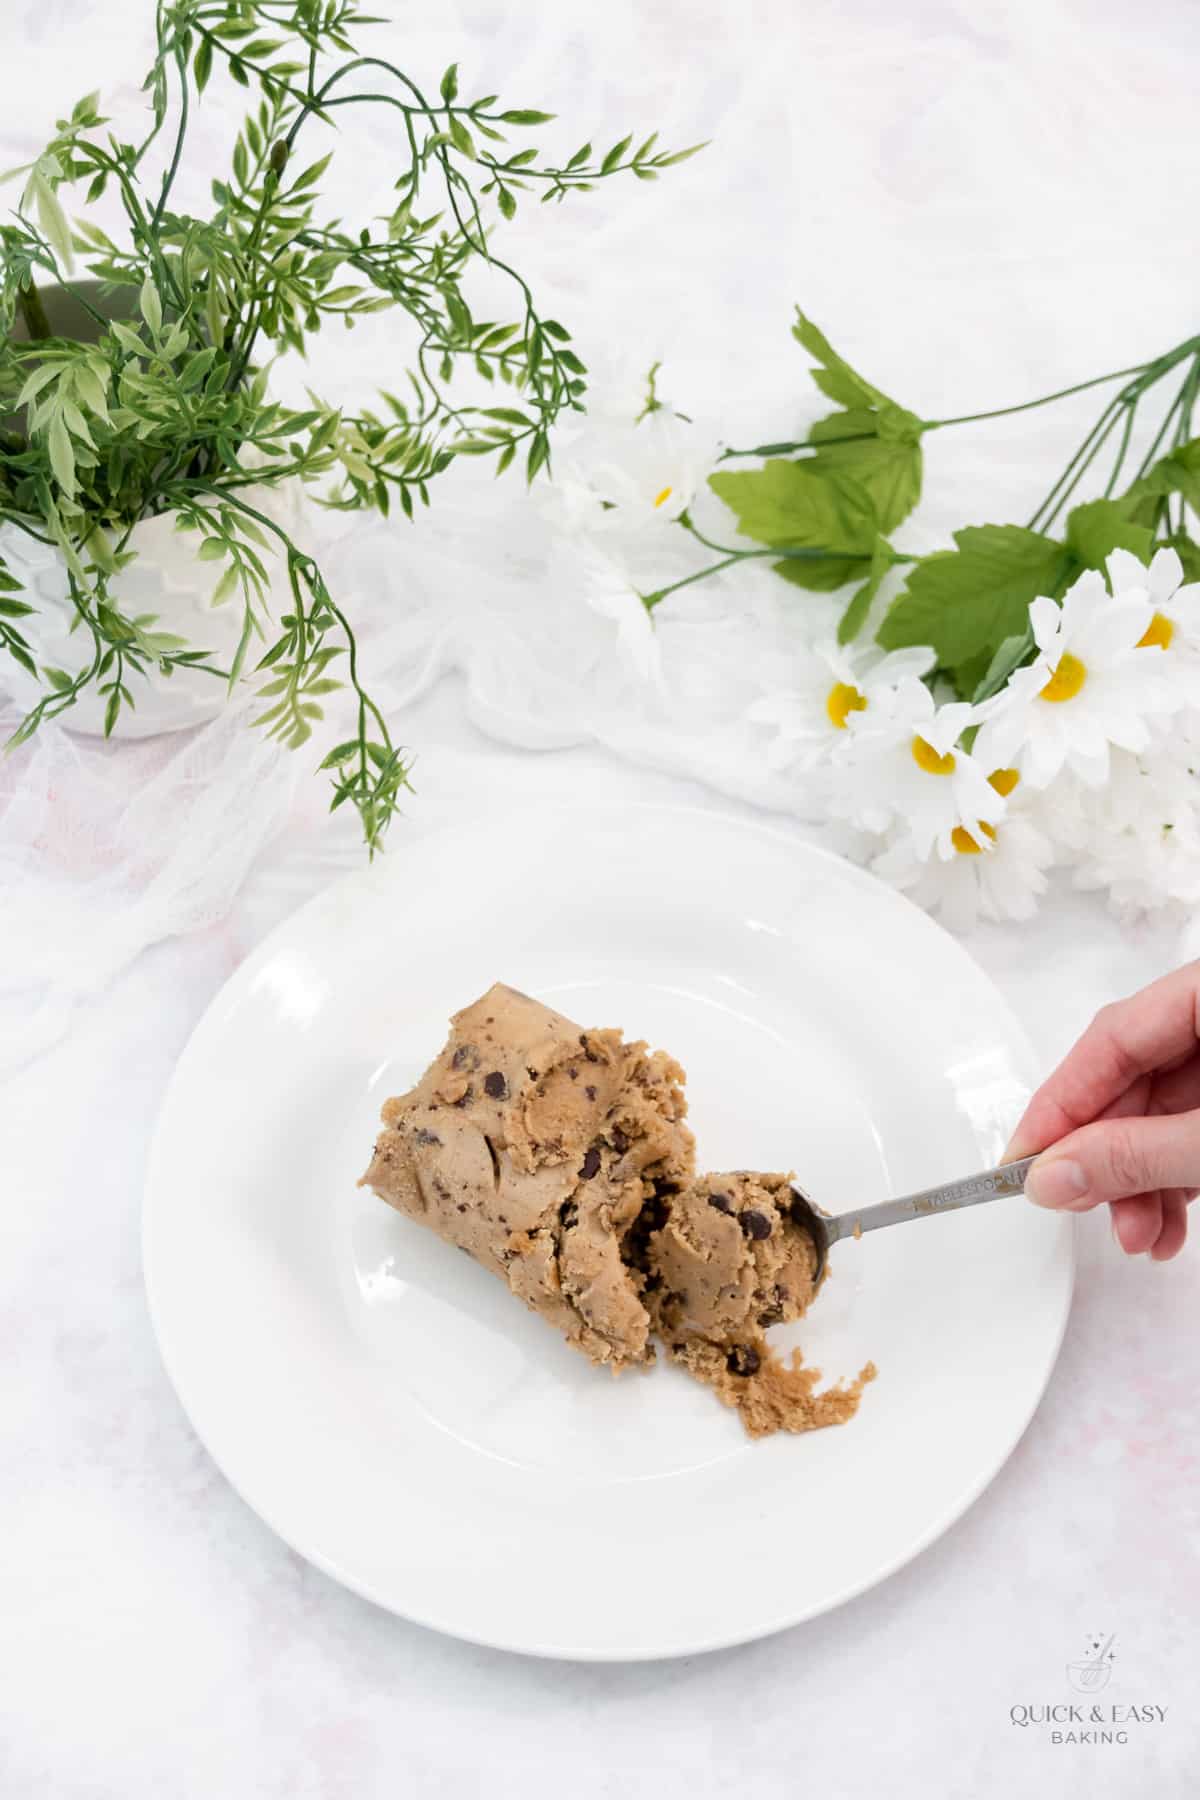
Preheat the oven to 325 degrees F. Take the cookie dough out of the package.
Step 2:
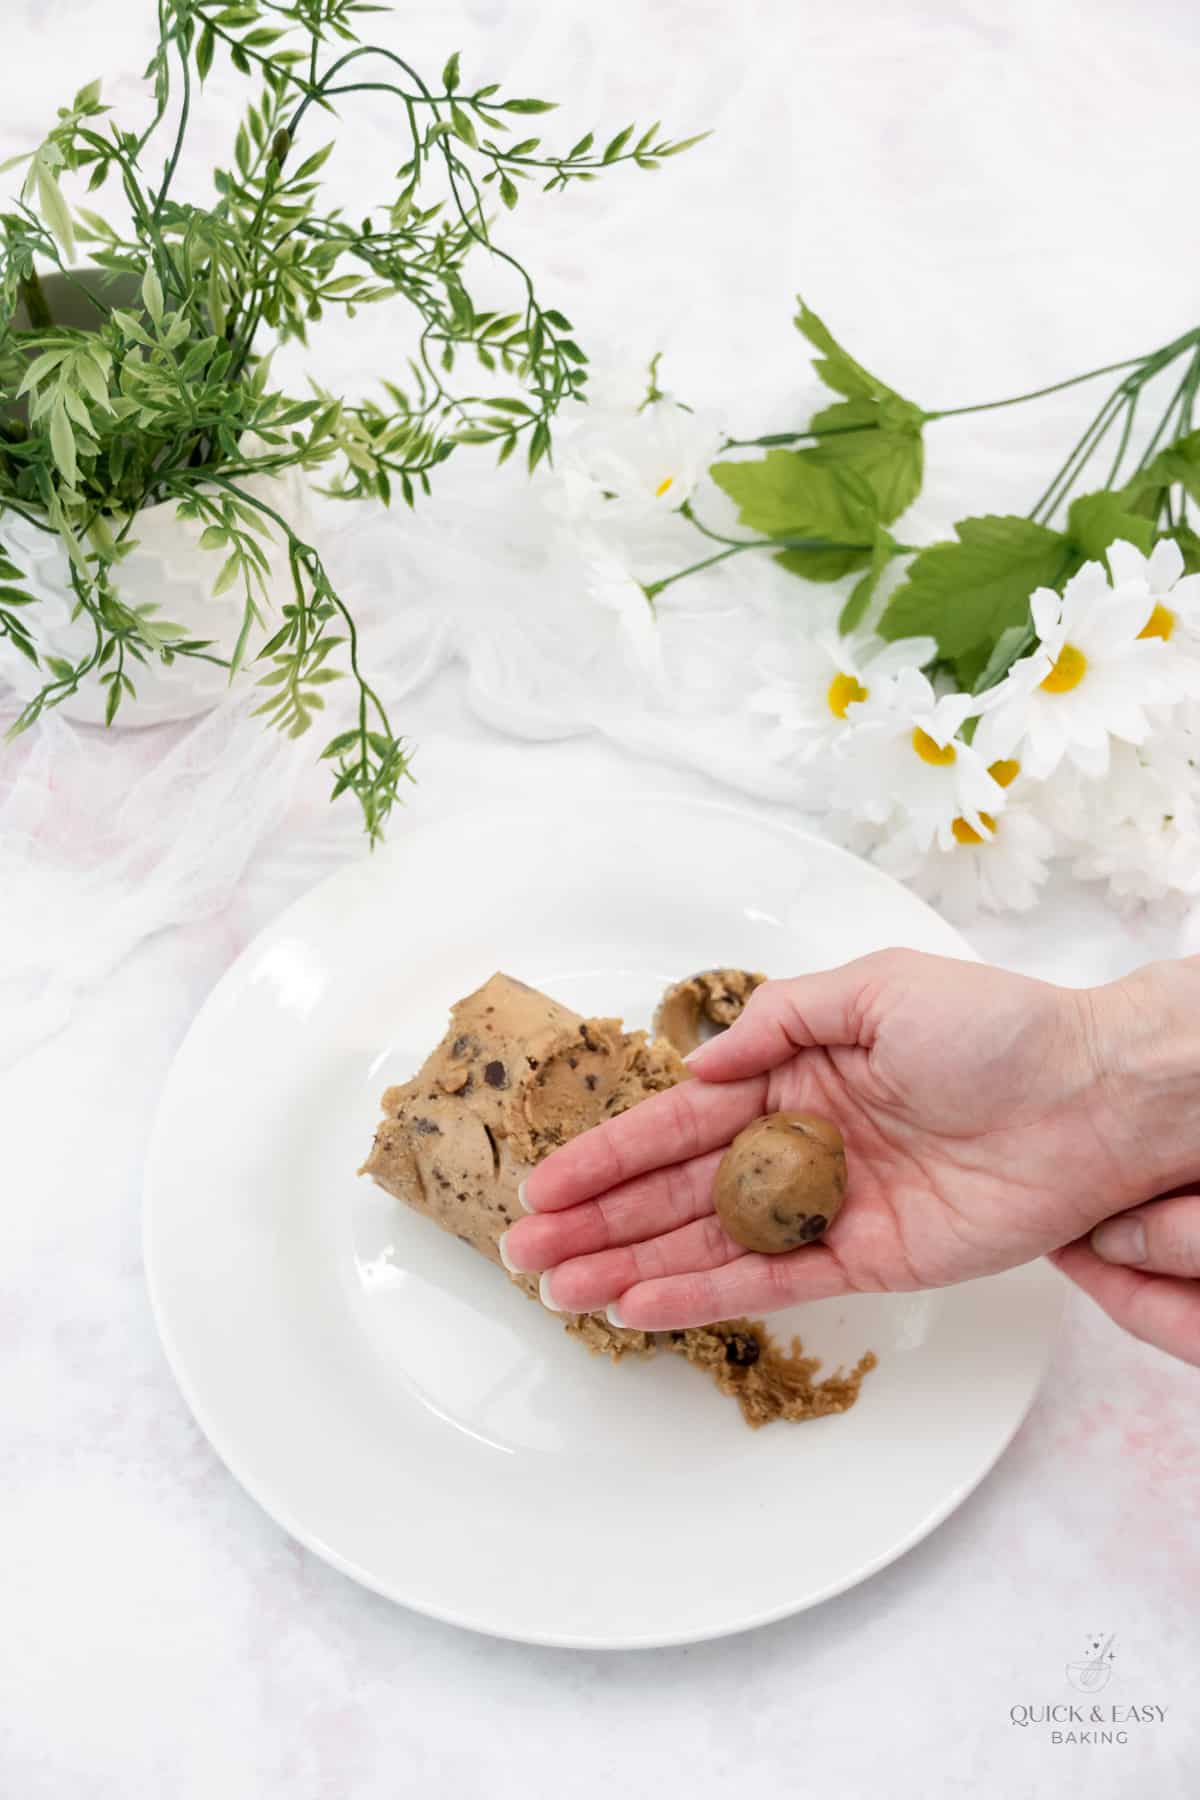
Take about 1 tablespoon of dough and roll it into a ball.
Step 3:
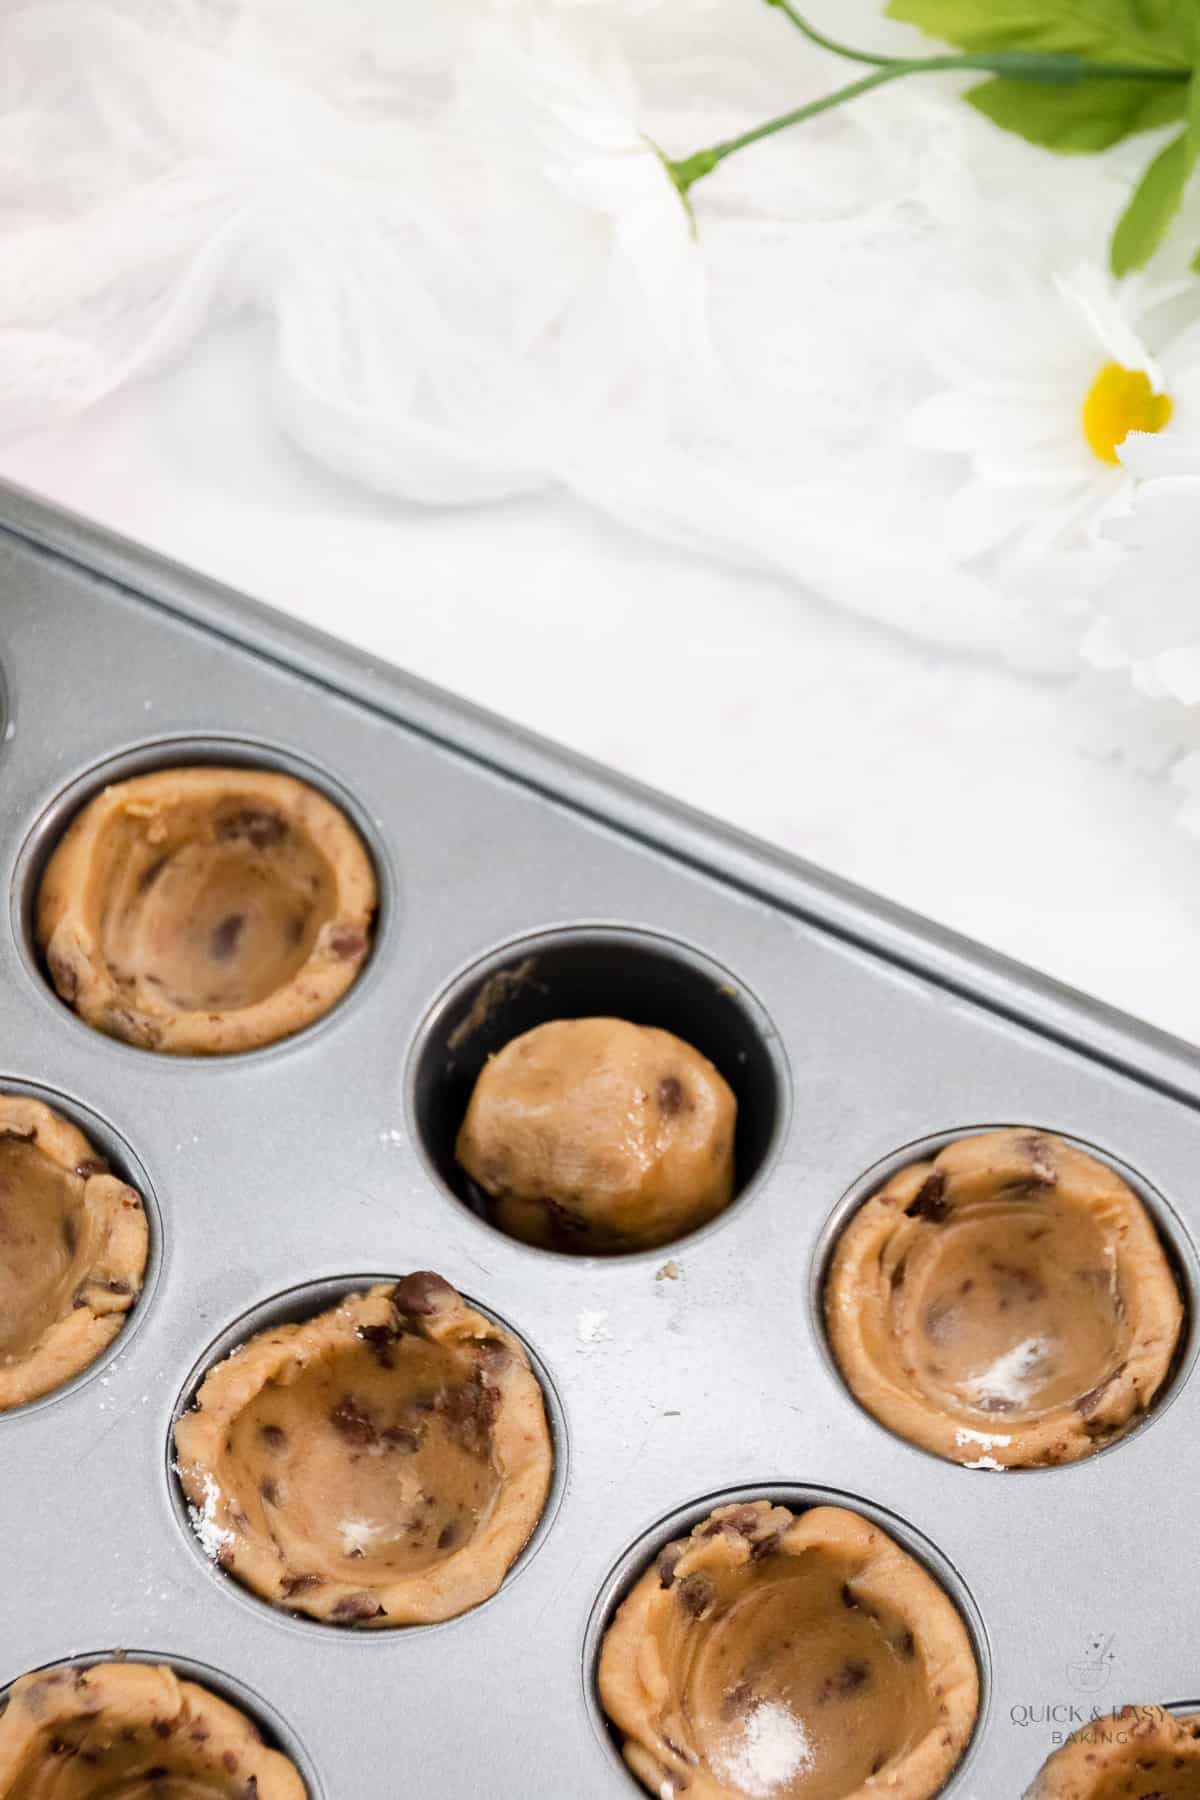
Set each dough ball into a section of a mini muffin pan. Do this for each mini muffin cup.
You don’t need to press the dough down firmly or form it to each cup right now, just set the balls of dough into each mini muffin section.
Step 4:
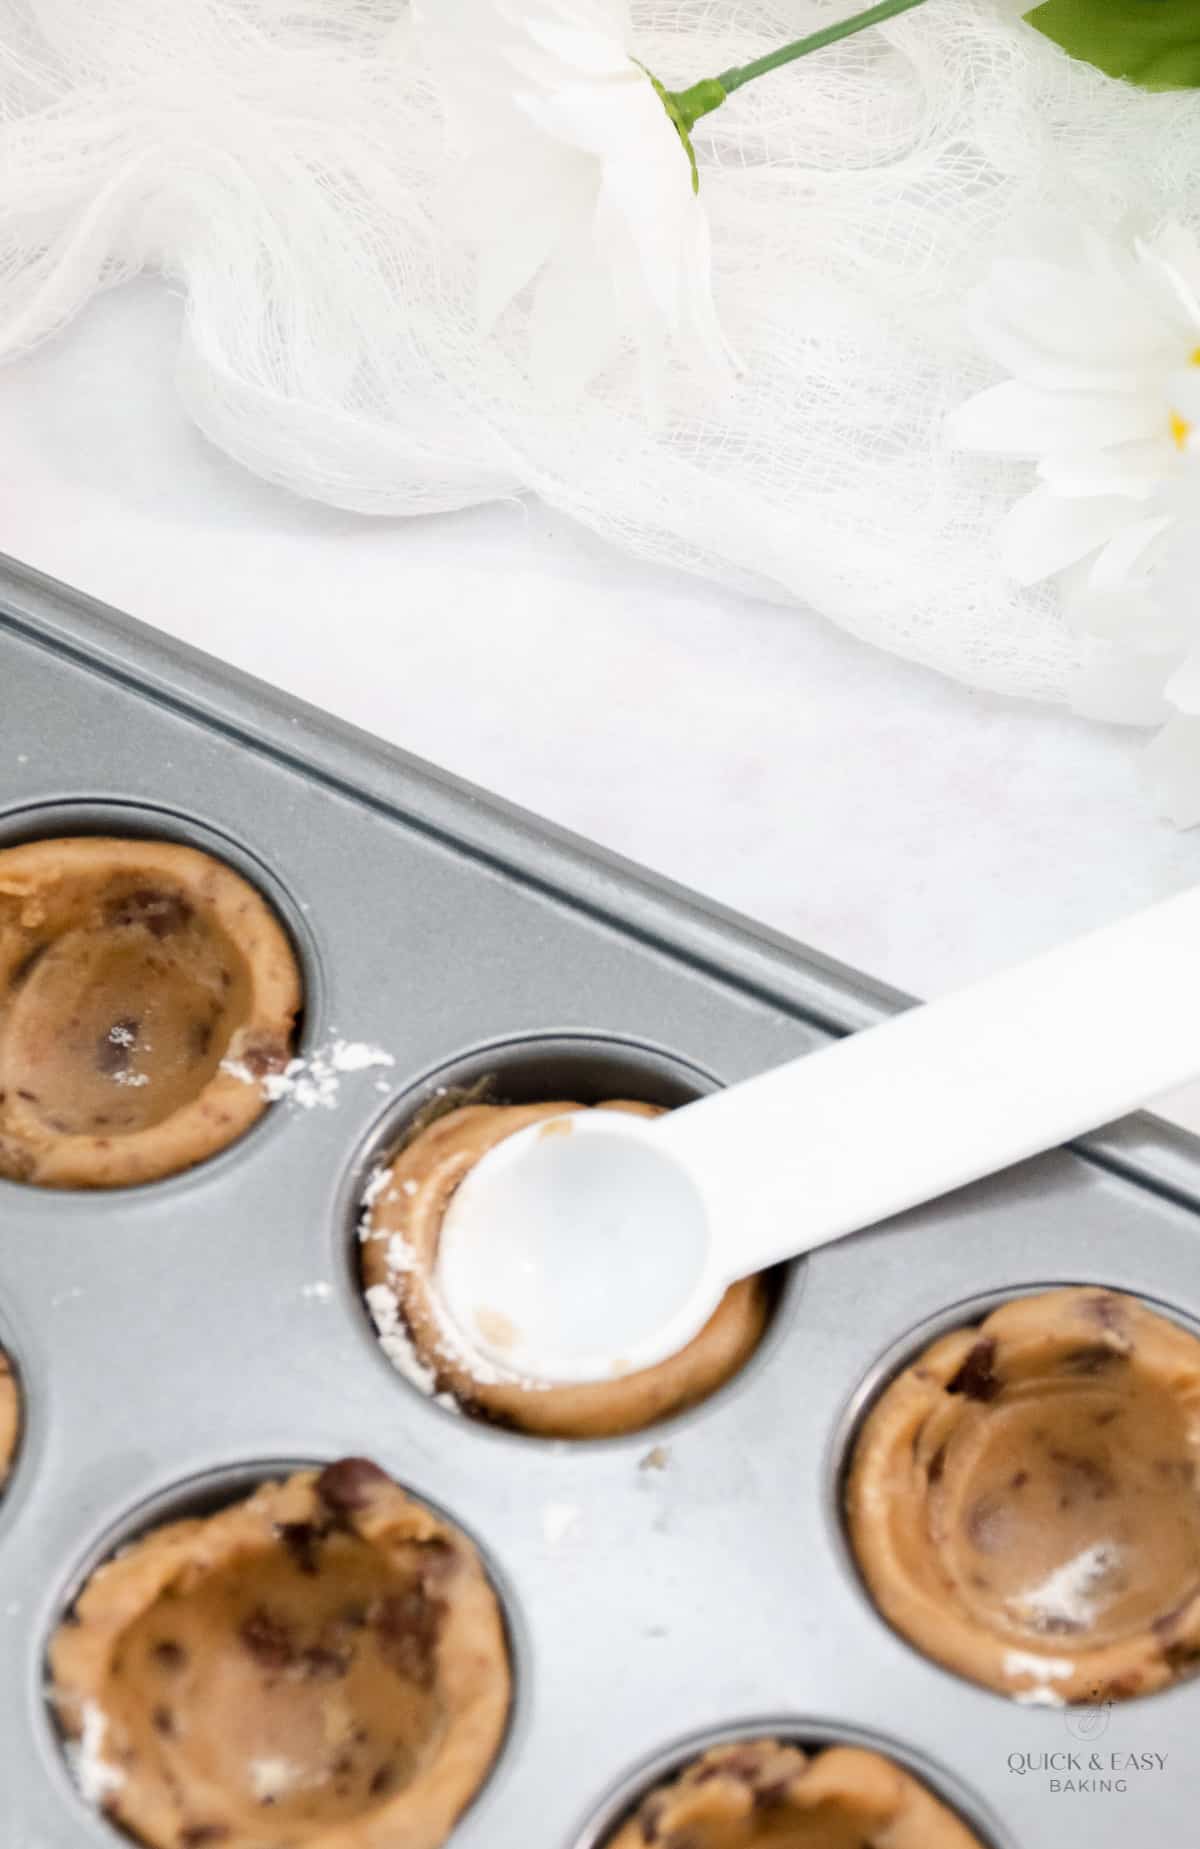
Now take a teaspoon measuring spoon and dip the back of it in flour, then press down into each ball of dough to press it into each mini muffin cup.
You’ll need to twist it a bit, to help it form each cookie cup. Make sure to dip the back of the measuring teaspoon into the flour each time, so the dough doesn’t stick.
Step 5:
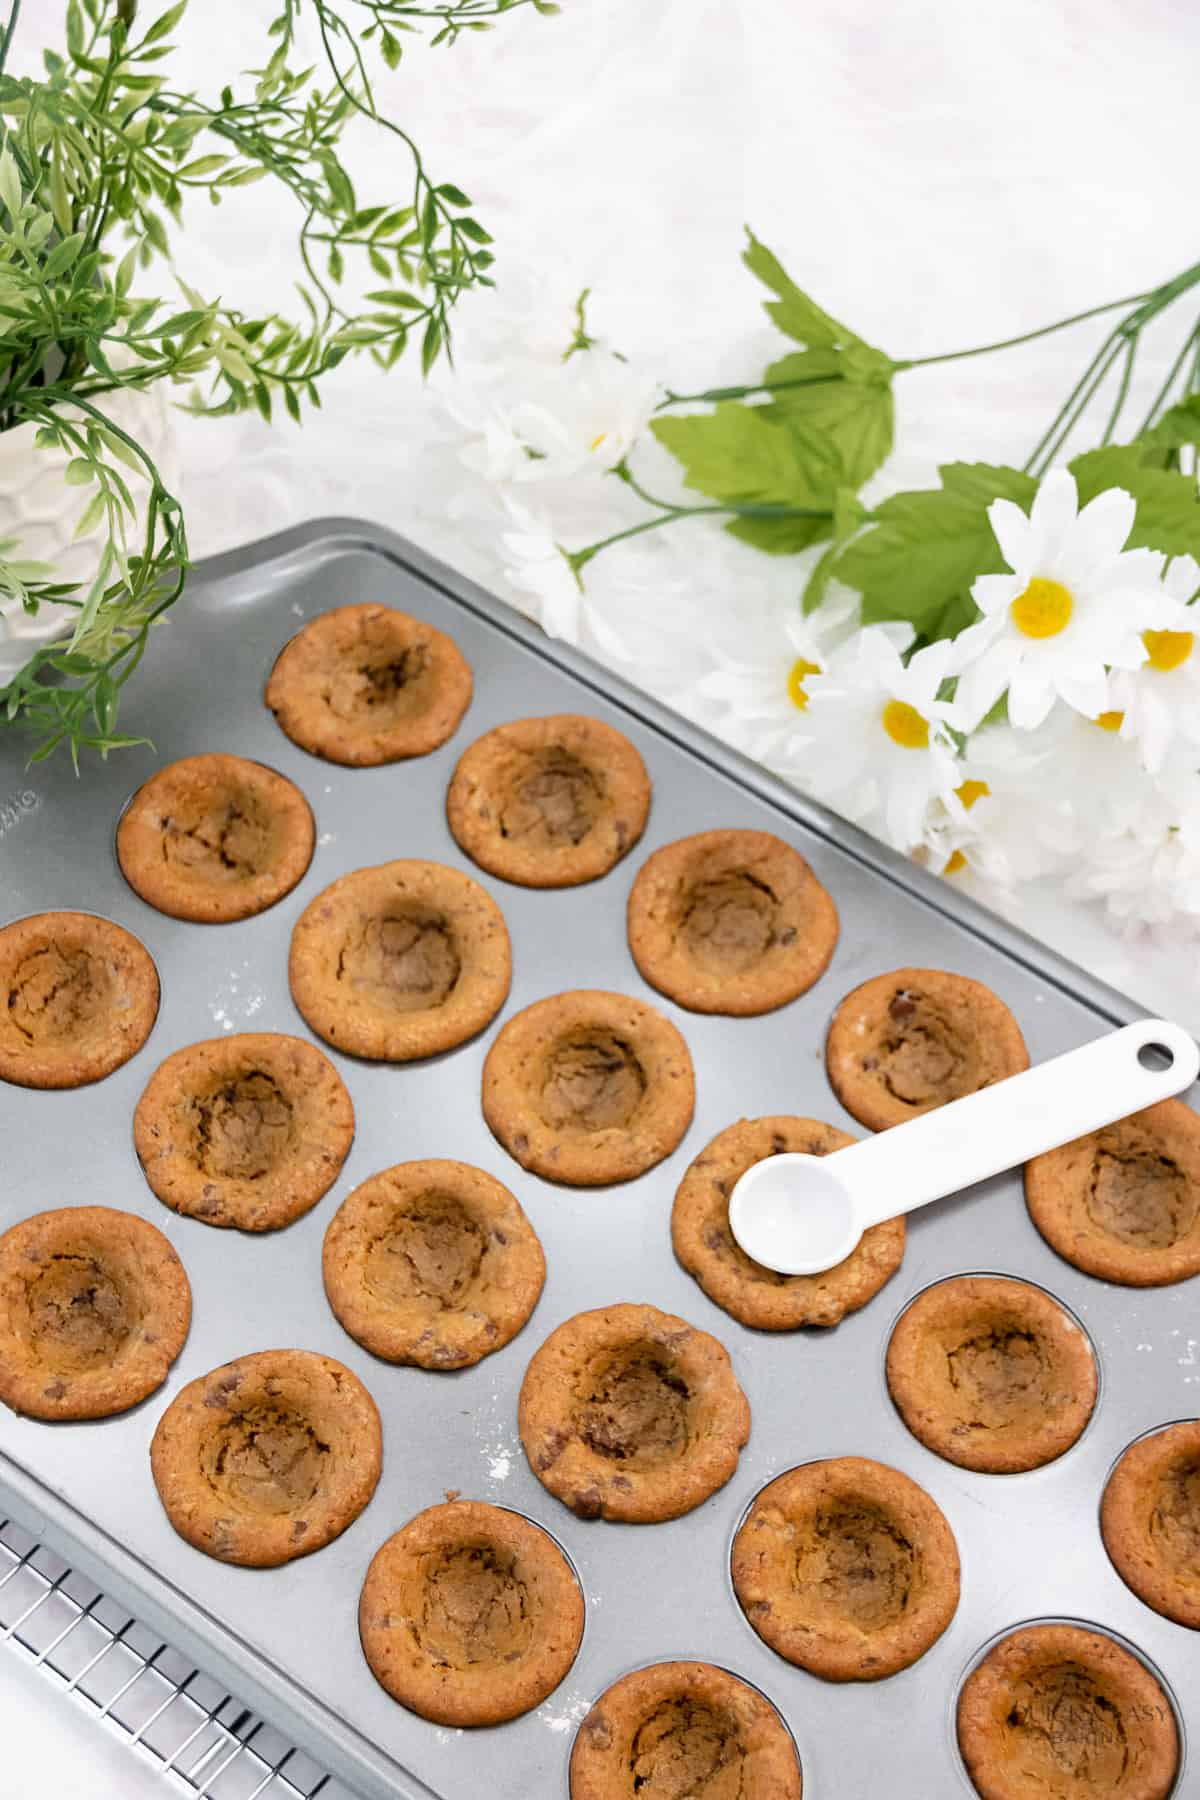
Bake the cookie cups at 325 degrees F for 10-15 minutes. (For crispier cookie cups, you can bake them at 350 degrees F for about 8-10 minutes.) Make sure to watch them closely when the baking time is almost up as they will brown quickly. Pull them out of the oven.
Now at this point, the cookie cups will have puffed up. Just lightly touch the back of the teaspoon measuring spoon to the tops and they will sink back down in the middle. This will form the ‘cup’ where you’ll later add the frosting.
Just let the cookie cups cool in the pan now.
Step 6:
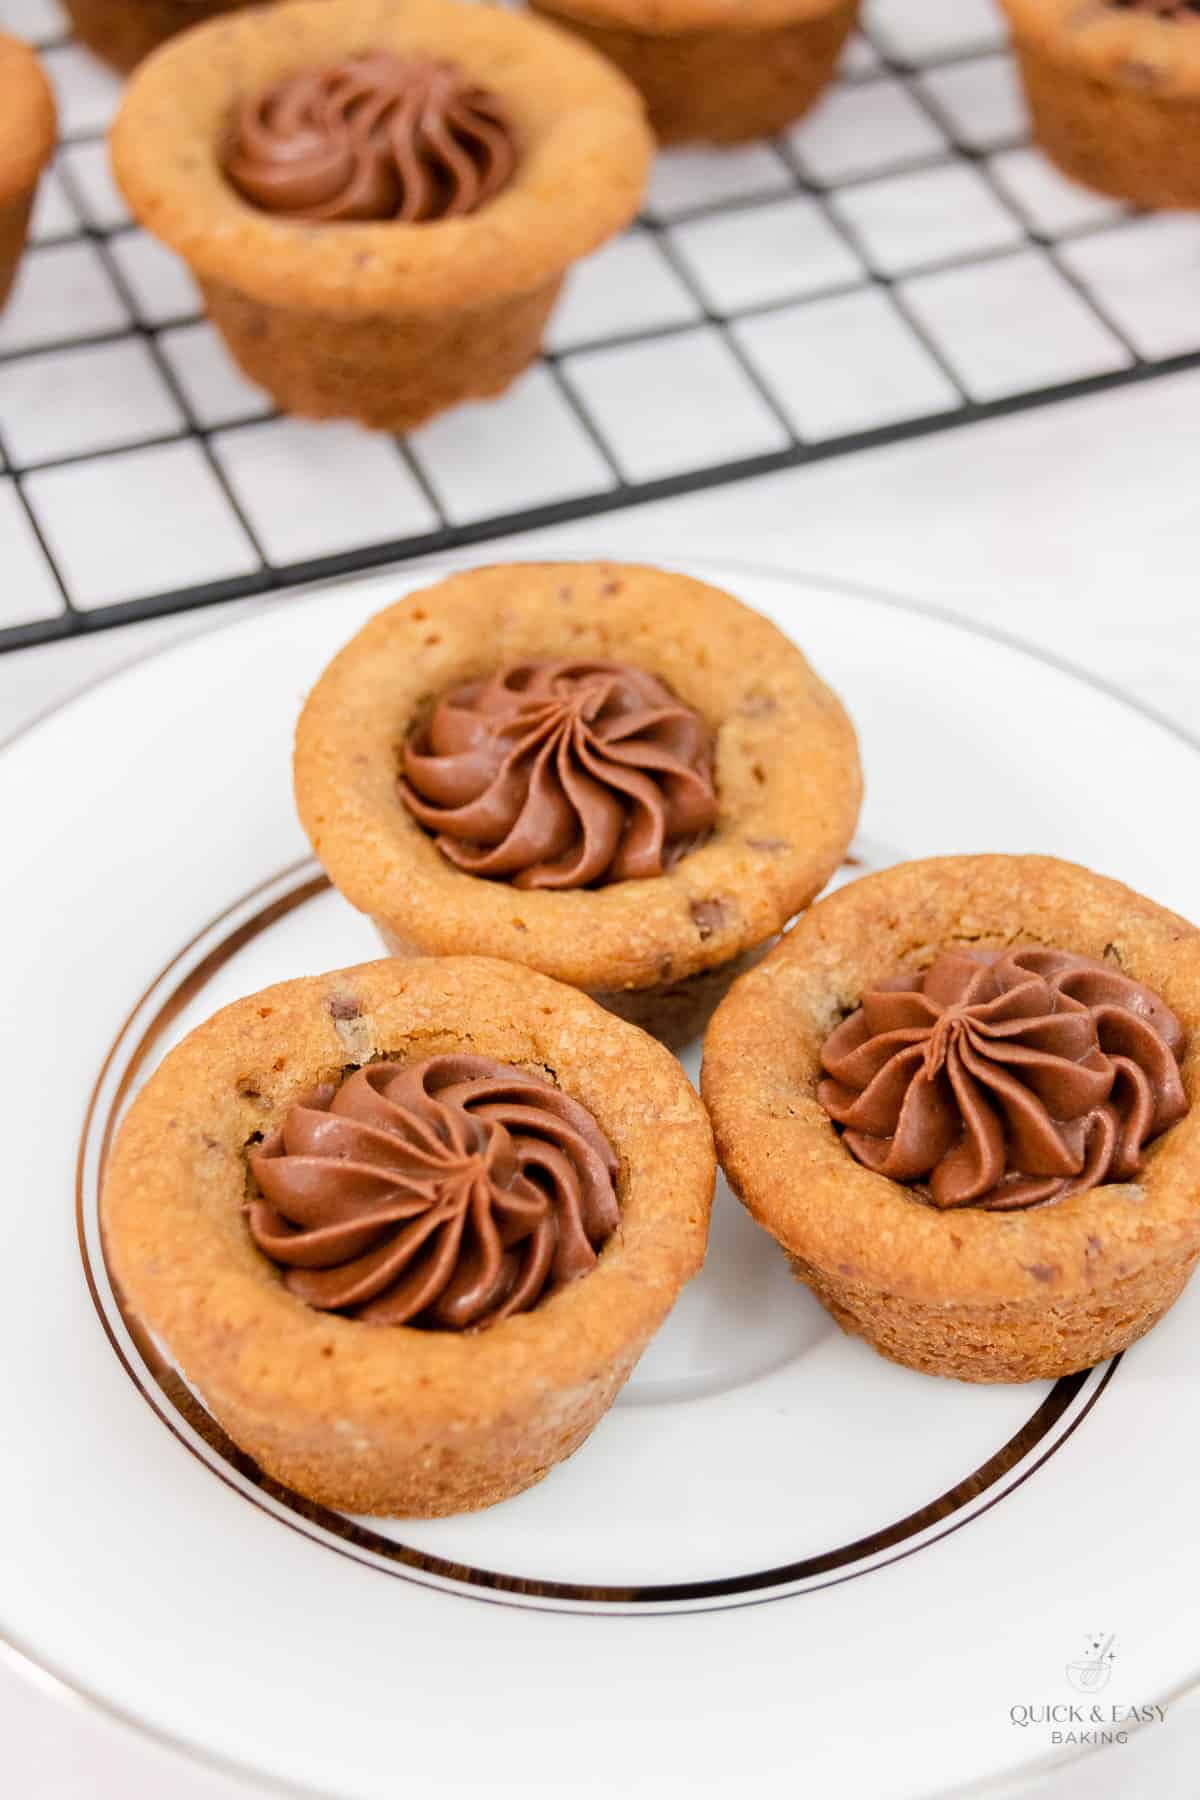
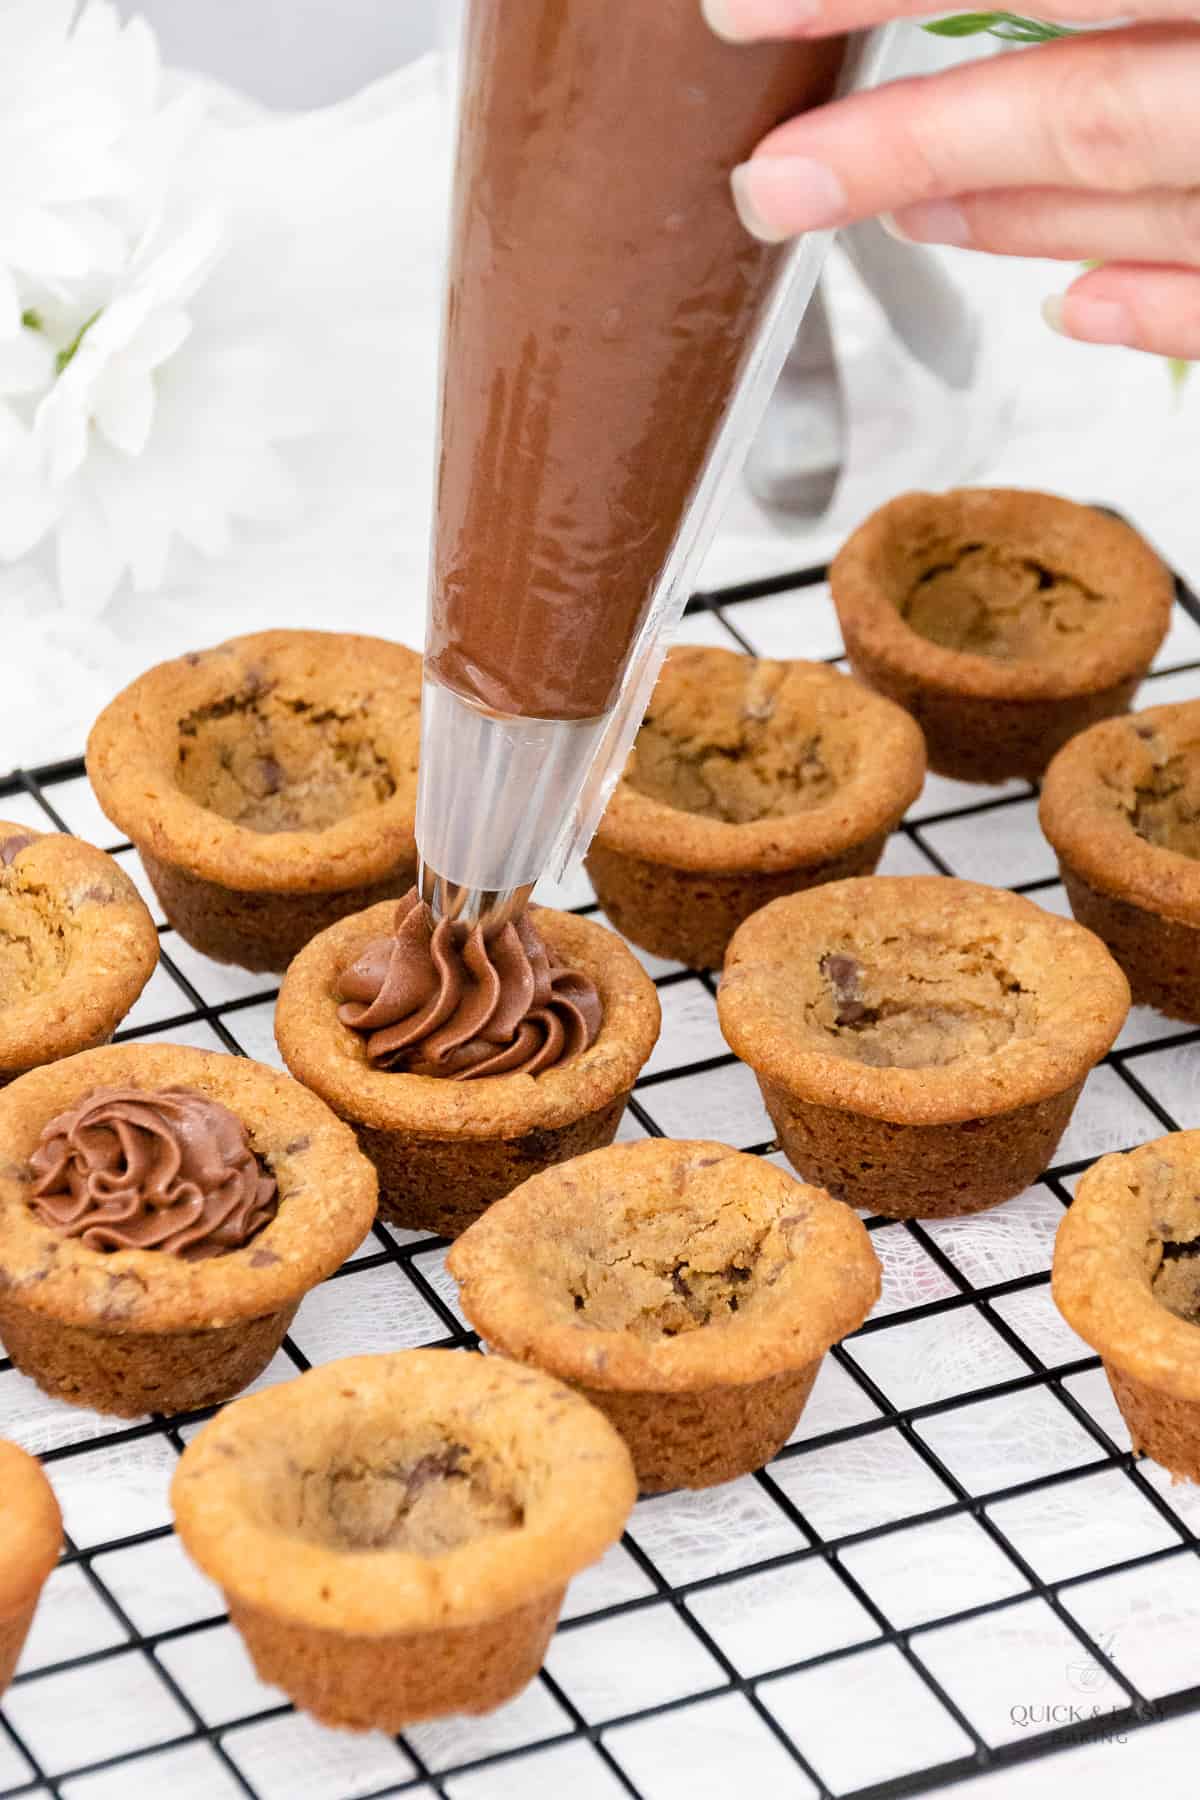
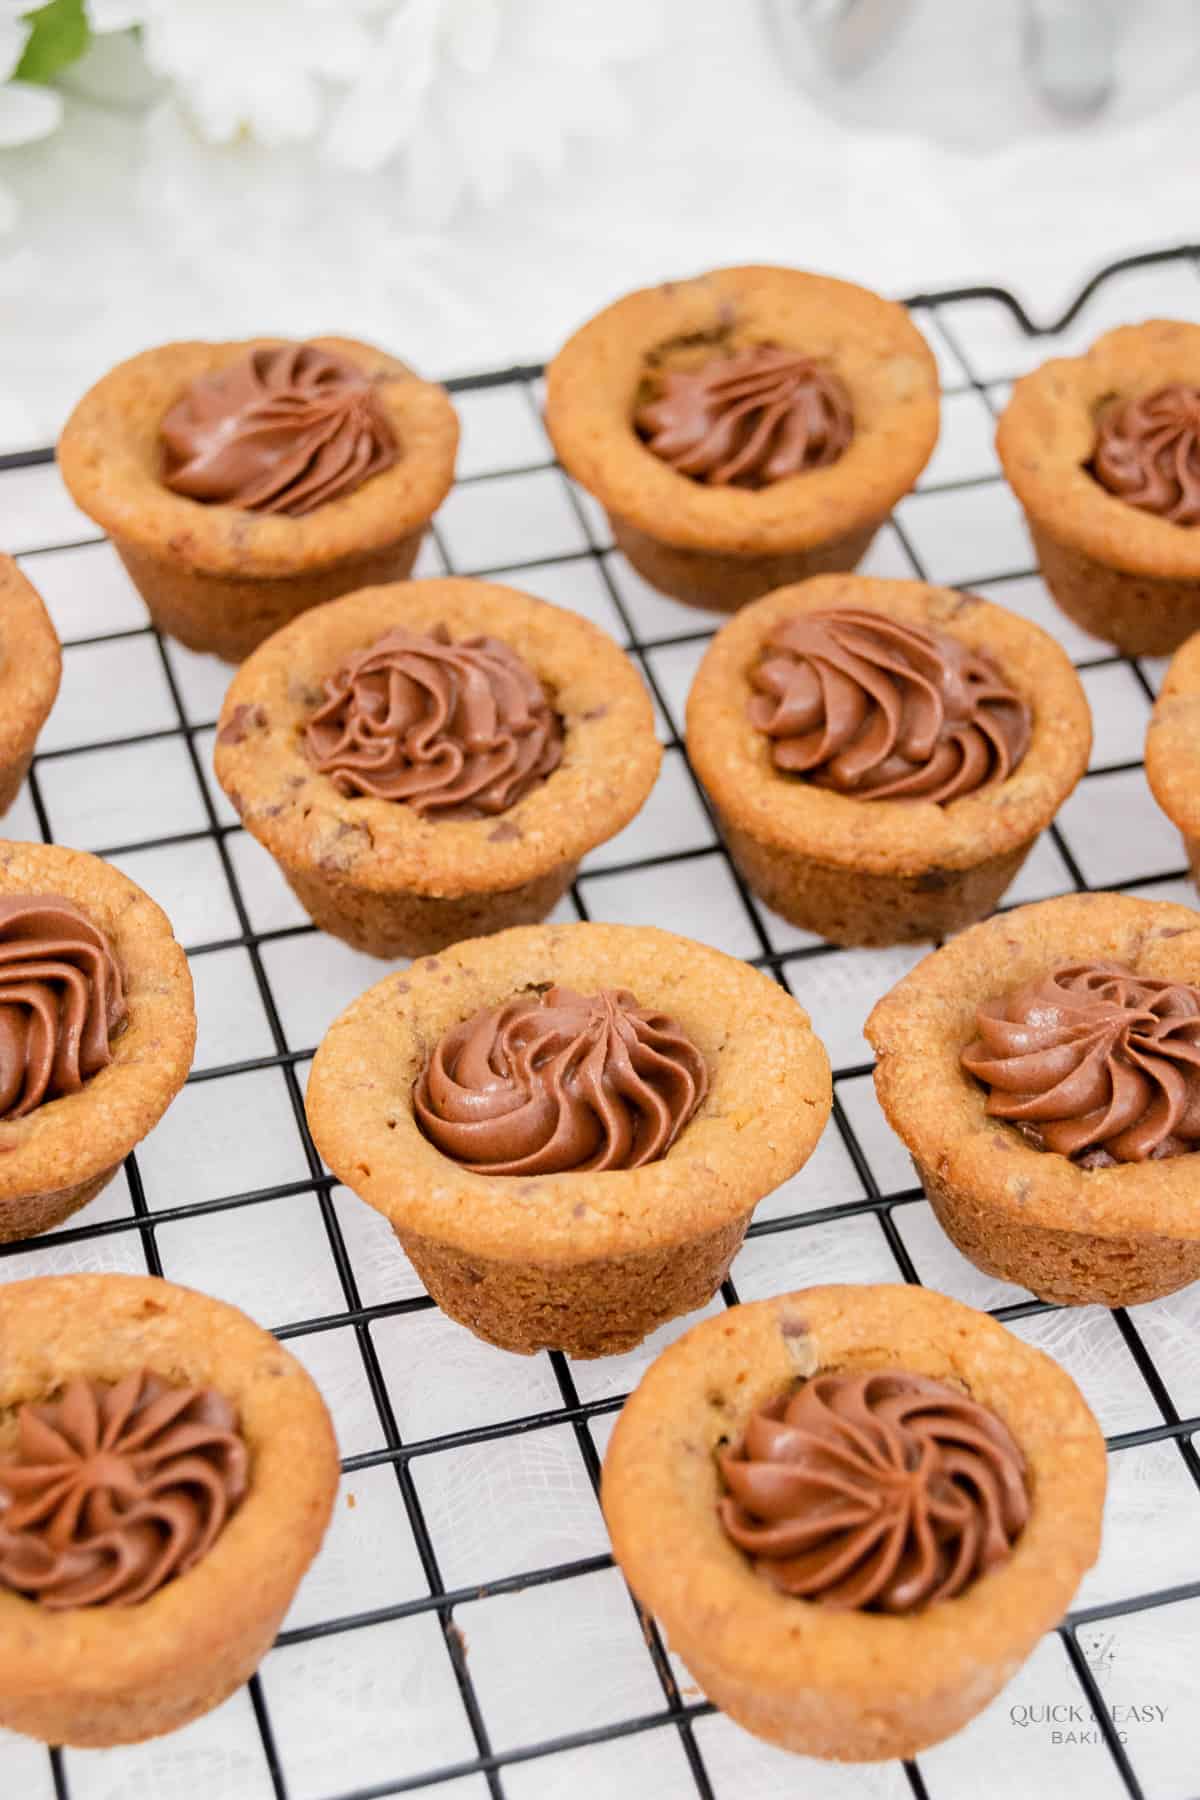
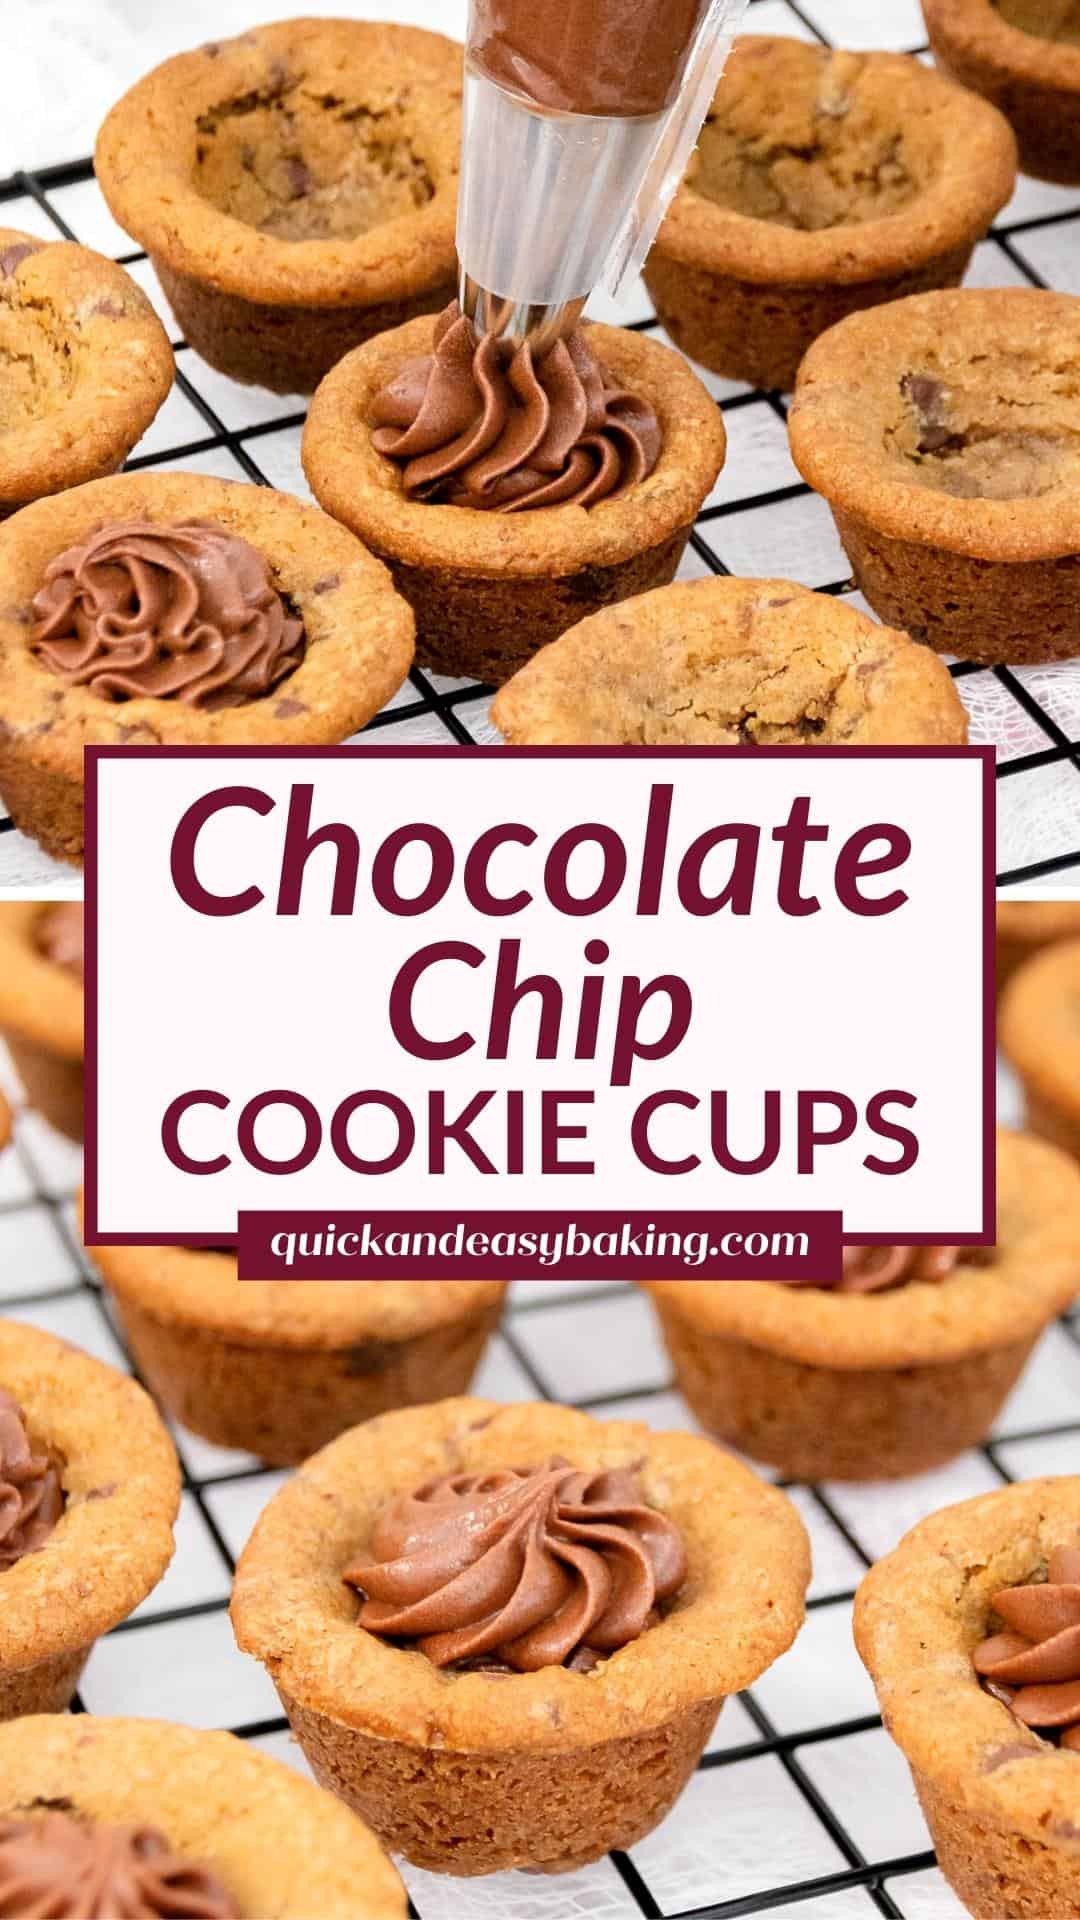
Now take a can of chocolate frosting, or homemade if you prefer, and add to either a piping bag or a zip lock bag. Snip off the end of the bag and squeeze the frosting into each cookie cup.
Just make sure the cookie cups are completely cool at this point, or it will cause the frosting to become runny.
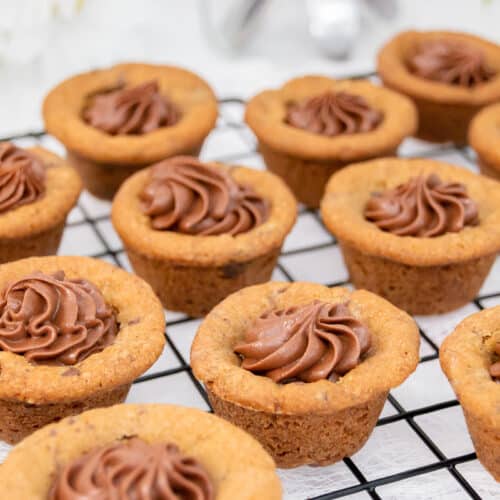
Chocolate Chip Cookie Cups (with Chocolate Frosting)
Ingredients
- 1 (16 ounce) package premade refrigerated chocolate chip cookie dough
- 1 (16 ounce) container chocolate frosting (or homemade buttercream*)
Instructions
- Preheat the oven to 325 degrees F. Take the cookie dough out of the package. Take about 1 tablespoon of dough and roll into a ball. Set each dough ball into a section of a mini muffin pan. Do this for each mini muffin cup. It's not necessary to press the dough down firmly or form it to each cup at this point, just set the balls of dough into each mini muffin section.
- Take a teaspoon measuring spoon and dip the back of it in flour, then press firmly down and around the sides on each ball of dough to press it into each mini muffin cup. You’ll need to twist it a bit, to help it form each cookie cup. (To see this in action, make sure to check out the video in this post.) Make sure to dip the back of the measuring teaspoon into the flour each time, so the dough doesn’t stick.
- Bake the cookie cups at 325 degrees F for 10-15 minutes. (For crispier cookie cups, you can bake them at 350 degrees F for about 8-10 minutes.) Watch them closely when the baking time is almost up as they will brown quickly. The cups will turn golden brown. (Don't worry if the cups puff up.)
- Pull them out of the oven. At this point the cookie cups will have puffed up. Just lightly touch the back of the teaspoon measuring spoon to the tops and they will sink back down in the middle. This will form the 'cup' where you'll later add the frosting.
- Let the cookie cups cool in the pan. Once cool, twist the cookie cups as you lift them from the mini muffin pan.
- Take a can of chocolate frosting (or homemade if you prefer – link below) and add to either a piping bag or a zip lock bag. Snip off the end of the bag and squeeze the frosting into each cookie cup. Try not to fill the bag too full of frosting or it can get very messy. You can refill the bag with frosting when you need to.
Notes
These cookie cups are best served at room temperature. If cold, allow them to come to room temperature before serving. Nutritional values are an estimate. Make sure to check out the TIPS & FAQs for this recipe in the blog post, which may answer questions you may have. *This recipe card may contain affiliate links. As an Amazon Associate, I earn from qualifying purchases.
Nutrition
How to Share
I’d love for you to share this recipe link or tag it, but please do not share screenshots or copy/paste the recipe to social media as the content and photographs are copyright protected and we (bloggers) work really hard on our content. Sharing the link, tagging us on socials and pinning it is super appreciated though!
Tips & FAQs:
This recipe calls for pre-made chocolate chip cookie dough. A name brand or a store brand will both work. You could probably use any brand as long as you watch it during the last five minutes of baking as different cookie dough brands call for different baking times. I used the cookie dough in the tube, but the pre-formed cookie dough would probably work as well.
I have not tested this recipe out using homemade cookie dough. It may work fine though.
Yes, you most likely can. You’ll just want to watch it closely as it’s baking since different types of cookie dough will bake differently.
Peanut butter cookie dough would be amazing with chocolate frosting.
You can use pre-made canned frosting or homemade, whichever you prefer. Chocolate frosting is terrific in these, but you could also use vanilla if you prefer.
If you don’t want to use frosting, or you don’t have any, there are other options to fill these. You could fill these cookie cups with Nutella, whipped cream, pudding, ice cream, roles candy, Reese’s peanut butter cups, peanut butter, a Hershey’s kiss, or chocolate syrup. Let your imagination run as there are so many options with these.
First, these will puff up when baking and that’s okay, but as noted in the printable recipe, if you just tap on the tops with the back of a teaspoon, they will sink back down. Just make sure when you are initially forming the dough balls to the mini muffin pans, that you really press the dough along the edges and the bottom of each cup, so there’s a good indention.
The cups will puff up and turn golden brown.
It helps to twist the cookie cups a bit before you try to lift them out.
I have only tried these with a mini muffin pan. If using a full-size muffin pan, they would be very large cookie cups that would take a good amount of frosting to ill and would probably be a very large serving size. If you do want to test it out, please feel free to do so. They may need to bake a little longer though since they’ll be bigger and you’ll need more dough for each standard-sized muffin cup. The larger cookie cups may make a great ‘bowl’ to serve ice cream in though.
I would not freeze these as it might make the cookie cups a little too chewy or otherwise change the texture and they just might not be as soft and cookie-like.
These cookie cups can be stored in an air-tight container, at room temperature for several hours, but if you use premade canned frosting to fill these with, then store these cookies in an airtight container in the fridge. These cookie cups will last about 4-5 days, but the cookies may become crispier the longer they’re stored. If the cookies start to get crispy, you can add a piece of bread to the air-tight container and that will soften them up a bit.
These cookies are best at room temperature, or slightly warm any time you want an indulgent cookie treat. Grab yourself a glass of milk and enjoy.
Feel free to add nuts, more chocolate chips, sprinkles or spices into the cookie dough. You could also sprinkle nuts, sprinkles, or drizzle chocolate syrup over the cups once you’ve piped on the frosting.
Video:
Supplies used for this recipe:
This post contains affiliate links. As an Amazon Associate, I earn from qualifying purchases.
- Mini muffin pan
- Measuring spoons
- Easy Lemon Cream Cheese Swirl Cake (using a cake mix) - April 2, 2024
- Easy Lemon Poppy Seed Bread (using a cake mix) - April 2, 2024
- Easy Lemon White Chocolate Cookies (using a cake mix) - April 2, 2024
